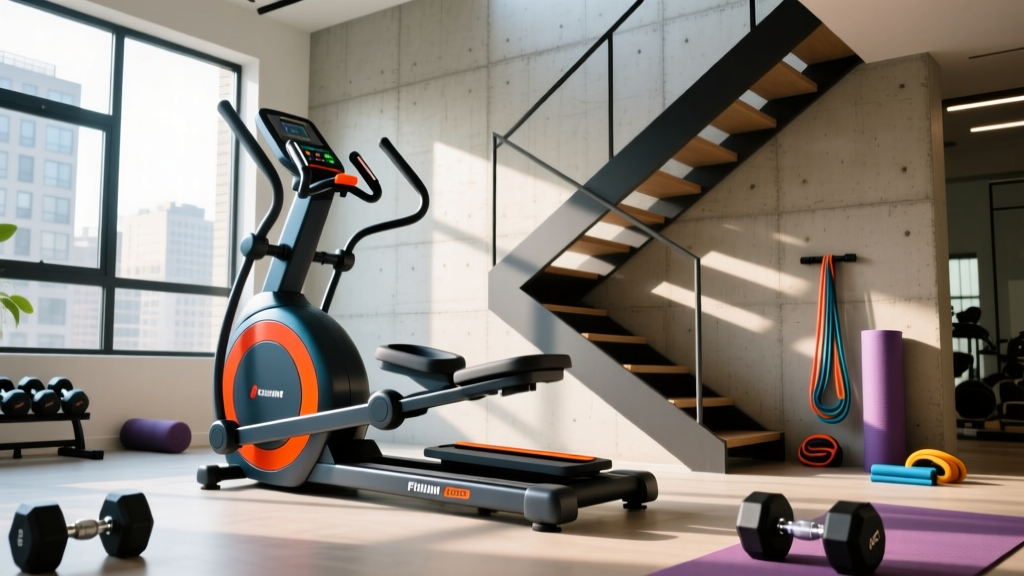
Upright, Recumbent & Spin Bike Maintenance vs. DIY Treadmill Care
Maximize the lifespan of your upright, recumbent, or spin bike with expert maintenance tips. Includes care comparisons for DIY treadmill builders.

The Mechanical Divide: Stationary Bikes vs. DIY Treadmill Builds
As home gym engineering evolves in 2026, fitness enthusiasts are constantly weighing the longevity and maintenance requirements of their cardio equipment. While some ambitious tinkerers attempt to construct a DIY treadmill using repurposed conveyor belts, roller bearings, and scavenged DC motors, the long-term reliability of these projects rarely matches factory-engineered stationary bikes. Understanding the maintenance nuances of upright, recumbent, and spin bikes is essential for maximizing your investment and ensuring decades of friction-free performance.
The fundamental difference lies in biomechanical load. According to the Mayo Clinic, running generates ground reaction forces equivalent to two to three times your body weight. A DIY treadmill must absorb this continuous lateral shear and impact, which rapidly degrades scavenged motors and deck bearings. In contrast, stationary bikes operate in a closed-chain, low-impact environment. When maintained correctly, the drivetrain and resistance systems of premium upright, recumbent, and spin bikes can easily outlast the structural integrity of most custom treadmill builds.
⚠️ Critical Warning: Pedal Thread DirectionBefore diving into routine care, remember this golden rule of bike maintenance: The left pedal is reverse-threaded. Turning it counter-clockwise tightens it, while turning it clockwise removes it. Forcing it the wrong way will strip the crank arm threads, resulting in a $60 to $120 replacement part and significant downtime.
Spin Bikes (Indoor Cycling): High-RPM Drivetrain Care
Spin bikes, such as the Keiser M3i or Schwinn IC4, are built for high-cadence, out-of-the-saddle intervals. This high-RPM usage places unique stress on the flywheel and drivetrain components.
Belt Drive vs. Chain Drive Maintenance
Modern spin bikes predominantly use Poly-V belt drives (like the Gates Carbon Drive) rather than traditional metal chains. Belt drives are virtually maintenance-free regarding lubrication, but they require strict tension monitoring.
- Tension Testing: Press down on the midpoint of the belt with approximately 5 kg (11 lbs) of force. The belt should deflect exactly 10mm to 15mm. If it deflects more, use a 6mm Allen key to adjust the rear axle tensioners evenly on both sides.
- Chain Drive Care: If you own an older or budget-friendly chain-drive spin bike, never use standard WD-40. It attracts dust and creates a grinding paste. Instead, apply a PTFE-based dry bicycle chain lube every 50 hours of riding, wiping off excess with a microfiber cloth.
Friction Brake Pads and Magnetic Resistance
For friction-resistance spin bikes, the felt brake pad pressing against the steel flywheel requires regular conditioning. Apply two to three drops of 100% pure silicone spray to the felt pad before every ride. This prevents the pad from drying out, tearing, and creating a harsh squealing noise. Conversely, magnetic resistance bikes (like the Peloton Bike+) require zero pad lubrication; their primary maintenance involves recalibrating the resistance servo-motor via the console settings if the magnetic gap shifts over time.
Upright and Recumbent Bikes: Ergonomics and Electronics
Upright and recumbent bikes prioritize comfort and steady-state cardio, often featuring complex electronic consoles and motorized resistance systems. The American Heart Association recommends steady-state cycling as a premier method for improving cardiovascular health, making the reliability of these machines paramount.
Seat Rail and Handlebar Post Lubrication
Recumbent bikes, such as the NordicTrack Commercial R35, feature a long horizontal seat rail. Over time, sweat and dust accumulate on this rail, causing the adjustment pop-pin to jam or the plastic glides to crack.
- Wipe the seat rail down weekly with a damp cloth.
- Apply a light coat of dry Teflon (PTFE) spray to the rail. Avoid wet greases, which will attract grit and create an abrasive paste that ruins the plastic seat glides.
- For upright bikes with friction-clamp handlebar posts, ensure the clamping mechanism is completely free of moisture. Sweat acts as a lubricant on the clamp, causing the handlebars to slip downward during intense rides.
Crank Arm Torque Specifications
The crank arms on upright and recumbent bikes are subjected to continuous, heavy torque, especially during rehabilitation or high-resistance climbing. Most factory pedals use a standard 9/16-inch thread. To prevent the crank arm from wobbling and eventually snapping, use a torque wrench to tighten the pedal spindle to exactly 35 to 40 Nm (Newton-meters). Check this torque every six months.
Maintenance Matrix: Upright vs. Recumbent vs. Spin
Understanding the specific failure points of your machine type allows you to allocate your maintenance time effectively. Below is a comparative matrix detailing the unique care requirements for each stationary bike category in 2026.
| Feature / Bike Type | Spin Bike (Indoor Cycle) | Upright Bike | Recumbent Bike |
|---|---|---|---|
| Primary Drive System | Poly-V Belt or Chain | Internal Belt / Gearbox | Internal Belt / Gearbox |
| Most Common Failure Point | Sweat corrosion on flywheel; felt pad tearing | Console membrane switch failure; slipping seat post | Seat rail glide cracking; pop-pin spring fatigue |
| Key Lubrication Need | 100% Silicone spray on brake pad | Dry PTFE on seat post clamp | Dry Teflon on horizontal seat rail |
| Estimated 5-Year Repair Cost | $40 - $80 (Pads, belts, pedals) | $120 - $250 (Console, wiring harness) | $150 - $300 (Motorized resistance servo, seat glides) |
The Sweat Corrosion Factor: Protecting Your Frame
Whether you are maintaining a commercial-grade recumbent bike or comparing the upkeep to a DIY treadmill project, human sweat is the ultimate enemy of home gym equipment. Human sweat has a pH ranging from 4.0 to 6.0 and is heavily saturated with sodium chloride. This saline acid rapidly eats through powder-coated steel, aluminum handlebars, and exposed bearings.
💡 Pro-Tip: The Right Cleaning SolutionNever use bleach, ammonia, or standard glass cleaners on your bike frame. These chemicals break down the protective clear coat and accelerate rust. Instead, use a 50/50 mixture of distilled water and white vinegar, or invest in an enzymatic fitness equipment cleaner that breaks down the salt and urea proteins in sweat without damaging the finish.
Why Stationary Bikes Outlast DIY Treadmill Projects
When evaluating long-term home gym strategies, the maintenance burden of a DIY treadmill often outweighs the initial cost savings. Scavenged treadmill motors are typically rated for 'intermittent duty' and lack the sophisticated thermal overload protectors found in commercial units. When subjected to the continuous 2.5 mph to 4.0 mph walking speeds required for daily cardio, these DIY motors overheat, warp their internal armatures, and fail within 6 to 12 months.
Stationary bikes, however, utilize either permanent magnetic resistance or simple eddy-current alternators. These systems generate resistance without physical friction and are naturally air-cooled by the rotation of the heavy flywheel. According to fitness equipment lifecycle reports, a well-maintained magnetic resistance bike can operate for 15,000+ hours before requiring a major drivetrain overhaul, making it a vastly superior long-term investment for home cardio.
Your 2026 Preventative Maintenance Schedule
To ensure your upright, recumbent, or spin bike remains in peak condition, adhere to this strict maintenance cadence:
After Every Ride (Daily)
- Wipe down the handlebars, seat, and console with an enzymatic cleaner or 50/50 vinegar solution.
- Inspect the floor beneath the bike for any black dust (indicating belt wear) or oil spots.
Weekly Inspection
- Check all visible pop-pins and quick-release levers for secure engagement.
- Inspect the pedal straps or toe cages for fraying nylon or cracked plastic.
- For spin bikes, apply silicone spray to the friction brake pad if applicable.
Monthly Deep Care
- Use a torque wrench to verify pedal tightness (35-40 Nm).
- Check belt tension on spin bikes (10-15mm deflection).
- Apply dry PTFE lubricant to recumbent seat rails and upright handlebar posts.
Annual Overhaul
- Remove the plastic shrouds/covers using a Phillips or Torx screwdriver.
- Use compressed air or a soft-bristle brush to remove dust buildup from the internal resistance magnets and console wiring harnesses.
- Inspect the bottom bracket for lateral play; if the crank arms wobble side-to-side, the bottom bracket cartridge bearings must be replaced (a $25 part that requires a specialized crank puller tool).
'The longevity of any cardio machine is dictated not by its initial price tag, but by the consistency of its preventative care. A $500 spin bike maintained with precision will outperform and outlast a $2,000 neglected smart bike every single time.'
By understanding the specific mechanical needs of your stationary bike type and recognizing the inherent limitations of DIY treadmill builds, you can curate a home gym space that is both economically efficient and mechanically bulletproof for years to come.
More gear to consider
All reviews
Treadmill Sprint Features: A Beginner's 2026 Buying Guide
Curved vs Motorized Treadmill Setup & Lopifit Treadmill Bike Guide

ProForm C950 Treadmill vs. Rivals: 2026 Feature Comparison Guide

NordicTrack C950i Treadmill Noise: Step-by-Step Cardio Comparison

Air Bike vs Assault Bike Guide: Why 'Treadmill Donation Near Me' Searches Are Surging