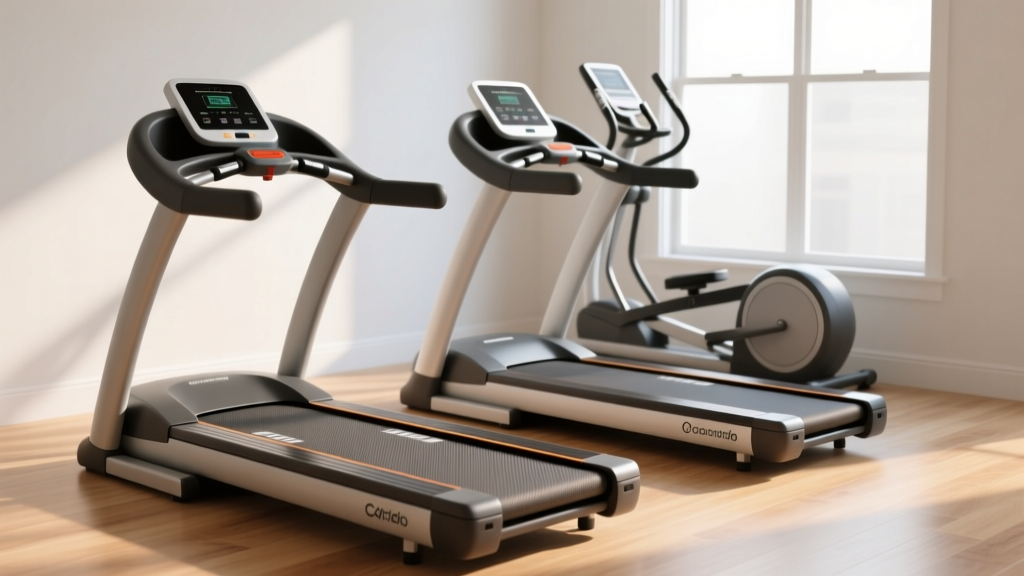
Setup Guide: Curved vs Motorized for Brisk Walking on Treadmill
Master the setup and installation of curved manual vs motorized treadmills to optimize your space and form for brisk walking on treadmill routines.

Pre-Installation Spatial & Structural Requirements
Before unboxing any cardio equipment, evaluating your home gym's structural and spatial capacity is critical. The physical footprint and operational clearance differ vastly between a motorized deck and a curved manual track. When optimizing your environment for brisk walking on treadmill equipment, you must account for the user's stride length, ceiling clearance, and floor load distribution.
Spatial Matrix: Motorized vs. Curved
| Metric | Motorized (e.g., Sole F80) | Curved Manual (e.g., AssaultRunner Elite) |
|---|---|---|
| Machine Footprint | 78" L x 35" W | 65" L x 33" W |
| Rear Clearance Required | 30" minimum (for incline motor & safety) | 10" minimum (no moving deck) |
| Ceiling Height Minimum | User Height + 4" | User Height + 6" (due to track elevation) |
| Electrical Requirement | Dedicated 15A or 20A circuit | None (Self-powered) |
| Average 2026 Price | $1,199 - $2,599 | $3,999 - $6,500+ |
According to the American Heart Association, maintaining a consistent routine is key to cardiovascular health, and environmental friction—like a poorly placed machine or tripped breaker—can derail your consistency. For motorized models, placing the unit on a shared 15-amp circuit with other appliances will inevitably trip the breaker when the incline motor and drive motor draw peak amperage simultaneously.
Step-by-Step Installation: Motorized Treadmills
Motorized treadmills like the NordicTrack Commercial 1750 or Sole F80 are heavy (often exceeding 240 lbs) and feature sensitive internal wiring. The most common setup failure mode is a pinched data cable, resulting in an 'E1' console error upon first boot.
Phase 1: Base and Upright Assembly
- Position the Deck: With a helper, lay the deck on its side (motor side up) on the included cardboard to prevent scratching the belt.
- Attach the Front Feet: Use the provided 17mm socket wrench to secure the front stabilizer. Do not fully tighten until both sides are threaded to ensure alignment.
- Route the Data Cable (CRITICAL): Feed the console data cable through the left upright mast. Expert Tip: Use the included fish tape or a bent wire hanger. Ensure the cable sits in the designated interior channel. If it bulges out, the mast bolt will sever the wire when tightened.
- Secure the Uprights: Bolt the masts to the deck. Have your helper hold the console mast perfectly plumb while you torque the bolts to 45 Nm (Newton-meters).
Phase 2: Power and Belt Calibration
Once assembled, plug the machine directly into a wall outlet—never use an extension cord, as voltage drops can damage the lower control board. Before your first brisk walking on treadmill session, you must calibrate the belt tracking.
Warning: Never adjust the rear roller bolts while the belt is stationary. Run the treadmill at 2.0 mph. If the belt drifts left, turn the left rear bolt clockwise by exactly one-quarter (1/4) turn. Wait three full rotations to observe the tracking before making further adjustments.Step-by-Step Installation: Curved Manual Treadmills
Curved manual treadmills (such as the Woodway Curve or Technogym Skillmill) lack a drive motor, relying entirely on the user's biomechanics to propel the slat belt. While you bypass electrical setup, the mechanical calibration is far more unforgiving. If the chassis is not perfectly level, the slat belt will drift laterally and grind against the side shrouds, destroying the bearings.
Phase 1: Chassis Leveling
- Unbox and Position: Curved treadmills are incredibly dense, often weighing over 350 lbs due to the steel frame and magnetic brake assemblies. Use a furniture dolly.
- Digital Level Check: Place a digital torpedo level on the center of the running track. The tolerance must be within 0.5 degrees of absolute zero on both the X and Y axes.
- Adjust the Leveling Feet: Use the provided 22mm wrench to adjust the threaded floor feet. If your home gym has rubber matting, ensure the feet penetrate through the mat to rest firmly on the concrete or plywood subfloor to prevent micro-shifting during use.
Phase 2: Slat Belt Tension and Magnetic Brake Setup
For a smooth brisk walking on treadmill experience on a curved model, the slat belt tension must be exact. Too tight, and the walking motion feels 'sticky' at lower speeds (under 3.0 mph); too loose, and the slats will slip under heavy heel strikes.
- The Deflection Test: Press down on the center of the slat belt. It should yield exactly 1/2 inch to 3/4 inch of downward deflection.
- Magnetic Resistance: If your model features a resistance dial (common on air-resistance hybrid models), set it to '0' or 'Flat' for walking. Higher resistance settings are designed for sprint intervals and will force you into an unnatural, toe-heavy stride during a brisk walk.
Calibration for the Perfect Brisk Walking Stride
The Mayo Clinic defines a brisk walk as a pace that elevates your heart rate while still allowing you to speak in short sentences—typically between 3.5 mph and 4.5 mph. However, achieving this on a motorized deck versus a curved track requires entirely different machine setups and biomechanical approaches.
| Variable | Motorized Treadmill Setup | Curved Manual Setup |
|---|---|---|
| Target Speed | Set console to 3.8 - 4.2 mph | Self-regulated; push further up the curve to increase speed |
| Incline / Grade | Set to 1.0% to 1.5% (simulates outdoor wind resistance) | N/A (The curve inherently mimics a 5% to 8% grade) |
| Stride Mechanics | Heel-to-toe roll; focus on pushing off the deck | Mid-foot strike; focus on pulling the slats backward with your hamstrings |
| Handrail Usage | Avoid holding rails; alters natural pelvic rotation | Lightly rest hands on front bars for balance during initial acceleration |
Post-Installation Maintenance & Failure Modes
Proper installation is only day one. Maintaining the machine ensures the biomechanics of your walk remain safe and joint-friendly over the years.
Motorized Treadmill Edge Cases
- Belt Lubrication: Most modern 2026 models (like the Sole F80) come with a pre-lubricated wax coating. However, after 150 miles of brisk walking, the friction increases. Apply 100% silicone treadmill lube under the belt. Failure Mode: Using WD-40 or petroleum-based oils will degrade the PVC belt backing and destroy the drive motor's lower control board due to amp-spike overheating.
- Motor Dust Ingestion: The cooling fan on the drive motor acts as a vacuum for pet hair and dust. Every 90 days, remove the motor hood (usually 4 Phillips-head screws) and use compressed air to blow out the motor brushes and fan blades.
Curved Treadmill Edge Cases
- Slat Belt Drift: If you hear a rhythmic 'clicking' sound during your walk, the slat belt is rubbing the side rail. Locate the tension bolts on the rear axle and adjust the side that is rubbing by loosening it 1/8th of a turn.
- Bearing Wear: Curved treadmills utilize dozens of individual polyurethane slats attached to a central Kevlar belt via sealed bearings. If a single slat feels 'dead' or doesn't rotate freely under your thumb, the bearing is seized. Replacing individual slats costs roughly $15 to $25 per piece and requires popping the retaining C-clips with needle-nose pliers.
Expert Verdict: Which Setup Suits Your Home Gym?
If your primary goal is low-impact, steady-state brisk walking on treadmill equipment while watching television or reading, a motorized treadmill is the superior choice. The consistent belt speed allows you to zone out, and the 1.0% incline setting perfectly mimics outdoor walking mechanics without the cognitive load of propelling the belt yourself.
However, if you are an athlete looking to combine brisk walking warm-ups with high-intensity interval training (HIIT) sprints, and you have the budget ($4,000+) and floor space, a curved manual treadmill offers unparalleled durability. The absence of a drive motor means fewer electronic failure points, and the self-powered nature forces superior posterior chain engagement with every step.
Final Installation Checklist
- [ ] Dedicated 15A/20A circuit verified (Motorized only)
- [ ] Digital level reads 0.0° on X and Y axes
- [ ] Data cable seated in mast channel (Motorized only)
- [ ] Belt tracking verified at 2.0 mph for 3 minutes
- [ ] Rear clearance measured to wall (30" motorized / 10" curved)
- [ ] Safety tether clipped to user apparel during test walk
By respecting the unique mechanical and electrical requirements of your chosen machine, you guarantee a safe, fluid, and highly effective walking environment for years to come.
More gear to consider
All reviews
Folding Treadmill Review & Anti-Gravity Treadmill Phoenix AZ

NordicTrack Commercial LE Treadmill Noise: Head-to-Head Test

Treadmill Belt Slipping? Top Compact Portable Cardio Alternatives

Quiet Cardio Showdown: Treadmill Benefits for Women in Apartments
T Series 10 Treadmill Review & Stair Climber Guide
