
Rowing vs Treadmill Routine to Lose Weight: Buying & Technique
Stuck in a plateau? Discover why swapping your treadmill routine to lose weight for a rowing machine yields better results, plus buying and technique tips.

The Plateau Problem: Transitioning from the Treadmill to the Rower
If your current treadmill routine to lose weight has resulted in a frustrating plateau, nagging knee pain, or sheer boredom, you are not alone. While treadmills are a staple of home cardio, they primarily target the lower body and subject your joints to repetitive, high-impact ground reaction forces. Many fitness enthusiasts are now pivoting to rowing machines to break through fat-loss plateaus. Rowing recruits approximately 86% of the body's musculature, driving a higher metabolic demand per minute than steady-state running.
However, transitioning from a treadmill to a rowing machine (ergometer) introduces a steep learning curve. Buyers frequently make costly purchasing errors, and new users bring "treadmill habits" to the rower, resulting in poor biomechanics and lower back pain. This comprehensive troubleshooting and buying guide will help you select the right machine for your space and budget, debug your technique, and maintain your hardware for years of peak performance.
The Biomechanical Edge: Caloric Expenditure and Joint Impact
Before diving into troubleshooting, it is vital to understand the physiological shift you are making. According to data published by Harvard Health Publishing, a 155-pound person burns approximately 252 calories in 30 minutes of moderate rowing, compared to 288 calories running at a 5 mph pace. While the treadmill appears to edge out the rower in raw caloric burn at moderate intensities, the rowing machine's true advantage lies in its afterburn effect (Excess Post-exercise Oxygen Consumption, or EPOC) and full-body muscle recruitment.
💡 Information Gain: The Muscle Recruitment FactorRunning is roughly 60-70% lower-body dominant. Rowing requires a 60% leg, 20% core, and 20% upper-body power distribution. This massive upper-body and core engagement elevates heart rate differently, often allowing for higher-intensity interval training (HIIT) with zero impact on the patellofemoral (knee) joint.
Common Buying Mistakes (And How to Avoid Them)
The home fitness market is flooded with subpar rowing machines that fail under high-intensity use. When upgrading from a treadmill routine to lose weight, avoid these three critical purchasing errors:
Mistake 1: Ignoring the Monorail Length and Inseam Clearance
Treadmill buyers worry about deck length; rowing machine buyers must worry about rail length. If you have an inseam longer than 34 inches, many budget magnetic rowers (often priced under $400) will cause your seat to hit the rear bumper before your legs fully extend. This "bottoming out" ruins the stroke mechanics and damages the machine. Always verify the maximum inseam clearance, not just the overall footprint.
Mistake 2: Misunderstanding Resistance Types for Fat Loss
For high-intensity fat-loss intervals, air and water resistance scale infinitely with your effort—the harder you pull, the more resistance is generated. Magnetic resistance offers a quieter operation but often lacks the dynamic, infinite drag curve required for true sprint intervals. If your goal is aggressive HIIT to replace treadmill sprints, air or water is mandatory.
Mistake 3: Overlooking the Monitor's Telemetry
A basic LCD screen won't cut it if you are tracking progressive overload. You need a monitor that tracks split time per 500 meters (/500m), watts, and stroke rate (spm), alongside Bluetooth connectivity for chest strap heart rate monitors.
| 2026 Model | Resistance Type | Est. Price | Best For / Troubleshooting Note |
|---|---|---|---|
| Concept2 RowErg | Air | $1,000 | The gold standard. PM5 monitor is virtually indestructible. Requires regular chain oiling. |
| Hydrow Athlete | Electromagnetic | $2,495 | Immersive tech lovers. Note: Electromagnetic drag feels slightly different than true air/water inertia. |
| Ergatta Rower | Water | $2,299 | Aesthetics & Gamification. Requires water purification tablets every 6 months to prevent algae. |
Technique Troubleshooting: Curing the "Treadmill Hangover"
When users abandon their treadmill routine to lose weight and jump on a rower, they inevitably carry over biomechanical flaws. Here is how to troubleshoot the most common technique errors.
Error 1: The Damper Myth (Setting the Lever to 10)
The Mistake: Treadmill users equate "higher incline/speed" with "better workout." On a rowing machine, they immediately push the side damper lever to 10. This restricts airflow out of the flywheel housing, mimicking the heavy, sluggish feel of rowing a massive wooden boat. It causes rapid muscular fatigue before your cardiovascular system is adequately challenged.
The Fix: According to Concept2's official engineering guidelines, a damper setting between 3 and 5 yields a "drag factor" of 110-130. This accurately simulates the sleek glide of a racing shell on water, allowing for optimal aerobic conditioning and sustained fat-burning intervals.
Error 2: "Shooting the Slide"
The Mistake: Because treadmill running relies heavily on quad extension, new rowers tend to violently push their legs down at the catch (the starting position) without engaging their core. This causes the hips to rise before the shoulders move, transferring massive shear force directly to the lumbar spine.
The Fix: Think of your arms and torso as a rigid strap connecting your hips to the handle. The sequence must be: Legs push, core swings, arms pull. At the catch, ensure your shins are vertical, your lats are engaged (shoulders packed down), and your core is braced before initiating the leg drive.
Error 3: The "Chicken Wing" Elbow Flare
The Mistake: Pulling the handle toward the neck or flaring the elbows out to the sides at the finish of the stroke. This overloads the biceps and strains the rotator cuff.
The Fix: Keep your elbows tucked close to your ribs. The handle should finish at your lower rib cage, just below the chest line, with your wrists completely flat and neutral.
⚠️ Troubleshooting Alert: Lower Back Pain?
If you experience lower back burning mid-workout, stop immediately. You are likely rowing with a rounded spine (flexion) at the catch. Elevate your heels slightly on the footplates to improve ankle mobility, which allows your pelvis to tilt forward naturally, preserving the neutral lumbar curve.
Hardware Maintenance and Failure Modes
Unlike treadmills, which require belt lubrication and motor dusting, rowing machines have unique maintenance profiles. Neglecting these will lead to catastrophic hardware failure.
- Chain Care (Air Rowers): Never use WD-40 on a rowing machine chain. WD-40 is a solvent, not a lubricant, and will strip the factory grease, leading to rust and a grinding flywheel. Use purified mineral oil or 20W motor oil on a paper towel, wiping the chain every 50 hours of use.
- Water Tank Algae (Water Rowers): If you own a water rower, do not use bleach or harsh chemicals to clean the tank, as this will degrade the polycarbonate seals. Use the manufacturer-provided purification tablets (usually chlorine dioxide) every 6 months, and keep the machine out of direct sunlight to prevent UV degradation and algae blooms.
- Monitor Bluetooth Dropouts: If your PM5 or smart monitor keeps dropping connection to your heart rate strap, check for interference from nearby 2.4GHz Wi-Fi routers. Additionally, ensure the monitor's firmware is updated via the manufacturer's app, as legacy firmware often struggles with modern ANT+/BLE dual-band chest straps.
Your 4-Week Transition Protocol
To safely replace your treadmill routine to lose weight without triggering overuse injuries in your forearms and lower back, follow this phased adaptation protocol:
- Week 1 (Neuromuscular Adaptation): Row for 10-15 minutes at a low stroke rate (18-20 spm). Focus entirely on the "Legs-Core-Arms" sequence. Rest as needed. Do not look at the calorie monitor.
- Week 2 (Aerobic Base Building): Increase to 20-minute steady-state sessions at 22-24 spm. Keep the drag factor between 110-120. Monitor your heart rate to stay in Zone 2 (60-70% of max HR).
- Week 3 (Interval Introduction): Implement 5 x 500-meter sprints with 2 minutes of active recovery (light paddling) between sets. This mimics the high-intensity treadmill intervals you are used to, but with full-body engagement.
- Week 4 (Endurance & Power): Complete a continuous 30-minute row, aiming to hold a consistent split time. Introduce "power strokes" (10 strokes at max effort) every 5 minutes to spike the heart rate and maximize EPOC.
Final Verdict
Breaking free from a stagnant treadmill routine to lose weight requires more than just swapping machines; it requires a fundamental shift in how you view cardiovascular training. By avoiding budget magnetic rowers, respecting the drag factor, and rigorously troubleshooting your stroke sequence, the rowing machine will become the most efficient, joint-friendly fat-loss tool in your home gym. Treat the learning curve with patience, maintain your hardware meticulously, and let the full-body metabolic demand do the work.
More gear to consider
All reviews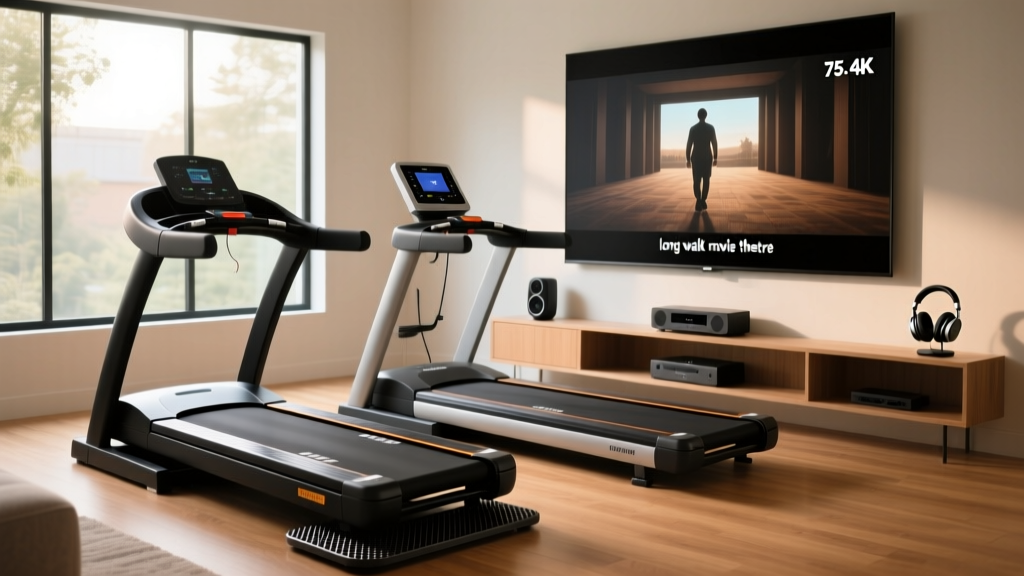
Curved vs Motorized: The Long Walk Movie Theater Treadmill Setup

Stationary Bike Types Care & Silicone-Based Treadmill Lubricant Tips

Rowing Guide: Alternative to Treadmill Stress Test Equipment

Stair Climber Home Guide vs Horizon 7.0 AT Treadmill Assembly

Rowing Machine Guide & Technique: Vision Fitness Treadmill vs Rower
