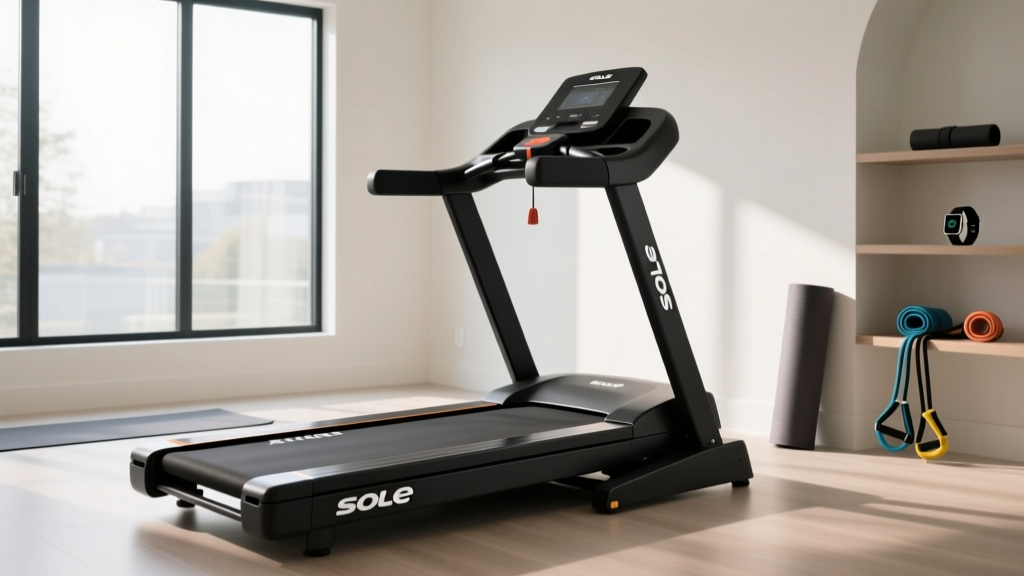
Sole F63 Treadmill Setup and Motor Horsepower Guide
Master your Sole F63 treadmill setup with our complete installation walkthrough. Learn how its 3.0 CHP motor impacts electrical and placement needs.

Pre-Installation: Understanding the Sole F63's 3.0 CHP Motor
When unboxing the Sole F63 treadmill, most users immediately focus on the console and handrails. However, the true heart of this machine—and the component that dictates your installation requirements—is the 3.0 Continuous Duty Horsepower (CHP) motor housed beneath the front hood. In 2026, the Sole F63 remains a benchmark for mid-tier home cardio, largely because it prioritizes sustained motor output over inflated marketing metrics.
Before you begin assembling the frame, it is critical to understand the difference between Peak Horsepower and Continuous Duty Horsepower. Peak HP measures the absolute maximum output the motor can achieve for a fraction of a second before failing. CHP, on the other hand, measures the horsepower the motor can sustain indefinitely under a normal workout load. The Sole F63's 3.0 CHP rating means it can continuously drive a 200-pound runner at 7.0 mph without overheating or experiencing voltage sag. Understanding this baseline is essential because your physical setup and electrical routing will directly impact the motor's ability to maintain this continuous output.
⚠️ Critical Electrical Warning: A 3.0 CHP motor requires a massive initial surge of amperage to overcome static friction and start the belt. Plugging your Sole F63 into a shared circuit or using an undersized extension cord will cause a voltage drop, starving the lower motor controller board and leading to premature failure.Step-by-Step Sole F63 Installation Walkthrough
Step 1: Unboxing and Frame Stabilization
The Sole F63 shipping box weighs approximately 175 pounds. Do not attempt to lift the main chassis alone. Cut the top and side panels of the box away, leaving the base pallet intact to use as a stable platform during assembly.
- Leveling the Uprights: Attach the left and right uprights using the provided M8 carriage bolts. Do not fully tighten them until both sides are secured. An unlevel frame introduces a microscopic twist to the deck.
- Motor Strain Prevention: Why does frame leveling matter for the motor? If the frame is twisted, the running belt will track heavily to one side. This creates asymmetric friction against the deck, forcing the 3.0 CHP motor to draw excess amperage to maintain speed, which triggers the internal thermal protection sensor and shuts the machine down mid-run.
- Adjust the Leveling Feet: Once the console is attached, use a carpenter's level across the deck. Adjust the rear leveling feet until the bubble is perfectly centered.
Step 2: Electrical Routing and Motor Controller Protection
The lower control board, which acts as the brain for the 3.0 CHP motor, is highly sensitive to dirty power. According to This Old House electrical guidelines, high-draw fitness equipment requires specific circuit conditions to operate safely.
- Dedicated 15-Amp or 20-Amp Circuit: The Sole F63 must be plugged into a dedicated outlet. If your treadmill shares a circuit with a refrigerator, space heater, or even a high-draw television, the motor's startup surge will trip the breaker.
- Avoid GFCI Outlets: Ground Fault Circuit Interrupter (GFCI) outlets are designed to trip when they detect minor current fluctuations. The natural startup spike of a 3.0 CHP treadmill motor frequently mimics a ground fault, causing the GFCI to cut power instantly.
- Zero Extension Cords: Never use an extension cord. If the outlet is too far away, hire an electrician to install a new dedicated receptacle. Extension cords cause voltage drops that degrade the motor's copper windings over time.
Step 3: Deck Alignment and Belt Tensioning
The Sole F63 features a 20-inch by 60-inch 2-ply belt that comes pre-lubricated with 100% silicone from the factory. Do not apply additional silicone during setup. Over-lubrication causes the belt to slip, which makes the motor spin faster than the belt moves, resulting in an immediate speed sensor error.
To check the factory tension, slide two fingers under the edge of the belt at the midpoint of the deck. You should feel slight resistance, but the belt should lift about half an inch. If it is drum-tight, use the provided Allen wrench to turn the rear roller bolts counter-clockwise by exactly one-quarter turn on each side until the proper give is achieved.
Treadmill Motor Size Guide: Decoding Horsepower
While the Sole F63's 3.0 CHP motor is the gold standard for home runners, how do you know if a specific motor size is right for your biomechanics and usage patterns? Use the decision matrix below to evaluate treadmill motor requirements based on user weight and intended exercise intensity.
| Motor Size (CHP) | Ideal User Profile | Max Recommended Weight | Primary Use Case |
|---|---|---|---|
| 2.0 CHP | Light walkers, seniors | Under 150 lbs | Walking (1.0 - 4.0 mph) |
| 2.5 CHP | Joggers, casual users | Under 200 lbs | Light jogging (up to 6.0 mph) |
| 3.0 CHP (Sole F63) | Daily runners, families | Up to 325 lbs | Sustained running (up to 12 mph) |
| 4.0+ CHP | Heavy athletes, sprinters | 350+ lbs | HIIT, heavy sprinting, commercial |
As noted in the Sole Fitness official equipment manuals, matching the motor's continuous duty rating to your heaviest user is the single most important factor in determining the lifespan of the lower control board and drive belt.
Post-Setup Calibration and Motor Break-In
Once the Sole F63 is fully assembled and plugged into your dedicated circuit, do not immediately jump on and start a 10-mile run. The motor brushes and the drive belt require a controlled break-in period to seat properly.
- Phase 1 (Low Speed): Turn the machine on and set the speed to 2.0 mph. Let it run unoccupied for 5 minutes. Listen to the motor hum; it should be a consistent, low-pitch whine without any rhythmic clicking.
- Phase 2 (Medium Speed): Increase the speed to 5.0 mph for another 5 minutes. Step onto the side rails, then carefully step onto the moving belt. Walk for 3 minutes to allow your weight to seat the belt into the deck's lubrication layer.
- Phase 3 (Incline Test): While walking at 3.0 mph, raise the incline to 10%. This engages the incline motor and forces the main 3.0 CHP drive motor to work against gravity, testing the thermal sensors under a moderate load.
Troubleshooting Motor and Setup Errors
If your setup encounters issues during the break-in phase, the Sole F63 console will display specific error codes related to the motor and sensors.
- E1 (Speed Sensor Error): The console is not receiving RPM data from the motor. This usually happens if the magnetic speed sensor on the lower motor controller has vibrated loose during shipping, or if the belt is tensioned too tightly, preventing the motor from turning.
- E2 (Incline Motor Error): The main drive motor is fine, but the incline actuator is stuck. Ensure no packing styrofoam is wedged under the front incline lift mechanism.
- Overcurrent / Thermal Shutoff: The machine stops abruptly and the belt coasts to a halt. This means the 3.0 CHP motor exceeded its safe temperature threshold. Unplug the machine, wait 45 minutes for the thermal breaker to reset, and check your belt tension and deck lubrication.
Frequently Asked Questions
Can I use a heavy-duty 12-gauge extension cord if I lack a dedicated outlet?
No. Even a thick 12-gauge extension cord introduces resistance and a point of failure. The Sole F63's warranty explicitly states that damage to the lower control board caused by extension cords or surge protectors is not covered. You must plug directly into a wall receptacle on a dedicated 15-amp or 20-amp breaker.
How often should I re-tension the belt after the initial setup?
After the first 30 days of use, the 2-ply belt will stretch slightly as the fabric fibers settle. You will likely need to tighten the rear roller bolts by one-quarter turn to maintain optimal tension and prevent motor drag. After this initial settling period, check the tension every 6 months.
More gear to consider
All reviews
Sole F63 Treadmill Speed Sensor & Stationary Bike Types Care

Best Under Desk Treadmills in Apartments for Office Use
Best Self Paced Treadmill for Small Spaces: 2026 Folding Review
2026 Review: The Motor in Treadmill Tech for Small Folding Models

S-Drive Treadmill vs Portable Cardio: 2026 Budget Breakdown
