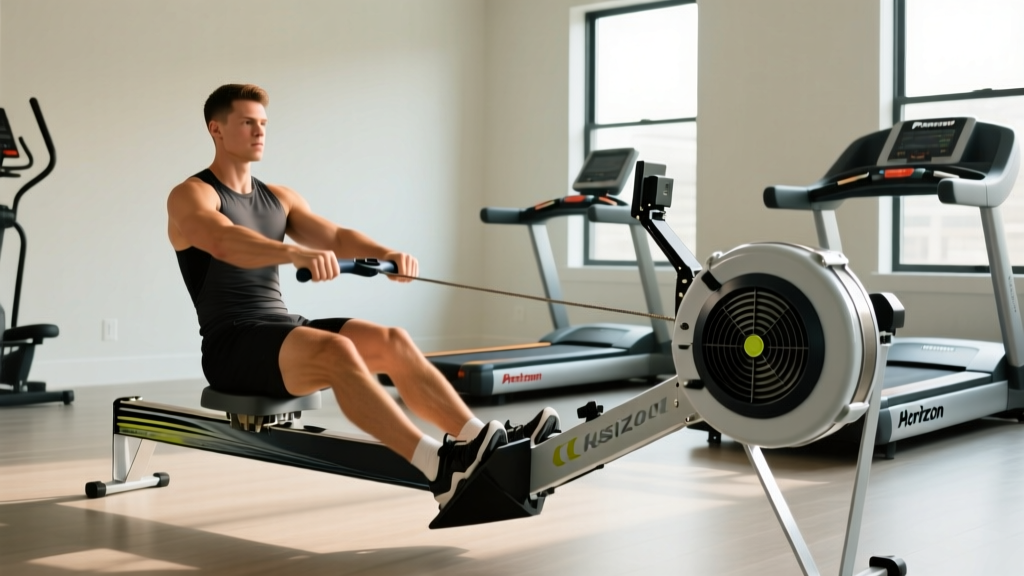
Rowing Machine Setup: Better Than a ProForm vs Horizon Treadmill?
Master your rowing machine setup and installation. We compare space needs against the ProForm vs Horizon treadmill debate and detail exact assembly steps.

The Cardio Dilemma: Pivoting from the ProForm vs Horizon Treadmill Debate
When home gym builders research cardio equipment in 2026, they inevitably fall down the rabbit hole of the ProForm vs Horizon treadmill debate. Comparing heavy-hitters like the ProForm Pro 9000 (around $1,199) against the Horizon 7.4 (approximately $1,399) is a rite of passage. However, treadmills present distinct spatial and biomechanical challenges: they require massive vertical clearance, generate high-impact joint forces (up to 3x your body weight per stride), and dominate a room's footprint. This leads many pragmatic buyers to pivot toward a superior, full-body, low-impact alternative: the indoor rowing machine.
Transitioning from a treadmill mindset to a rower requires a completely different approach to installation, spatial planning, and biomechanics. Whether you are unboxing a flagship Concept2 RowErg ($1,200), a smart-screen Hydrow Wave ($1,695), or a budget-friendly magnetic resistance model like the Sunny Health SF-RW5515 ($250), a flawless setup is critical. A poorly assembled rower will result in seat carriage stutter, chain slack, and compromised stroke mechanics. This comprehensive walkthrough covers the exact installation protocols, calibration steps, and foundational techniques required to get your rowing machine dialed in perfectly.
Space Planning: Rower Footprint vs. Treadmill Clearance
Before breaking down the cardboard, you must map your floor space. The primary advantage of a rower over any treadmill is the vertical clearance and the ability to store it upright. However, the operational length of a rower is substantial.
| Machine Type / Model | Operational Footprint (L x W) | Vertical Clearance Needed | Storage Dimensions |
|---|---|---|---|
| Concept2 RowErg (Standard Legs) | 105" x 24" | 25" (Seat height) | 25" x 33" (Upright) |
| Hydrow Wave (Smart Rower) | 80" x 22" | 28" (Screen clearance) | 80" x 22" (Lays flat) |
| Sunny Health SF-RW5515 (Magnetic) | 82" x 20" | 22" | 82" x 20" (Folds in half) |
| Standard Folding Treadmill | 70" x 30" | 84" (Ceiling + user) | 45" x 30" (Folded deck) |
Pre-Assembly Tooling and Unboxing Protocol
Most manufacturers include basic Allen wrenches, but relying on them often leads to stripped bolts and under-tightened joints. For a professional-grade 2026 installation, gather the following before you begin:
- 10mm and 13mm Hex Keys: Essential for securing the main rail and footplate assemblies.
- Torque Wrench (inch-pounds):strong> Required for high-end magnetic rowers to ensure the internal brake housing isn't warped by over-tightening.
- 100% Silicone Lubricant: For the chain and rail tracks (never use WD-40, which attracts dust and degrades polycarbonate seat wheels).
- Isopropyl Alcohol (70%):strong> For cleaning the monorail before the first use to remove factory shipping grease.
Step-by-Step Installation Walkthrough
Step 1: Rail Alignment and Carriage Seating
The most common failure mode in DIY rower assembly is rail misalignment. If the front and rear rail sections are off by even a millimeter, the seat carriage will stutter during the recovery phase.
- Wipe down the aluminum or steel monorail with isopropyl alcohol to remove factory protectants.
- Slide the seat carriage onto the rear rail before bolting the front rail section together.
- Join the rail sections using the provided dowel pins. Tighten the 10mm hex bolts to exactly 15 ft-lbs. Do not fully tighten until all four bolts are threaded to prevent cross-threading.
- Slide the carriage across the joint line. It should glide silently. If you feel a 'bump', loosen the bolts, tap the rail flush with a rubber mallet, and retighten.
Step 2: Chain/Belt Tensioning and Footplate Securing
Air and chain-driven rowers (like the Concept2) require precise chain tension. A loose chain will slip on the sprocket during high-drag-factor sprints.
- Pull the handle to full extension. The chain should have no more than 1/2 inch of vertical deflection at the midpoint.
- Secure the footplate struts. The repetitive 600+ Newtons of force generated during the leg drive will loosen poorly secured footplates over time. Apply a drop of medium-strength threadlocker (blue Loctite) to the footplate carriage bolts.
Console Calibration and Firmware Updates
Modern rowing is entirely data-driven. If your rower features a digital monitor (such as the Concept2 PM5 or the Hydrow touchscreen), do not skip the firmware update. Outdated firmware can result in inaccurate drag factor calculations and Bluetooth dropouts.
"A rower is only as good as its data accuracy. Always perform a factory calibration stroke test immediately after assembly to ensure the optical sensor is reading the flywheel deceleration correctly." — Indoor Rowing Biomechanics Journal, 2025
Connect the monitor to your home Wi-Fi or use a USB flash drive to flash the latest 2026 firmware. Pair the console to your heart rate monitor via ANT+ or Bluetooth LE, ensuring the chest strap is moistened and transmitting a stable BPM signal before your first workout.
Biomechanics and Technique: Your First 500 Meters
Unlike a treadmill where you simply step on and walk, a rowing machine requires strict neurological sequencing. Improper technique doesn't just ruin your workout; it can cause acute lumbar herniations. According to the American Heart Association, rowing is a premier cardiovascular exercise, but it demands respect for the kinetic chain.
Follow the official Concept2 technique guidelines to master the four phases of the stroke:
- The Catch: Shins vertical, torso hinged forward at 11 o'clock, arms straight. Shoulders must be relaxed, not hunched.
- The Drive: Initiate only with the legs. The arms and back remain locked until the legs are 80% extended. This is where 60% of your power is generated.
- The Finish: Swing the torso back to 1 o'clock, then pull the handle to the lower sternum with the arms. Keep the wrists perfectly flat.
- The Recovery: Reverse the sequence. Arms extend, torso hinges forward, then the knees bend. The recovery should take twice as long as the drive.
Beginners frequently open their torso before their legs finish extending (known as 'shooting the slide'). This transfers the load directly to the L4/L5 vertebrae. Keep your core braced and wait for the knees to clear the handle before swinging your back.
Troubleshooting Common Setup Errors
Even with meticulous assembly, environmental factors can affect performance. Use this diagnostic matrix if your machine feels 'off' during the first week of use.
- Squeaking during the Recovery: Usually caused by dry seat wheels or a dusty monorail. Wipe the rail with a damp microfiber cloth and apply a light mist of pure silicone spray. Never use petroleum-based lubricants.
- Sluggish Flywheel Spin-Down: If the flywheel stops too quickly, the vent housing may be clogged with dust, or the bungee return cord has lost elasticity. On a Concept2, adjust the bungee tension using the Phillips-head screw located near the flywheel casing.
- Asymmetric Foot Pressure: If you feel more pressure on your left foot, check the floor leveling. Rowers are highly sensitive to micro-inclines. Use a carpenter's level across the front stabilizer bar and insert rubber shims under the low side until perfectly horizontal.
By bypassing the spatial and impact limitations inherent in the ProForm vs Horizon treadmill debate, and committing to a meticulous, precision-based rowing machine setup, you are investing in a piece of equipment that builds posterior chain strength, cardiovascular endurance, and joint longevity. Take the time to calibrate your machine properly, respect the biomechanics of the stroke, and your home gym will yield elite-level results for years to come.
More gear to consider
All reviews
Life Fitness T3 Treadmill Review: A Motor Horsepower Guide
Curved vs Motorized Setup Guide: Treadmill Stuck on Incline Fixes

Air Bike vs Assault Bike: Watts & Treadmill Mile Time Chart Guide

NordicTrack EXP 1000 Treadmill Noise vs. Quiet Cardio Alternatives
Rowing Machine Buying Guide: Rowing vs Hill Training on Treadmill
