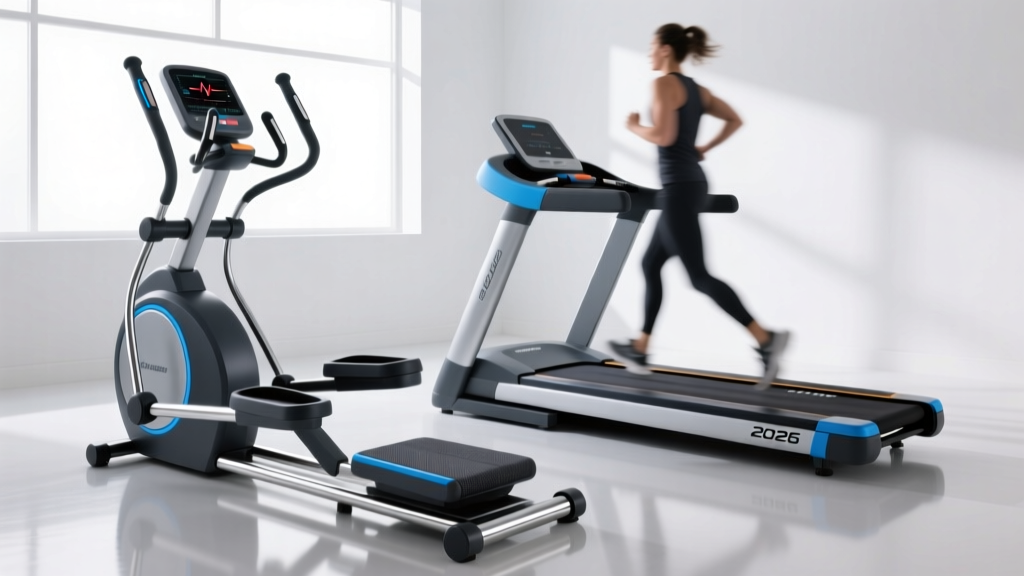
Rowing Machine Setup: Beating 10k Steps on Treadmill Time
Master rowing machine setup, assembly, and technique. Learn how to optimize your ergometer space and beat your 10k steps on treadmill time efficiently.

The Metabolic Advantage: Why Setup Matters
When fitness enthusiasts calculate their 10k steps on treadmill time, they are usually looking at 90 to 105 minutes of continuous walking at a 3.0 to 3.5 mph pace. While excellent for low-impact cardiovascular health, dedicating nearly two hours a day to a treadmill is a luxury few possess in 2026. Enter the indoor rowing machine (ergometer). A properly calibrated and assembled rowing machine can deliver the exact same caloric expenditure and cardiovascular stimulus in just 35 to 45 minutes, engaging 86% of your muscle mass compared to the lower-body dominance of walking.
However, achieving this efficiency requires more than just unboxing the machine. A flawed assembly leads to rail friction, monitor inaccuracies, and biomechanical breakdowns. This complete setup and installation walkthrough will guide you through space mapping, precision assembly, buying considerations, and the exact technique required to outpace your treadmill metrics.
Quick Space & Clearance Guide
- Standard Ergometer (e.g., Concept2 RowErg): Requires 8' x 2' (96" x 24") of clear floor space during use. Stores vertically in a 25" x 34" footprint.
- Smart Water/Magnetic Rowers (e.g., Hydrow): Requires up to 8'6" x 4' of space due to fixed rails and wider screens.
- Matting: Use a 3/4-inch thick high-density rubber horse stall mat to absorb the repetitive micro-vibrations of the seat carriage and protect hardwood floors from sweat corrosion.
Step-by-Step Assembly & Failure Mode Prevention
The most common point of failure in home rowing machine setup is the rail junction. If the front and rear rails are not perfectly aligned, the polyurethane seat rollers will catch on the seam, causing a 'clunking' noise and premature wheel degradation.
- Unboxing and Base Placement: Position the front frame assembly on your rubber mat. Ensure the adjustable leveling feet are fully retracted before beginning alignment.
- Rail Junction Alignment: Slide the rear rail into the front rail bracket. Critical Step: Before tightening the frame lock knob, place a straight edge (or a taut piece of string) along the top track of the rail. Adjust the rear leg height until the track is perfectly flush with zero vertical deviation.
- Securing the Carriage: Slide the seat carriage onto the track. Roll it from the catch (front) to the finish (back). If you feel any lateral drag, loosen the rail bolts by a quarter-turn, let the frame settle naturally, and retighten.
- Monitor Arm & Bungee Tension: Attach the monitor arm and route the chain/bungee cord. On chain-driven models, ensure the chain is lightly lubricated with purified mineral oil (never WD-40, which degrades O-rings) to prevent the 'sticky' catch phase during high-stroke-rate intervals.
2026 Ergometer Buying Matrix: Choosing Your Chassis
Not all rowing machines are built for high-volume metabolic conditioning. When transitioning from a treadmill routine, you need a machine with a reliable resistance curve and an accurate performance monitor. Below is a comparison of the top three ergometers dominating home gyms in 2026.
| Model | Resistance Type | Price Range (2026) | Best For |
|---|---|---|---|
| Concept2 RowErg | Air (Variable) | $995 - $1,095 | Data accuracy, CrossFit, serious endurance athletes. |
| Hydrow | Electromagnetic | $2,495 + Sub | Immersive coaching, quiet operation, aesthetic living spaces. |
| Echelon Row | Magnetic (32 levels) | $1,199 + Sub | Budget-conscious buyers wanting smart-screen integration. |
Monitor Calibration: The Drag Factor Secret
If you are using an air rower like the Concept2 RowErg, your setup is not complete until you calibrate the drag factor. Beginners often push the side damper lever to level 10, assuming it mimics a heavy treadmill incline. This is a critical error that leads to lumbar fatigue and skewed split times.
To find your true aerobic baseline, access the 'Drag Factor' menu on the PM5 monitor. Row continuously for 15 strokes at a moderate pace. The screen will display a number representing the deceleration of the flywheel. For a metabolic equivalent to brisk walking or light jogging, target a drag factor between 110 and 130. This usually corresponds to a damper setting of 3 to 5, perfectly simulating the hydrodynamics of a sleek rowing shell on water and allowing for the sustained 40-minute efforts required to beat your treadmill times.
Biomechanical Technique Walkthrough
Walking is a natural human gait; rowing is a learned kinetic chain. According to the American Council on Exercise (ACE), improper sequencing is the primary reason users abandon rowing machines. Master the four-phase stroke to maximize wattage output without spiking your heart rate prematurely.
1. The Catch (The Setup)
Shins should be perfectly vertical (not compressed past the ankle, which limits ankle mobility and strains the Achilles). Arms are straight, shoulders relaxed, and the torso is hinged forward to roughly 11 o'clock. Your chest should be close to your thighs, creating potential energy.
2. The Drive (The Power Phase)
The drive is not an arm pull; it is a leg press. The sequence is strictly: Legs, Core, Arms. Push explosively through the mid-foot. When the legs are 80% extended, hinge the torso back to 1 o'clock. Only when the handle passes your knees do you draw the elbows back, finishing with the handle at your lower sternum.
3. The Finish (The Anchor)
Legs are fully extended but not hyper-locked. The torso is leaning back slightly (1 o'clock), and the handle is resting just below the pectoral line. The core is braced to transfer the final watts into the flywheel.
4. The Recovery (The Reset)
The recovery is the exact reverse of the drive: Arms, Core, Legs. Shoot the arms straight, hinge the torso forward past 12 o'clock, and only then allow the knees to bend as the seat slides forward. The recovery should take twice as long as the drive (a 1:2 ratio), allowing your heart rate to micro-recover between strokes.
Programming: The '10k Steps' Equivalent Rowing Workout
To replace the caloric burn of 10,000 steps on a treadmill (roughly 400 kcal for an 180 lb individual over 100 minutes), you do not need to row for 100 minutes. Instead, utilize this 40-minute steady-state interval protocol designed to keep you in Zone 2 (60-70% of max heart rate), optimizing fat oxidation and cardiovascular endurance.
The 40-Minute Metabolic Match Protocol
Warm-up: 5 minutes at 20 SPM (Strokes Per Minute), focusing on the legs-core-arms sequence.
Main Set: 4 x 8-Minute Intervals
- Minutes 1-7: Row at 22-24 SPM. Maintain a consistent split time (e.g., 2:15/500m). Breathe in through the nose, out through the mouth.
- Minute 8: Active recovery. Row at 16 SPM with zero resistance focus.
Cool-down: 3 minutes of light paddling, followed by hip-flexor and hamstring stretching.
Result: ~400 kcal burned, 86% muscle engagement, completed in less than half the time of a 10k treadmill walk.
By meticulously setting up your machine, calibrating the drag factor, and adhering to proper biomechanics, the indoor rower transforms from an intimidating piece of equipment into the most time-efficient cardiovascular tool in your home gym. For further reading on cardiovascular baselines and weekly activity targets, refer to the American Heart Association's physical activity recommendations to ensure your rowing volume aligns with long-term heart health guidelines.
More gear to consider
All reviews
Stair Climber Setup Walkthrough vs NordicTrack Treadmill E2500

ProForm 330x Treadmill Belt Maintenance in Tight Spaces
TRM 885 Treadmill vs. Compact Portable Cardio: Space Guide
Lifesmart Treadmill Trends: Air Bike vs Assault Bike 2026 Guide

10000 Steps on Treadmill Desks: Maintenance & Longevity Review