Rowing Machine Setup: Technique vs Weight Capacity for Treadmills
Master your rowing machine setup, assembly, and technique. Learn how rower load dynamics compare to the weight capacity for treadmills in home gyms.

Home Gym Structural Planning: Rowers vs. Treadmills
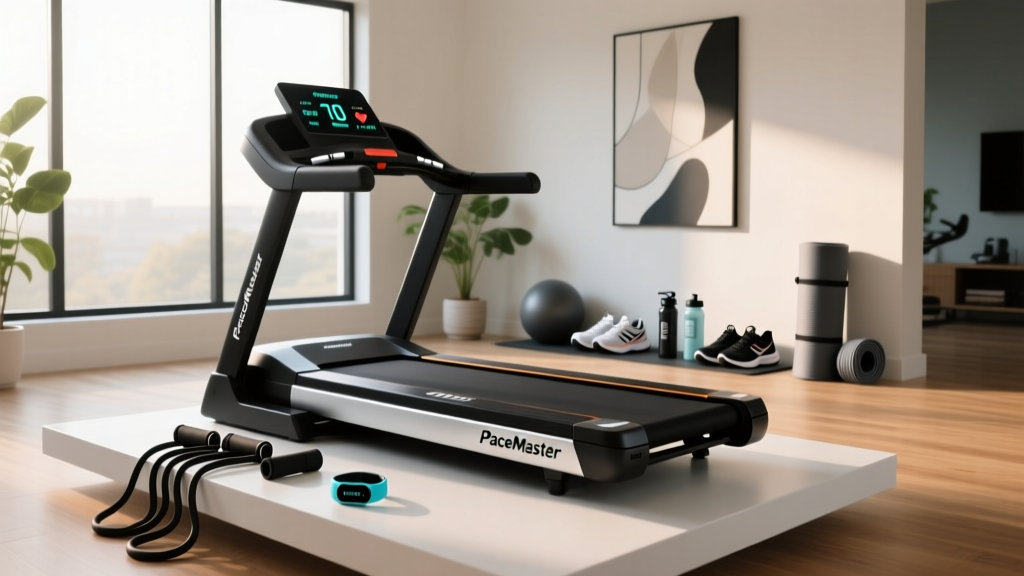
Designing a high-performance home gym requires more than just measuring square footage; it demands a deep understanding of structural load dynamics. Many home gym owners obsess over the weight capacity for treadmills when reinforcing floor joists, and for good reason. A 300 lb user running on a 250 lb motorized treadmill deck generates massive vertical impact forces that can exceed 1,000 lbs of dynamic downward pressure per step. Rowing machines, conversely, operate on an entirely different biomechanical plane.
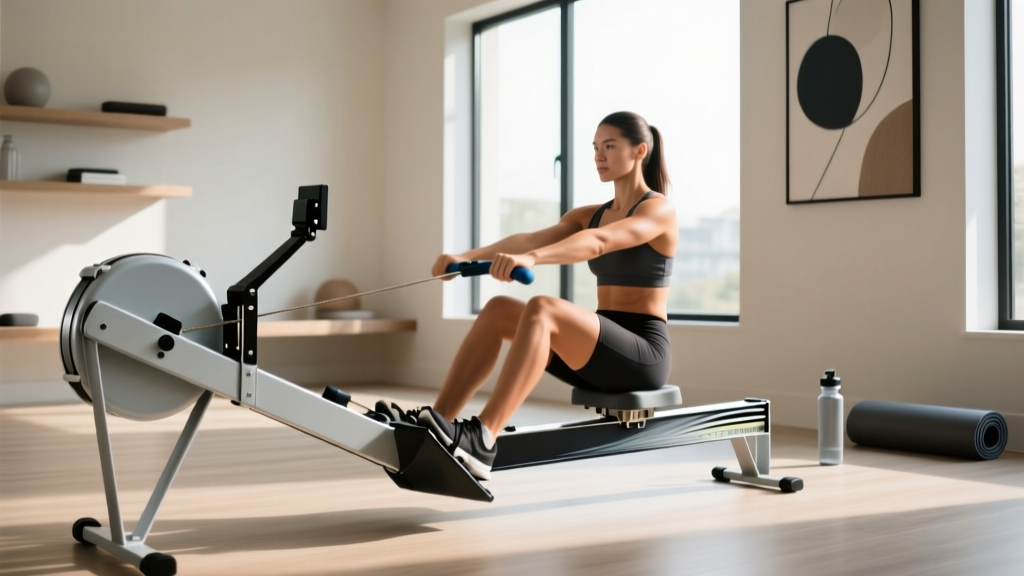
When you buy and set up an indoor rower, the primary forces are horizontal shear and static weight. A standard air rower like the Concept2 RowErg weighs just 57 lbs and supports up to 500 lbs. Because your feet are locked into stationary footplates and your movement is parallel to the floor, the vertical impact on your subfloor is virtually zero. However, the horizontal pull requires a high-density equipment mat to prevent the machine from 'walking' across slick hardwood or luxury vinyl plank (LVP) flooring during aggressive 500-meter sprint intervals.
Pro-Tip: Floor Protection for RowersWhile you don't need to reinforce joists like you might for the weight capacity for treadmills, you must use a 3/8-inch thick vulcanized rubber mat cut to at least 9 feet by 3 feet. This absorbs the horizontal shear force and prevents the rear stabilizer from scratching your flooring during the catch phase.
2026 Rowing Machine Buying Guide: Resistance Profiles
Before unboxing, you must select the right resistance mechanism for your training goals and space constraints. The 2026 market is dominated by three distinct categories:
- Air Resistance (The Gold Standard): The Concept2 RowErg ($1,000) remains the undisputed champion for competitive rowers and CrossFit athletes. The flywheel generates infinite resistance based on your pull strength. It is loud but offers the most accurate erg data (split times, watts, drag factor).
- Electromagnetic/Magnetic (The Premium Experience): Machines like the Hydrow Arc ($2,495) or Echelon Row ($1,499) use magnetic brakes. They are virtually silent, making them ideal for apartments or early-morning workouts while family members sleep. They trade raw data accuracy for immersive, screen-guided experiences.
- Water Resistance (The Aesthetic Choice): The WaterRower Club ($1,299) features a polycarbonate water tank. The resistance mimics the feel of a shell on a river, and the sound of rushing water is highly meditative. However, they require occasional water purification tablets to prevent algae buildup.
Complete Installation Walkthrough: Air Rower Assembly
Setting up a high-end air rower is a straightforward process, but improper assembly can lead to chain wear and monitor errors. Here is the exact step-by-step walkthrough for standard modular rowers (based on the Concept2 architecture):
- Unboxing and Rail Placement: Lay the monorail (the main beam) flat on your rubber mat. Ensure the track is facing upward and the chain guard is intact.
- Attaching the Front Stabilizer: Locate the front leg assembly. Using the provided 10mm hex wrench, secure the front leg to the bottom of the flywheel housing using two M10 x 30mm hex head screws. Torque these firmly; this joint absorbs the brunt of your leg drive.
- Attaching the Rear Leg: Slide the rear stabilizer onto the back of the monorail. Secure it using two 1/4-20 x 1/2-inch screws. Ensure the rubber leveling feet are screwed down evenly so the machine does not rock.
- Monitor Arm Installation: Insert the monitor arm into the pivot bracket on the flywheel housing. Secure it with the quick-release pin. Plug the monitor cable into the back of the PM5 (or equivalent) monitor, ensuring the locking collar is twisted tight to prevent data dropouts mid-workout.
- Chain and Bungee Inspection: Pull the handle all the way out to the end of the chain. The internal elastic bungee should retract the handle smoothly back to the cage. If it hesitates, apply three drops of purified mineral oil to the chain immediately.
Calibrating Your Machine: The Drag Factor Myth
A common mistake among beginners transitioning from heavy-duty cardio machines is setting the damper to 10. In rowing, the damper (the lever on the side of the flywheel) does not dictate 'difficulty' in a linear fashion; it dictates boat class. According to British Rowing's indoor technique guidelines, a higher damper setting mimics a heavy, slow rowboat, while a lower setting mimics a sleek, fast racing shell.
The 110-130 Rule: To calibrate your machine properly, go to the monitor's 'More Options' > 'Display Drag Factor' menu. Adjust the physical damper lever until the screen reads between 110 and 130. This is the exact drag factor used by Olympic rowers for standard 2K testing.
Biomechanics: The 4-Phase Stroke Sequence
Unlike the repetitive vertical striking of a treadmill, rowing requires a complex, full-body kinetic chain. The power distribution is approximately 60% legs, 30% core, and 10% arms. Mastering the sequence is critical to preventing lumbar strain.
1. The Catch (Setup)
Slide forward until your shins are perfectly vertical. Hinge from the hips, keeping your torso at an 11-o'clock angle. Your arms should be straight, lats engaged, and shoulders relaxed. The heels may lift slightly depending on your ankle mobility.
2. The Drive (Power)
This is an explosive sequence: Legs, Core, Arms. Push through the footplates as if performing a heavy back squat. Do not open your hips until the handle crosses your knees. Once the legs are nearly straight, swing the hips open (core), and finally, draw the handle to your lower sternum using your biceps and upper back.
3. The Finish (Extension)
At the end of the drive, your legs are flat, torso leaning back slightly to an 11-o'clock position, and the handle resting just below the ribcage. The wrists must remain completely flat, not curled.
4. The Recovery (Reset)
The recovery is the exact reverse of the drive and should take twice as long. Sequence: Arms, Core, Legs. Shoot the arms straight out, hinge forward from the hips (past the knees), and only then allow the knees to bend as you slide back to the Catch.
Comparative Matrix: Spatial and Load Dynamics
Understanding how a rower fits into your space compared to traditional cardio equipment is vital for long-term gym planning.
| Metric | Standard Air Rower | Heavy-Duty Treadmill |
|---|---|---|
| Operational Footprint | 86' x 24' (Can be stored vertically) | 75' x 32' (Static, requires ceiling clearance) |
| Machine Weight | ~57 lbs | 220 - 350+ lbs |
| Primary Force Vector | Horizontal Shear | Vertical Impact |
| Subfloor Requirements | Standard joists + rubber mat | Reinforced joists (for high weight capacity for treadmills) |
| Routine Maintenance | Weekly chain oiling, dusting flywheel | Belt alignment, motor vacuuming, silicone lubing |
Troubleshooting and Maintenance
To keep your rower performing at a 2026 competitive standard, adhere to this maintenance schedule:
- Weekly: Wipe down the monorail with a damp cloth and paper towel. Dust and dead skin cells accumulate on the track and will eventually chew up the plastic seat rollers, causing a 'bumpy' feel during the recovery.
- Monthly (Air Rowers): Apply 1 teaspoon of purified mineral oil to a paper towel and run the chain through it to prevent rust and ensure smooth bungee retraction. Never use WD-40 or 3-in-One oil, as these attract abrasive dust.
- Bi-Annually: Inspect the handle bungee cord. If the handle does not snap back briskly to the cage when released, the internal elastic cord has lost its tension and must be replaced (a $15 part available directly from the manufacturer).
By respecting the unique biomechanical and structural profile of the indoor rower, you unlock a zero-impact, high-yield cardiovascular tool that delivers unmatched full-body conditioning without the structural headaches associated with heavy motorized equipment.
More gear to consider
All reviews
Is the WellFit Treadmill Legit? 2026 Portable Cardio Analysis

Sole F63 Treadmill Specs: Feature Comparison & Buying Mistakes
Folding Treadmill for Small Spaces & Treadmill Exercise App Value

Quiet Cardio for Beginner Treadmill Workouts for Weight Loss

Rowing Machine Guide: The Fix When Treadmill Trips Breaker