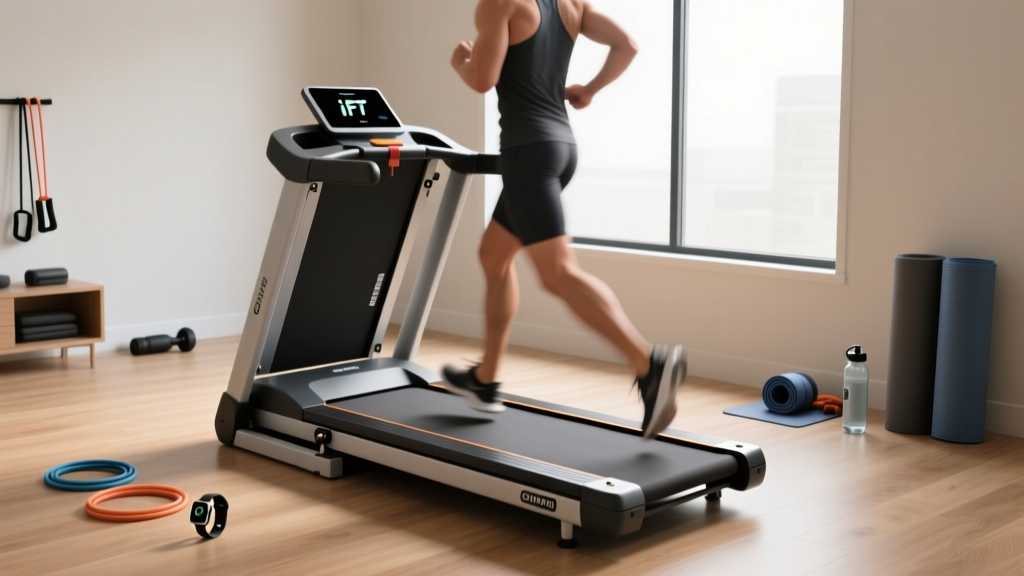
Rowing Machine Buying Guide: Rower vs 15 Incline Treadmill
Master rowing machine buying and technique. Compare the full-body rower to a 15 incline treadmill with our beginner-friendly step-by-step guide.

The Beginner's Dilemma: Full-Body Rower vs. 15 Incline Treadmill
When outfitting a home gym, beginners often find themselves paralyzed by choice. Two of the most highly recommended cardiovascular machines are the ergonomic rowing machine and the 15 incline treadmill. While walking or running at a maximum 15% incline is phenomenal for building lower-body endurance and targeting the posterior chain without the harsh impact of flat-ground running, it completely neglects the upper body. Furthermore, a 15 incline treadmill requires significant vertical clearance—often up to 15 inches of deck lift plus user height—making it problematic for basement gyms with low ceilings.
This step-by-step guide bridges that gap, providing a comprehensive rowing machine buying guide and technique breakdown to help you decide if a rower is the superior, space-efficient, full-body alternative for your fitness journey in 2026.
Step 1: The Rowing Machine Buying Guide (2026 Edition)
Before investing, you must understand the four primary resistance types available on the market. According to Concept2's official indoor rower lineup, the resistance mechanism dictates the machine's feel, noise level, and maintenance requirements.
1. Air Resistance (The Gold Standard)
Air rowers use a flywheel with fan blades. The harder you pull, the more wind resistance is generated. They offer an infinite, dynamic resistance curve and are the undisputed standard for competitive rowing and CrossFit. Top Pick: Concept2 RowErg (formerly Model D). Priced at $1,195, it features a nickel-plated chain, a PM5 monitor that tracks drag factor and split times, and a footprint of 96 x 24 inches that easily separates for vertical storage.
2. Magnetic Resistance (The Quiet Operator)
Magnetic rowers use electromagnets to create resistance against a metal flywheel. They are nearly silent, making them ideal for apartments or early-morning workouts. Top Pick: Hydrow Wave. At $1,495, it offers a sleek electromagnetic drive and immersive 16-inch touch screen programming, though it lacks the raw, gritty feedback of an air rower.
3. Water Resistance (The Aesthetic Choice)
Water rowers feature a polycarbonate tank filled with water. They provide a soothing "swoosh" sound and closely mimic the feel of a boat on water. Top Pick: WaterRower Natural. Handcrafted from ash wood, it costs around $1,299 and doubles as high-end furniture when stored upright.
4. Hydraulic Resistance (The Budget Space-Saver)
These use piston cylinders. They are compact and cheap (often under $200) but frequently lack the smooth, continuous motion required for proper cardiovascular conditioning. We generally advise beginners to avoid hydraulic models if budget allows for air or magnetic.
Step 2: Step-by-Step Rowing Technique for Beginners
Unlike a 15 incline treadmill where you simply step on and walk, a rower requires technical proficiency to avoid lower back strain. The CDC's physical activity guidelines emphasize the importance of safe, sustainable aerobic exercise. To achieve this on the ergometer, you must master the four phases of the stroke, as detailed in the Concept2 rowing technique guide.
The 60-20-20 Power Rule
A common beginner misconception is that rowing is an arm exercise. In reality, a proper stroke derives 60% of its power from the legs, 20% from the core, and only 20% from the arms. Think of it as a horizontal leg press followed by a deadlift, finishing with a bicep row.
- The Catch (Starting Position): Shins vertical (or as close as flexibility allows), chest tall, arms straight, and lats engaged. Your weight should be in your heels, not your toes.
- The Drive (The Power Phase): Push explosively with your legs. Do not bend your arms yet. Once your legs are about 80% extended, hinge your torso backward to about 11 o'clock, and finally, draw the handle to your lower ribcage.
- The Finish (End of Stroke): Legs are fully extended (but not locked), torso leaning slightly back, and the handle resting just below your chest. Elbows are drawn past the torso.
- The Recovery (The Return): This is the exact reverse of the drive. Extend arms first, hinge the torso forward past 1 o'clock, and only then bend the knees to slide back to the catch. The recovery should take twice as long as the drive (a 1:2 ratio).
Step 3: Direct Comparison Matrix
How does the rowing machine actually stack up against a high-incline walking pad or treadmill? Review this data matrix to make an informed purchasing decision.
| Feature | Air/Magnetic Rowing Machine | 15 Incline Treadmill |
|---|---|---|
| Muscle Engagement | 86% of total body musculature (Full Body) | Lower body & core (Glutes, Calves, Hamstrings) |
| Joint Impact | Zero impact (Seated, horizontal plane) | Low impact (If walking; high if running) |
| Caloric Expenditure | 400-800 kcal/hr (depending on drag/watts) | 350-600 kcal/hr (at 3.0 mph, 15% grade) |
| Space & Storage | 96" long, but separates and stands vertically | 70"-85" long, heavy, requires high ceilings |
| Average Cost (2026) | $800 - $1,500 (Premium Tier) | $1,200 - $3,000 (Motorized Incline Tier) |
Step 4: Troubleshooting Common Beginner Mistakes
Warning: Protect Your Lumbar Spine
If you finish a 20-minute session with burning lower back muscles, your form is incorrect. Rowing should fatigue your quads, glutes, and lats. Lower back pain indicates you are opening your torso too early during the drive or rounding your shoulders at the catch.
Mistake 1: Setting the Damper to 10
Beginners often treat the damper (the lever on the side of the air flywheel) like a treadmill's incline or a bike's gear, assuming 10 is the "best" workout. In reality, a damper setting of 10 mimics rowing a heavy, sluggish wooden rowboat. For optimal cardiovascular conditioning and to mimic a sleek racing shell, set the damper between 3 and 5. This yields a drag factor between 110 and 130, allowing for a higher, more sustainable stroke rate (20-24 SPM) and better power transfer.
Mistake 2: Shooting the Slide
"Shooting the slide" occurs when you push with your legs during the drive, but your core and arms don't engage simultaneously. The result is that your hips shoot forward on the seat while the handle remains stationary, placing immense shear force on the lumbar spine. The Fix: Ensure your shoulders and hips move backward at the exact same time as the legs initiate the push. Visualize a steel rod connecting your shoulders to your hips during the first half of the drive.
Mistake 3: Gripping the Handle Too Tightly
White-knuckling the handle causes premature forearm fatigue and blisters. Hook your fingers around the rubber grip with your thumbs resting loosely underneath or over the top. The power should transfer through the webbing of your fingers, not a crushing grip.
Final Verdict: Which Machine Wins for the Beginner?
If your primary goal is isolated lower-body hypertrophy, glute activation, and passive cardiovascular health while watching TV, a 15 incline treadmill is an excellent, low-barrier-to-entry investment. However, if you want to maximize time efficiency, improve posture, build a bulletproof posterior chain, and engage 86% of your muscles in a single, zero-impact movement, the rowing machine is unequivocally superior. Start with a Concept2 RowErg, set the damper to 4, focus on your leg drive, and follow the step-by-step technique guide outlined above to transform your home cardio routine.
More gear to consider
All reviews
Air Bike vs Assault Bike: Unboxing & How to Open a Treadmill Safely

Stair Climber vs Treadmill Regimen for Weight Loss 2026
Stair Climber Guide: What Speed to Walk on Treadmill to Lose Weight
Folding Treadmill Review & Anti-Gravity Treadmill Phoenix AZ
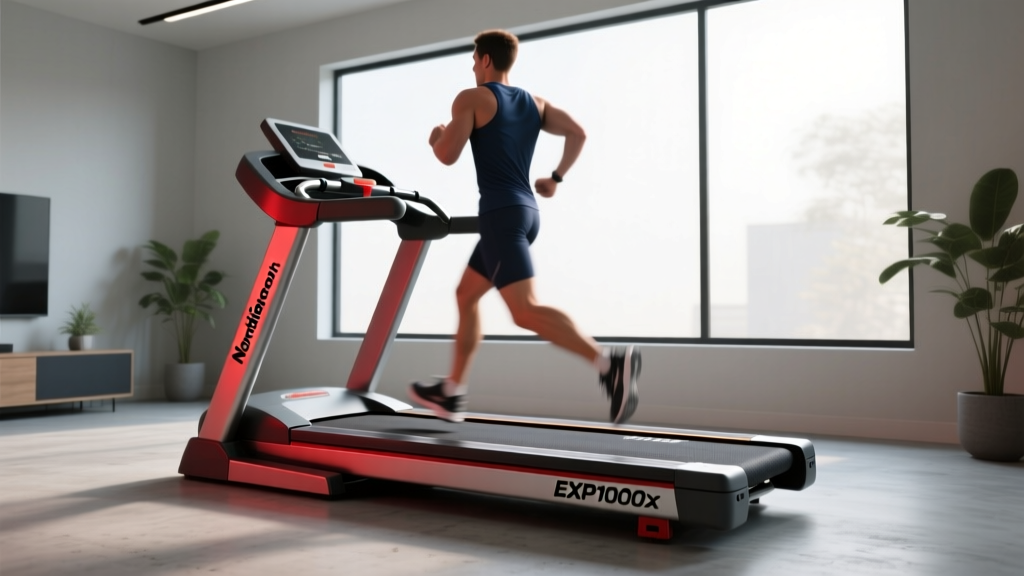
Treadmill Motor Guide: Sizing the NordicTrack EXP1000x Treadmill