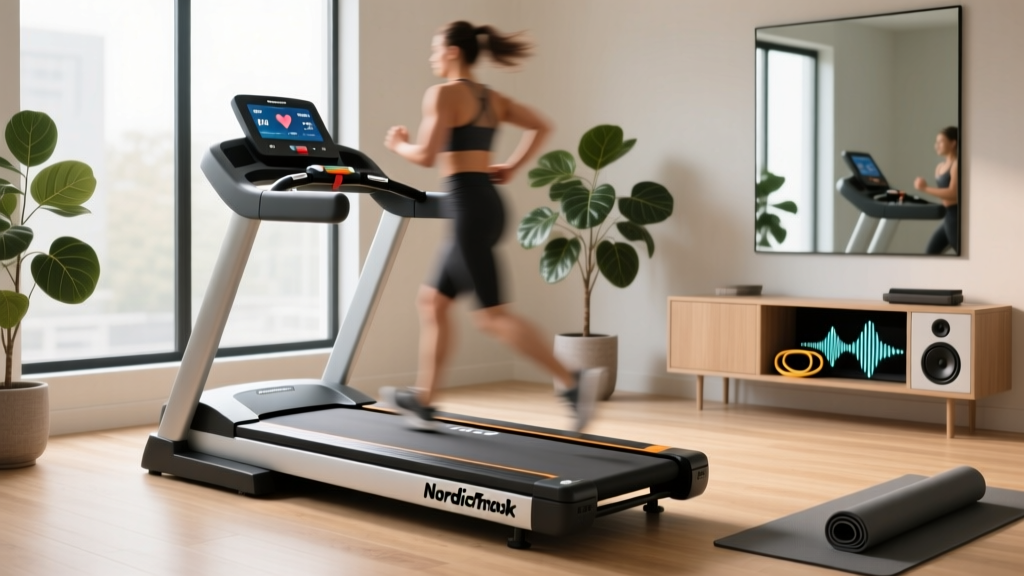
NordicTrack T Series 7.5S Treadmill Setup & Feature Guide
Master your NordicTrack T Series 7.5S treadmill setup with our step-by-step installation walkthrough and in-depth feature comparison for home gyms.

The Complete NordicTrack T Series 7.5S Treadmill Setup & Feature Guide
Bringing a new cardio machine into your home gym is an exciting step toward your fitness goals, but the transition from a cardboard box to a fully calibrated workout station requires precision. The NordicTrack T Series 7.5S treadmill is widely regarded in 2026 as one of the most reliable compact, budget-friendly folding treadmills on the market. However, its 130-pound shipping weight and internal data cabling demand a careful, methodical installation approach. In this comprehensive walkthrough, we will guide you through the exact setup process, highlight critical safety clearances, and provide a detailed feature comparison to help you understand exactly how the 7.5S stacks up against its competitors.
Pre-Installation Checklist & Space Requirements
Before cutting the zip-ties, you must verify your environment. According to the U.S. Consumer Product Safety Commission (CPSC), maintaining proper clearance around motorized fitness equipment is critical to prevent severe friction burn injuries in the event of a fall.
- Footprint Dimensions: 70" L x 26" W x 49" H (Assembled)
- Safety Clearance: Minimum 2 feet on both sides, and 6 feet directly behind the treadmill.
- Electrical Requirements: A dedicated 120V, 15-amp circuit. Pro Tip: Avoid GFCI-protected outlets if possible. The initial startup surge of the 2.0 HP motor can occasionally trip sensitive GFCI breakers, interrupting your workout.
- Tools Required: 18mm socket wrench, ratchet set, Phillips head screwdriver, and wire cutters (for zip-ties).
Phase 1: Unboxing and Base Preparation
The most common mistake during unboxing is slicing the main console ribbon cable. The Icon Health & Fitness service portal (NordicTrack's parent company) frequently logs support tickets for damaged wiring caused by careless box cutting. Follow this sequence to avoid costly part replacements:
- Open the Top Flaps: Use wire cutters to snip the heavy-duty nylon straps. Do not use a box cutter near the top edges where the console is nested.
- Remove the Uprights and Console: Lift these components out first and set them aside on a soft surface (like the included foam packaging) to prevent scratching the LCD screen.
- Extract the Base: With a partner, lift the main deck out of the box. Place it on a level surface. Do not drag the base, as this can misalign the rear roller brackets.
- Attach the Front and Rear Stabilizers: Using the provided 18mm bolts, secure the stabilizer feet. Critical Rule: Thread all bolts by hand before using your socket wrench. Tightening one side completely before threading the other will strip the frame welds.
Treadmill Buying Guide: Feature Comparison Matrix
While you are assembling the base, it is worth understanding the hardware you are working with. The assigned subtopic of treadmill buying guides often hinges on feature comparisons. How does the NordicTrack T Series 7.5S treadmill justify its price point compared to the entry-level 6.5S and the competing Horizon T101? Review the matrix below to see where your investment is going.
| Feature | NordicTrack T 7.5S | NordicTrack T 6.5S | Horizon T101 |
|---|---|---|---|
| Motor | 2.0 CHP | 2.0 CHP | 2.5 CHP |
| Incline | 0-10% Motorized | Manual (0, 5, 10%) | 0-10% Motorized |
| Top Speed | 10 MPH | 10 MPH | 10 MPH |
| Belt Size | 18" x 50" (2-Ply) | 18" x 50" (1-Ply) | 20" x 55" (2-Ply) |
| Roller Diameter | 1.9" Precision | 1.6" Standard | 1.8" Standard |
| Weight Capacity | 300 lbs | 300 lbs | 300 lbs |
Expert Analysis: The primary upgrade from the 6.5S to the 7.5S is the motorized incline and the upgraded 1.9-inch rollers. Larger rollers reduce friction and heat buildup on the belt, significantly extending the lifespan of the walking board. While the Horizon T101 offers a wider belt (20" vs 18"), the NordicTrack T Series 7.5S treadmill compensates with a much smaller folding footprint, making it the superior choice for apartments and multi-use rooms in 2026.
Phase 2: Upright Assembly and Data Cable Routing
This is the most critical phase of the installation. The console communicates with the motor controller via a delicate data cable that runs up the left upright.
WARNING: Cable PinchingIf the data cable is pinched between the metal upright and the plastic bracket, the copper wiring will sever. This results in an 'E1' Communication Error on the LCD. Always use the included cable guide clips and ensure the wire sits flush inside the channel before tightening the upright bolts.
- Stand the Left Upright: Have your partner hold the left upright perfectly vertical. Locate the data cable extending from the base.
- Connect the Harness: The plastic connectors feature a tiny molded arrow. Align the arrows perfectly. Push them together until you hear a definitive 'click'. Do not force them; if the pins bend, the console will not power on.
- Bolt the Uprights: Secure the left and right uprights to the base using the 18mm carriage bolts. Use your ratchet to tighten them firmly, but do not overtighten to the point of stripping the threads.
- Attach the Console: Route the top end of the cable through the console bracket, connect it to the back of the 5-inch LCD display, and secure the console with the four Phillips-head screws.
Phase 3: System Calibration and First Run
Out of the box, the incline motor is not synchronized with the console display. If you press the '10% Incline' button without calibrating, the motor may stall or strip its internal plastic gears. Follow this exact sequence to calibrate the NordicTrack T Series 7.5S treadmill:
- Ensure the safety key is removed from the console.
- Press and hold both the Speed (+) and Incline (+) buttons simultaneously.
- While holding the buttons, have your partner insert the magnetic safety key into the slot.
- Release the buttons. The console will beep, and the display will show engineering mode.
- Press the Incline (+) button once. The deck will automatically raise to its maximum 10% incline, hold for three seconds, and then lower back to 0%.
- Once the deck returns to 0%, the treadmill will beep again, and the safety key can be removed. Calibration is complete.
Consistent cardiovascular exercise is vital for long-term health. The Centers for Disease Control and Prevention (CDC) recommends at least 150 minutes of moderate-intensity aerobic activity per week. Having a properly calibrated, safely assembled machine in your home removes the friction of commuting to a gym, making it significantly easier to hit these weekly targets.
Real-World Troubleshooting & Maintenance
Even with a perfect installation, home gym equipment requires occasional adjustments. Here are the most common edge cases and failure modes associated with the T Series 7.5S, along with their exact solutions:
- E1 Error Code (Communication Failure): This means the console cannot talk to the lower motor board. 90% of the time, this is caused by a loose data cable at the base of the left upright. Unplug the machine, disconnect the harness, check for bent pins, and reconnect firmly.
- Belt Slipping During Sprints: If the belt hesitates when your foot strikes it at 8+ MPH, the belt tension is too loose. Locate the two rear roller adjustment bolts at the very back of the deck. Turn both bolts exactly one-quarter turn clockwise. Test the treadmill. Never adjust one side more than the other, or the belt will track off-center and fray against the side rails.
- Squeaking Uprights: After about 50 miles of use, the metal-on-metal vibration can loosen the upright carriage bolts. Simply take your 18mm socket wrench and re-torque the four main upright bolts to eliminate the noise.
Final Verdict on the Setup Experience
Setting up the NordicTrack T Series 7.5S treadmill takes approximately 60 to 90 minutes for two people. While the 130-pound base requires some heavy lifting, the pre-assembled deck and straightforward wiring harness make it one of the most user-friendly installations in the compact treadmill category. By paying strict attention to the data cable routing and performing the mandatory incline calibration, you ensure that your machine will deliver smooth, motorized incline training for years to come. When evaluated through the lens of its 2.0 CHP motor, upgraded 1.9-inch rollers, and space-saving folding mechanism, the 7.5S proves to be an exceptional investment for any serious home cardio setup.
More gear to consider
All reviews
Best Walking Pads for a 40 Minute Treadmill Workout (2026)
ProForm Trainer 420 Treadmill vs Walking Pads: 2026 Review

Cycling Machine vs Treadmill: Air & Assault Bike Guide

Curved Self Propelled Treadmill Buying Guide & Comparison 2026
Air Bike vs Assault Bike Maintenance for the Man on a Treadmill
