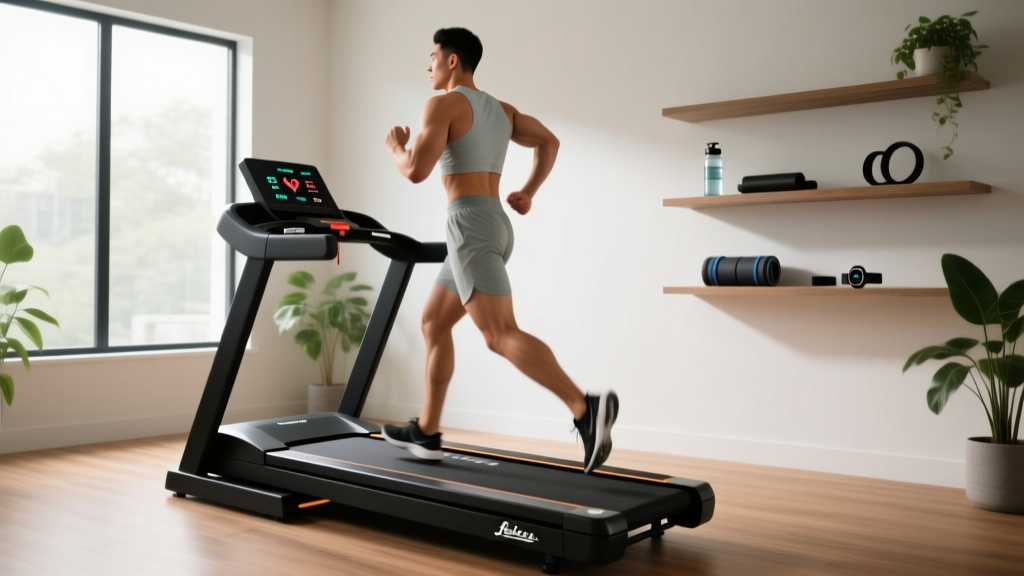
Life Fitness T5 Treadmill Review: Motor Specs & Setup Guide
Read our Life Fitness T5 treadmill review, featuring a deep dive into its 3.0 HP motor specs and a complete step-by-step home setup walkthrough.

Introduction: The Life Fitness T5 and the Importance of Drive Systems
When evaluating high-end home cardio equipment, the drive system is the undisputed heart of the machine. In this Life Fitness T5 treadmill review, we bypass the superficial console features and focus on what actually dictates longevity: the motor size, continuous horsepower, and the physical installation requirements. The T5 is a staple in the premium home market, retailing between $3,599 and $4,299 depending on the console package (Go or Track+). But does its 3.0 HP motor justify the price tag, and what does it take to set it up correctly in a residential space?
Many buyers focus on touchscreen real estate or Bluetooth connectivity, but a treadmill is only as good as its ability to sustain a 10 mph pace under a 220 lb load without stuttering. Today, we are breaking down the exact motor specifications of the T5, comparing it against industry standards, and providing a complete, professional-grade setup and installation walkthrough to ensure your machine operates flawlessly from day one.
Understanding Treadmill Motor Size: A Horsepower Guide
Before dissecting the T5's specific drivetrain, it is crucial to understand the broader landscape of treadmill motor sizing. Many manufacturers use "Peak Horsepower" as a marketing gimmick to inflate perceived value. According to Consumer Reports, buyers must look exclusively at Continuous Horsepower (CHP), which measures the motor's output during sustained use, not just at maximum capacity for a fraction of a second.
HP vs. CHP: The Critical Distinction
Peak HP: The absolute maximum power the motor can hit for a few milliseconds before overheating or tripping a breaker.
Continuous HP (CHP): The power the motor can sustain indefinitely during a standard 60-minute workout. Always base your purchasing decisions on CHP.
Where the T5's 3.0 CHP Motor Fits In
The Life Fitness T5 utilizes a 3.0 CHP continuous duty motor. In the hierarchy of home treadmills, a 3.0 CHP motor is the "sweet spot" for serious runners and multi-user households. It provides enough torque to handle steep inclines (the T5 maxes out at 15%) without overworking the internal components, which significantly reduces heat buildup and extends the lifespan of the motor control board (MCB).
| User Weight | Primary Activity | Minimum Recommended CHP | Life Fitness T5 (3.0 CHP) Suitability |
|---|---|---|---|
| Under 150 lbs | Walking / Light Jogging | 2.0 - 2.5 CHP | Overqualified (Excellent lifespan) |
| 150 - 200 lbs | Jogging / Interval Training | 2.75 - 3.0 CHP | Ideal Match |
| 200 - 250 lbs | Sustained Running (7+ mph) | 3.0 - 3.5 CHP | Ideal Match |
| 250+ lbs | Heavy Sprinting / Max Incline | 4.0+ CHP | Adequate, but 4.0 CHP (Club Series+) preferred |
Complete Setup and Installation Walkthrough: Life Fitness T5
The Life Fitness T5 ships in a single massive carton weighing approximately 315 lbs. Attempting a solo installation is a primary cause of frame misalignment, stripped bolts, and personal injury. Below is our professional, step-by-step setup protocol designed to protect your floors and your equipment.
Phase 1: Unboxing and Base Positioning
- Position the Box: Move the shipping carton to the exact room where the treadmill will live. Do not unbox it in the garage and try to carry the assembled base through doorways; the T5's base is 71 inches long and will not pivot through standard 32-inch interior doors.
- Protect Your Flooring: Lay down a heavy-duty equipment mat (at least 3/8-inch thick rubber). This is non-negotiable for absorbing the acoustic impact of the 3.0 HP motor and the FlexDeck shock absorption system.
- Extract the Base: With two people, cut the cardboard straps and carefully slide the box off the base rather than lifting the base out. Remove all zip-ties securing the running belt to the deck.
Phase 2: Upright Assembly and Console Wiring
This is the most critical phase where most DIY installations fail. The T5 features internal wiring that runs directly through the steel uprights.
- Feed the Harness: Before lifting the uprights, locate the main wiring harness protruding from the front of the base. Carefully feed it up through the left upright tube. Use the included fish tape if the cable snags on the internal weld seams.
- Secure the Uprights: Lift the upright assembly into place. Insert the four primary base bolts (usually 13mm or 15mm depending on the exact manufacturing year). Do not fully tighten them yet. Leave them at 80% torque to allow for micro-adjustments when attaching the console.
- Connect the Console: Attach the Track+ or Go console to the upright brackets. Plug in the primary data cable, the incline motor cable, and the heart rate telemetry wires. Ensure the locking tabs click audibly; a loose data cable will result in an "Error 1" code on startup.
Electrical Warning: Dedicated Circuits
The T5's 3.0 CHP motor requires significant startup amperage. Life Fitness and Life Fitness Support strongly recommend plugging the machine into a dedicated 15-amp or 20-amp 120V circuit. Never use an extension cord, and avoid GFCI outlets if possible, as the motor's initial inrush current can trip sensitive GFCI breakers, corrupting the console's EEPROM memory over time.
Phase 3: Belt Tensioning and Deck Calibration
Once the machine is fully assembled and powered on, you must verify the belt tracking.
- Stand on the side rails and start the belt at 2.0 mph.
- Observe the rear roller. If the belt drifts to the left, turn the left rear adjustment bolt clockwise by exactly one-quarter turn.
- Allow the belt to make 10 full rotations before making any further adjustments. Over-tightening the belt is the number one cause of premature motor failure, as it forces the 3.0 HP motor to draw excess amperage just to overcome static friction.
Pro-Tip from the Install Team: Do not fully tighten the upright bolts until the console is completely wired and the handrail assemblies are loosely attached. Leaving a 5% margin of play allows you to align the plastic shrouds without cracking the ABS casing, a common mistake made by amateur assemblers.
Preventing Motor Failure: Real-World Maintenance
Even a premium 3.0 CHP motor like the one in the T5 will fail if subjected to extreme friction. The most common failure mode in high-end treadmills is not the motor itself burning out, but the Motor Control Board (MCB) blowing a MOSFET due to sustained over-amperage caused by a dry running belt.
To prevent this, adhere to the following maintenance schedule:
- Monthly: Wipe down the deck edges and vacuum beneath the motor hood to prevent dust from clogging the motor's internal cooling fan.
- Bi-Annually: Check the belt tension. You should be able to lift the belt in the center of the deck by about 2 to 3 inches. If it is tighter than this, the motor is working too hard.
- Annually: Inspect the drive belt connecting the motor pulley to the front roller. If it shows signs of fraying or glazing, replace it immediately to prevent slippage during high-speed sprints.
Final Verdict: Is the T5 Worth the Investment?
The Life Fitness T5 remains a benchmark in the home cardio industry. Its 3.0 CHP motor is perfectly calibrated for 90% of home users, offering a quiet, powerful, and thermally efficient drive system. When paired with the legendary FlexDeck shock absorption, it delivers a commercial-grade running experience that justifies its premium price point. However, the longevity of this machine is entirely dependent on a meticulous, two-person installation and strict adherence to electrical and belt-maintenance guidelines. If you follow the setup walkthrough above, your T5 will easily deliver a decade of reliable, high-performance cardio.
More gear to consider
All reviews
Care: Stationary Bike Types vs NordicTrack 2450 Treadmill Old Model

Rowing Buying Guide & Technique: Lubrication for Treadmill Belt Care

Stair Climber Home Guide: Mistakes & Lifetime Fitness T5 Treadmill Fixes

Assault vs Air Bike: 1 Hour on Treadmill Burns How Many Calories?
ProForm XP 580s Crosstrainer Treadmill Confusion: Buying & Troubleshooting