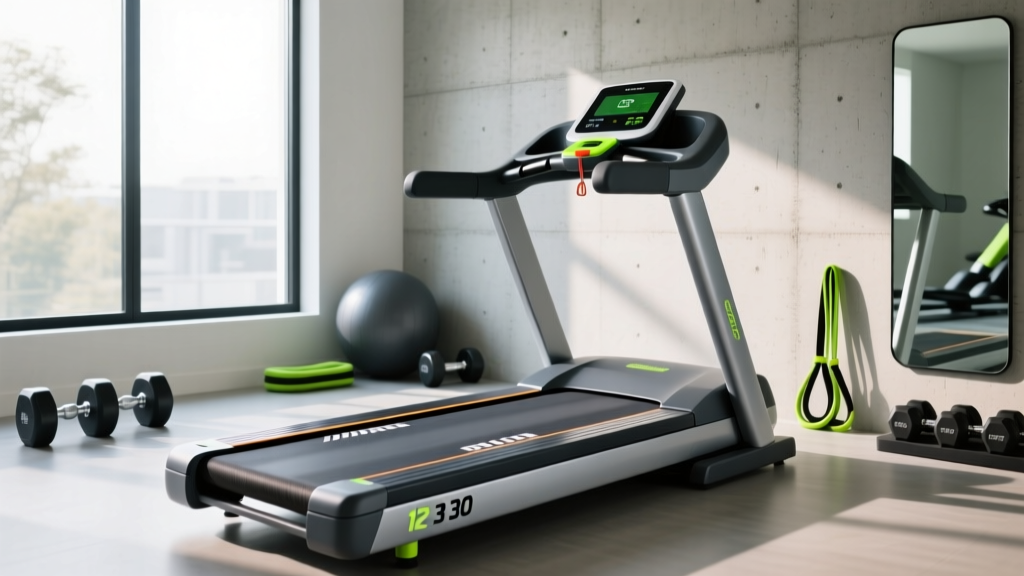
Leveling Treadmill Setups: Beginner's Buying & Feature Guide
Master your home gym with our beginner's guide to treadmill features, buying tips, and the crucial steps for leveling treadmill setups for peak performance.

Bringing a treadmill into your home is one of the most effective ways to meet the Centers for Disease Control and Prevention (CDC) recommendations for weekly cardiovascular activity. However, many beginners make a critical mistake: they focus entirely on the purchase and completely ignore the setup. Specifically, the physical act of leveling treadmill machines on your floor is an often-overlooked step that dictates the lifespan of your motor, the tracking of your belt, and the safety of your joints.
This step-by-step guide will walk you through choosing the right machine based on essential features, and then provide an exact, actionable protocol for leveling your treadmill to ensure a smooth, quiet, and durable home gym experience in 2026.
Step 1: Decoding Core Treadmill Features Before You Buy
Before you can worry about setup, you need to buy the right machine. According to Consumer Reports, the most common buyer regret stems from underestimating the required motor size and belt dimensions. Here is the breakdown of what actually matters.
Motor Power: CHP vs. HP
Always look for Continuous Horsepower (CHP), not peak HP. Peak HP only measures the motor's maximum output for a few seconds, whereas CHP measures what the motor can sustain during a 45-minute run. For walking, 2.5 CHP is sufficient. For jogging, aim for 3.0 CHP. For serious running or users over 200 lbs, you need a minimum of 3.5 to 4.0 CHP.
Belt Dimensions and Deck Cushioning
A standard budget belt is 20 inches wide by 55 inches long. If you are taller than 5'9" or plan to run, a 22" x 60" belt is non-negotiable to prevent you from stepping on the side rails. Furthermore, look for multi-zone cushioning, which absorbs impact at the strike zone while providing a firm push-off at the toe, a feature highly recommended by physical therapists for joint preservation, as noted by the Mayo Clinic.
2026 Feature Comparison Matrix
| Feature | Budget ($600 - $999) | Mid-Tier ($1,000 - $1,800) | Premium ($2,000+) |
|---|---|---|---|
| Motor (CHP) | 2.5 CHP | 3.0 - 3.5 CHP | 4.0+ CHP |
| Belt Size | 20" x 55" | 22" x 60" | 22" x 60"+ |
| Incline/Decline | 0% to 10% Incline | 0% to 15% Incline | -6% Decline to 40% Incline |
| Frame Warranty | 10 Years | Lifetime | Lifetime |
Step 2: Why Leveling Treadmill Equipment is Non-Negotiable
Once your machine arrives, the instinct is to plug it in and start running. Stop. Most home floors—especially in basements, garages, or older homes—are not perfectly flat. Failing to prioritize leveling treadmill setups leads to three major failure modes:
- Belt Drift and Friction: If the frame is twisted even slightly, the running belt will pull to the left or right. This causes the belt edge to rub against the plastic side rails, generating excess heat, melting the belt edge, and eventually snapping the belt.
- Motor Strain: An unlevel frame forces the motor to work harder to pull the belt against the uneven tension, increasing amperage draw and leading to premature control board failure.
- Voided Warranties: Almost all major manufacturers (including Sole, NordicTrack, and Horizon) explicitly state in their manuals that damage caused by operating the machine on an uneven surface voids the warranty.
Step 3: The Step-by-Step Guide to Physically Leveling Your Treadmill
Properly leveling treadmill machines requires a basic 24-inch torpedo level (or a 48-inch carpenter's level) and the correct size wrench (usually a 14mm or 1/2-inch open-end wrench) to turn the rear adjustable feet.
Phase A: Side-to-Side Leveling
Place your level horizontally across the rear roller cover or the side handrails at the back of the machine. If the bubble is off-center, the frame is twisted. Locate the two rear leveling feet. Turn the foot on the lower side counter-clockwise to extend it downward until the bubble rests perfectly in the center. This ensures the deck is not torqued, which is the primary cause of belt drift.
Phase B: Front-to-Back Leveling
Next, place the level vertically along one of the side rails. Treadmills are designed to have a very slight forward pitch (usually 1 to 2 degrees) to mimic outdoor running dynamics and aid in water/dust runoff off the deck. Adjust the rear feet equally so the machine is level or has a microscopic forward tilt. Never adjust the front feet unless they are specifically designed to be adjustable (most are fixed rubber pods).
Phase C: The Stability Test
Stand on the side rails and gently rock your weight. If the machine wobbles or clicks, one of the four feet is hovering. Make micro-adjustments to the rear feet until all four points of contact are firmly planted on the floor with zero wobble.
Step 4: Evaluating 'Auto-Leveling' and Smart Incline Tech
In 2026, the term 'leveling' also applies to advanced software and hardware features that simulate real-world terrain. While physical floor leveling is mandatory, 'auto-leveling' or 'auto-incline/decline' technology is an optional premium feature.
Machines like the NordicTrack X32i (retailing around $2,999) and the Bowflex Treadmill 22 feature dual-motor systems that control both speed and physical deck elevation. When using interactive programming (like iFIT or JRNY), the treadmill automatically raises and lowers the deck to match the topography of a mapped route. This requires the physical base of the treadmill to be perfectly level first; otherwise, the incline motor will miscalculate the true grade, leading to calibration errors and error codes like 'Elev Error 1'.
Troubleshooting: When Your Treadmill Still Feels 'Off'
Even after meticulously leveling treadmill setups, beginners sometimes encounter issues. Here is how to diagnose them:
- The Belt Still Drifts Left or Right: If the floor is level but the belt drifts, the rear roller is misaligned. Use an Allen wrench to adjust the rear roller bolts. Turn the bolt on the side the belt is drifting toward by exactly one-quarter turn clockwise. Walk the belt at 3 MPH and observe. Never adjust more than a quarter turn at a time.
- Loud Whining Noise from the Motor: This is rarely a leveling issue and usually indicates a dry deck. Lift the belt and apply 100% silicone treadmill lubricant (never use WD-40 or petroleum-based oils). Spread it evenly across the deck.
- Console Shuts Off During Heavy Footstrikes: This indicates a static electricity buildup or a tripped thermal breaker. Ensure the treadmill is plugged directly into a wall outlet, not a cheap extension cord, and that the room humidity is above 30%.
Frequently Asked Questions
Do I need a mat under my treadmill if my floor is level?
Yes. A high-density EVA foam or rubber treadmill mat (at least 3/16-inch thick) is essential. It dampens acoustic vibrations so you do not deafen the floor below you, and more importantly, it prevents dust and pet hair from being sucked into the motor canopy, which is the leading cause of overheating.
Can I level a treadmill on thick carpet?
It is highly discouraged. Thick carpet compresses unevenly under the dynamic weight of a runner (which can exceed 2.5 times your body weight upon impact). If you must place it on carpet, use a solid plywood board cut to the footprint of the treadmill beneath the mat to distribute the weight evenly before leveling.
How often should I re-check the leveling?
You should re-check your level every 6 months, or whenever you move the machine. Over time, the vibration from the motor and the impact of running can cause the lock nuts on the adjustable rear feet to slowly back off, altering the pitch and stability of the frame.
More gear to consider
All reviews
2026 Under Desk Treadmill Office Review & Market Shift

Elliptical vs Treadmill: Budget Value of a Pink Treadmill Setup
SportsArt Fitness Treadmill Setup: Curved vs Motorized

Fastest Treadmill Speed for Office Use: 2026 Under Desk Trend Report
Folding Treadmill Review: Testing the NordicTrack Treadmill Motor