
Curved vs Motorized Treadmill Setup & Lopifit Treadmill Bike Guide
Compare curved manual vs motorized treadmill installation. Includes space requirements, assembly steps, and Lopifit treadmill bike setup tips.

The 2026 Home Cardio Installation Reality
Bringing commercial-grade cardio equipment into a home gym in 2026 requires more than just unboxing and plugging in. Whether you are debating the biomechanical benefits of a curved manual treadmill vs motorized treadmill, or exploring niche hybrid mobility options, the physical installation dictates the longevity and safety of your machine. Improper assembly leads to premature motor burnout, slat-belt drift, and severe safety hazards. This comprehensive walkthrough breaks down the exact setup protocols, spatial requirements, and calibration steps for curved manual treadmills, traditional motorized treadmills, and the increasingly popular lopifit treadmill bike.
Pre-Installation Matrix: Footprint, Power, and Clearance
Before unboxing, you must audit your space. The American Council on Exercise (ACE) emphasizes that spatial miscalculations are the leading cause of home gym equipment abandonment and injury. Below is the critical pre-installation data matrix for 2026 models.
| Equipment Type | Avg. Shipping Weight | Power Requirement | Mandatory Rear Clearance | Optimal Flooring |
|---|---|---|---|---|
| Curved Manual Treadmill | 320 - 380 lbs | None (Self-powered) | 18 inches | 3/8" Vulcanized Rubber |
| Motorized Treadmill | 240 - 310 lbs | Dedicated 15A/20A Circuit | 24 - 36 inches | Equipment Mat + Subfloor |
| Lopifit Treadmill Bike | 65 - 75 lbs | Standard 110V (Battery) | N/A (Mobile) | Outdoor/Indoor Flat Surface |
Phase 1: Curved Manual Treadmill Assembly Walkthrough
Curved manual treadmills (like the AssaultRunner Elite or TrueForm Runner) rely on gravity and friction. Because there is no motor to force the belt forward, the physical leveling of the chassis is the single most important installation step. If the frame is off by even a fraction of a degree, the heavy rubber slat belt will continuously drift to one side, causing edge friction and premature wear.
Step-by-Step Curved Setup
- Base Positioning: With two people, lift the main chassis (do not drag it, as the slat track can catch on thresholds). Place it on a 3/8-inch vulcanized rubber mat to dampen the low-frequency acoustic impact of footfalls.
- Digital Leveling: Place a digital torpedo level on the center of the side rails. Adjust the four corner leveling feet using a 17mm socket wrench. The frame must be perfectly level both laterally and longitudinally.
- Slat Belt Tension Check: Unlike motorized belts, slat belts do not require manual tensioning via rear rollers. However, you must manually rotate the belt by hand for 10 full revolutions to ensure the polyurethane guide wheels are seated properly in the track grooves.
- Console Mounting: Route the internal telemetry cables through the upright posts. Secure the console with the provided M8 hex bolts, ensuring no wires are pinched against the steel bracket.
Phase 2: Motorized Treadmill Wiring and Calibration
Motorized treadmills (such as the Sole F80 or NordicTrack Commercial series) introduce complex electronics, high-torque DC motors, and incline actuators. The setup process here shifts from pure mechanical leveling to electronic calibration and belt tracking.
Step-by-Step Motorized Setup
- Upright Assembly & Cable Threading: Before bolting the uprights to the base, feed the console data cable through the hollow steel posts. Expert Tip: Tape the connector to a piece of stiff wire to guide it through without bending the delicate pins.
- Hydraulic Incline Actuator: If your model features a folding deck, ensure the hydraulic shock is locked into the safety catch bracket before releasing the deck. Failure to do so can result in the deck slamming down, causing severe crush injuries.
- Power-On & Firmware Sync: Plug the machine into your dedicated 20-amp outlet. Turn on the master switch at the front base. Allow the console 3-5 minutes to boot and connect to Wi-Fi for mandatory 2026 firmware updates, which often include revised motor-controller algorithms for smoother incline transitions.
- Belt Tracking Calibration: Stand on the side rails and start the belt at 3.0 MPH. Observe the rear roller. If the belt drifts left, turn the left rear tension bolt clockwise by exactly one-quarter turn. Wait 10 revolutions before making further adjustments.
"The U.S. Consumer Product Safety Commission (CPSC) strongly advises maintaining a minimum 24-inch clearance behind all motorized treadmills to prevent severe friction burns and entrapment injuries in the event of a user fall." — U.S. Consumer Product Safety Commission (CPSC)
Phase 3: The Lopifit Treadmill Bike Assembly (The Hybrid Alternative)
For users who find traditional stationary treadmills confining, the lopifit treadmill bike offers a radical departure. Blending an electric bicycle frame with a rear-hub treadmill track, the Lopifit allows you to walk outdoors at speeds up to 17 MPH, or use it indoors on a heavy-duty trainer stand. Setting up a Lopifit requires a completely different mechanical mindset compared to heavy floor treadmills.
Unique Assembly Nuances for the Lopifit
- Track Tensioning via Quick-Release: The walking track is driven by a 250W hub motor. During initial assembly, you must use the rear axle quick-release skewer to apply precise lateral tension to the track. Too loose, and the track slips underfoot; too tight, and you will overheat the hub motor and drain the 36V lithium-ion battery prematurely.
- Battery Management System (BMS) Initialization: Before your first ride or indoor session, the 36V battery must undergo a full 6-hour charge cycle to calibrate the BMS. Store the battery indoors at room temperature, even if the bike is kept in a garage, as extreme cold degrades the cells.
- Indoor Trainer Conversion: If using the Lopifit as an indoor cardio machine, you must swap the rear quick-release for a thru-axle trainer adapter. Ensure the front wheel is elevated on a riser block to mimic the natural geometry of the treadmill track engagement.
Post-Installation Maintenance & Safety Checks
Installation is not complete until the first maintenance protocol is scheduled. The divergence in maintenance between curved, motorized, and hybrid bikes is stark.
Curved Treadmill Maintenance
Curved treadmills require zero belt lubrication. The polyurethane slats and ball-bearing guide wheels are self-sustaining. However, you must vacuum the track grooves monthly. Dust and pet hair act as abrasives against the guide wheels, leading to a rough, stuttering running experience.
Motorized Treadmill Maintenance
Motorized treadmills with traditional PVC belts require 100% silicone lubricant applied under the belt every 150 miles or 3 months. Never use WD-40 or petroleum-based products. To check if lubrication is needed, slide your hand under the center of the belt; if it feels completely dry and warm, it is time to reapply exactly 1 ounce of silicone.
Lopifit Treadmill Bike Maintenance
Treat the Lopifit like a high-end e-bike. Check the tire pressure (if using pneumatic guide wheels) and clean the track surface with a damp microfiber cloth after outdoor use to prevent grit from entering the rear hub motor seals. According to the National Fire Protection Association (NFPA), always inspect e-bike battery connectors for scorch marks or loose pins before every charging cycle to mitigate lithium-ion thermal runaway risks.
Final Verdict: Choosing Your Setup
The decision between a curved manual treadmill vs motorized treadmill ultimately comes down to your home's infrastructure and your training goals. If you lack a dedicated 20-amp circuit or want to practice sprint mechanics without motor lag, the curved manual treadmill is the superior, albeit heavier, choice. If you require guided programming, automated incline intervals, and a lighter physical footprint, a motorized treadmill remains the gold standard. Meanwhile, the lopifit treadmill bike serves as the ultimate wildcard for those prioritizing functional mobility, outdoor versatility, and space-saving design. Whichever you choose, respect the installation protocols—your safety and your equipment's warranty depend on it.
More gear to consider
All reviews
Air Bike vs Assault Bike & Lifepro Small Walking Pad Treadmill

Curved vs Motorized Treadmills: Hitting a Duke Treadmill Score of 9
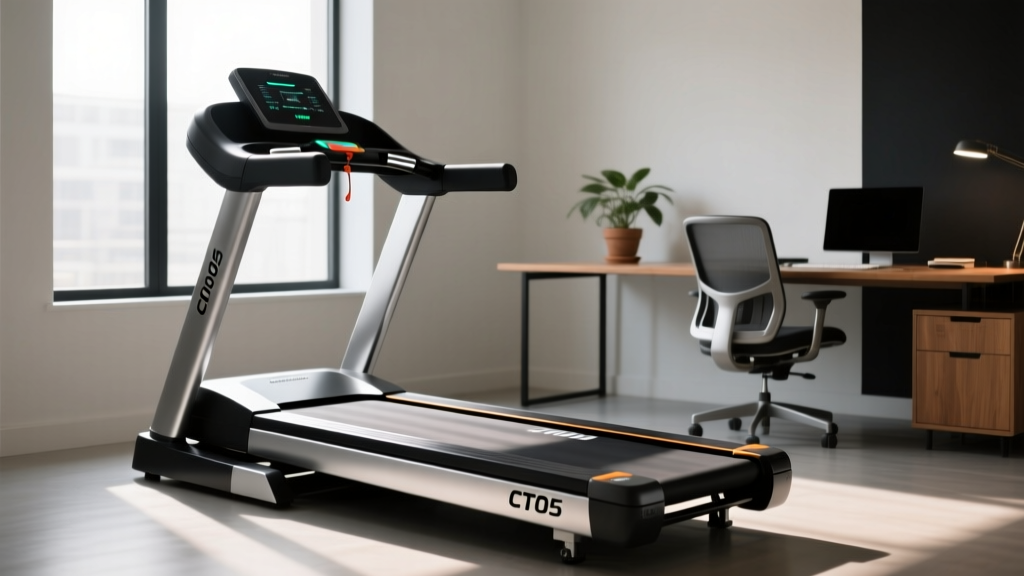
CT05 Treadmill Review: Office Use & Maintenance Tips

ProForm Carbon Pro 9000 Treadmill: Beginner's Feature Guide

Walking Machine Treadmill vs Stationary Bike Types: Value Analysis
