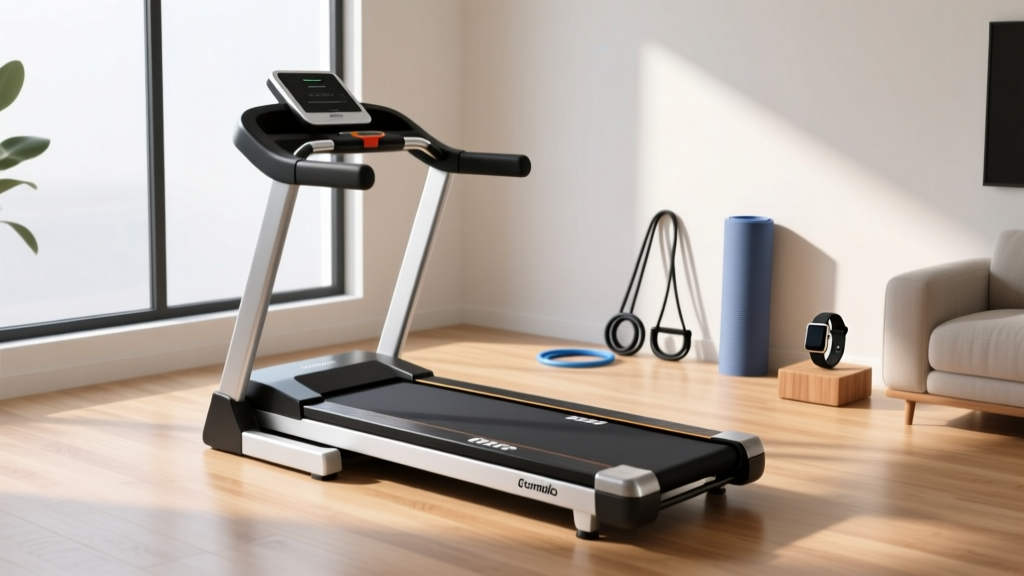
Curved vs Motorized Setup and Life Fitness Treadmill Maintenance
Master your home gym with our curved vs motorized treadmill setup walkthrough, plus essential Life Fitness treadmill maintenance for 2026.

The Home Gym Foundation: Curved vs. Motorized Treadmill Setup
Building a high-performance home gym in 2026 requires more than just purchasing premium cardio equipment; it demands a meticulous approach to installation and long-term upkeep. When deciding between a curved manual treadmill (like the AssaultRunner Pro or Technogym Skillmill) and a premium motorized model (such as the Life Fitness Club Series+), the setup protocols diverge significantly. While curved models rely on biomechanical engineering and user-generated momentum, motorized units require precise electrical and mechanical calibration. This comprehensive walkthrough covers the complete installation process for both, followed by an expert-level guide to life fitness treadmill maintenance to ensure your investment lasts for decades.
⚠️ CRITICAL SAFETY CLEARANCE: According to the Consumer Product Safety Commission (CPSC), you must maintain a minimum clearance of 72 inches (6 feet) directly behind any treadmill. This is non-negotiable to prevent severe friction-burn injuries in the event of a fall.Phase 1: Spatial Planning and Flooring Preparation
Before uncrating your machine, you must prepare the structural foundation. Curved manual treadmills and heavy-duty motorized units interact with your flooring in entirely different ways.
Curved Manual Treadmill Requirements
- Weight Distribution: Curved treadmills typically weigh between 250 and 350 lbs, with the weight concentrated on four adjustable leveling feet. You must place a high-density rubber equipment mat (at least 3/8-inch thick) underneath to prevent point-load damage to hardwood floors.
- Leveling Imperative: Because curved belts are driven by gravity and user foot-strike, an unlevel chassis will cause the slat belt to drift laterally during sprints. Use a 48-inch spirit level across the deck before finalizing foot adjustments.
- Power: Zero electrical requirements. You can place these anywhere, including sunrooms or finished basements without dedicated circuits.
Motorized Treadmill Requirements
- Electrical Demands: Premium motorized units like the Life Fitness Integrity Series require a dedicated 120V/20A circuit. Sharing this circuit with a space heater or air conditioner will cause voltage drops, leading to 'Error 1' (Drive Fault) codes on the console.
- Vibration Dampening: Motorized treadmills generate harmonic vibrations from the drive motor and user impact. Commercial-grade anti-vibration pads are required under the rear roller caps to prevent structural resonance in multi-story homes.
Phase 2: Step-by-Step Installation Walkthrough
- Uncrating & Positioning: Use a furniture dolly to move the unit to its designated zone. Never lift a motorized treadmill by the front shroud; always use the rear transport wheels and the designated frame lift points.
- Upright Assembly (Motorized Only): If your unit ships with an upright console mast, connect the primary data ribbon cable before securing the bolts. A pinched ribbon cable is the #1 cause of 'Error 4' (Communication Fault) during initial setup.
- Belt Tensioning (Curved): Curved slat belts stretch slightly after the first 10 hours of use. Check the rear tensioner bolts. The belt should have exactly 1/4-inch of vertical give at the center of the running surface.
- Initial Calibration (Motorized): Power on the unit and enter Engineering Mode (usually by pressing 'Pause' and 'Incline Up' simultaneously on Life Fitness models). Run the automated belt calibration sequence to synchronize the incline motor and drive belt.
Long-Term Upkeep: Life Fitness Treadmill Maintenance
Executing proper life fitness treadmill maintenance is fundamentally different from maintaining budget-friendly residential brands. Life Fitness utilizes a proprietary wax-impregnated belt and deck system. The most catastrophic mistake a home gym owner can make is applying liquid silicone lubricant to these decks.
Expert Warning: Liquid silicone breaks down the factory-applied wax coating on Life Fitness decks, leading to extreme friction, belt delamination, and eventual motor burnout. Always use the manufacturer-specified solid wax kit.
The 90-Day Wax Application Protocol
For high-use home gyms (3+ hours per week), the deck requires re-waxing every 90 days or every 150 miles. Refer to the official Life Fitness Support documentation for model-specific intervals.
- Preparation: Unplug the machine. Loosen the rear roller adjustment bolts (typically 8mm hex) by exactly 5 full turns counter-clockwise to relieve belt tension.
- Application: Slide the Life Fitness wax applicator wand between the belt and the deck. Squeeze the wax packet evenly while slowly pulling the wand out, creating a thin, uniform stripe across the center of the deck.
- Distribution: Re-tighten the rear bolts by 5 turns. Plug the unit in, start the belt at 3.0 mph, and walk on it for 5 minutes. Increase to 6.0 mph for another 3 minutes to melt and distribute the wax via friction heat.
- Tracking Check: Observe the rear roller. If the belt drifts left, tighten the LEFT rear bolt by 1/4 turn clockwise. Never adjust by more than 1/4 turn at a time.
Setup & Maintenance Comparison Matrix
| Feature | Curved Manual (e.g., AssaultRunner) | Motorized (e.g., Life Fitness Club+) |
|---|---|---|
| Power Requirement | None (User-powered) | 120V / 15A-20A Dedicated |
| Leveling Sensitivity | High (Affects belt drift) | Moderate (Affects incline accuracy) |
| Lubrication Type | None (Urethane slats) | Solid Wax (No Liquid Silicone) |
| Belt Tensioning | Rear chassis tensioner bar | Rear roller hex bolts (1/4 turn rule) |
| Routine Vacuuming | Monthly (Under slat gaps) | Monthly (Motor hood vents) |
Troubleshooting Common Installation & Maintenance Failures
Even with meticulous setup, edge cases and environmental factors can cause performance issues. Here is how to diagnose and resolve the most common failures encountered in 2026 home gym environments.
Curved Treadmill: Slat Squeaking and Lateral Drift
The Issue: A rhythmic squeaking noise or the belt pulling to one side during heavy sprint intervals.
The Fix: Slat squeaks are usually caused by micro-debris wedged between the urethane slats and the internal guide rails. Use compressed air to blow out the side channels. If the belt drifts, check the floor level. If the floor is level, adjust the internal guide rail tensioners located under the side shrouds using a 5mm Allen wrench.
Motorized Treadmill: 'Error 1' Drive Faults
The Issue: The console displays 'Error 1' or 'Drive Fault' and the belt abruptly stops.
The Fix: This is rarely a dead motor. In 80% of cases, it is caused by excessive deck friction due to a lack of wax, or a loose drive belt connecting the motor to the front roller. Remove the front motor shroud, check the drive belt tension (it should have 1/2 inch of deflection), and perform the wax protocol outlined above. If the issue persists, test the wall outlet voltage under load; a drop below 108V indicates an inadequate electrical circuit.
Frequently Asked Questions
Can I use a standard extension cord for my motorized treadmill setup?
No. Using an extension cord, even a heavy-duty 12-gauge one, introduces electrical resistance that can cause voltage drops at the motor control board. This leads to erratic speed behavior and premature component failure. Always plug directly into a wall receptacle.
How often should I inspect the deck for wear on a Life Fitness model?
Every 6 months, slide your hand under the belt and feel the center of the deck. If you feel deep grooves, ridges, or if the wood composite feels splintered, the deck must be flipped (if reversible) or replaced. Running a worn deck will draw excessive amperage and destroy the drive motor.
Do curved manual treadmills require belt waxing?
No. Curved treadmills use individual rubber or urethane slats that ride on ball-bearing guide wheels. They do not utilize a continuous fabric belt over a wooden deck, meaning traditional lubrication is not only unnecessary but will actually attract dust and degrade the polyurethane slats.
More gear to consider
All reviews
Full Body Treadmill Workout Machines vs Rowers: Noise Test
Elliptical vs Treadmill: Precor Treadmill Belt Care & Home Cardio
ProForm 995 Treadmill Setup & Noise Level Comparison Guide

Stair Climber Home Guide & dogpacer lf 3.1 dogpacer treadmill

Walking Pad vs Standard Treadmill for Heart Health: Beginner Guide