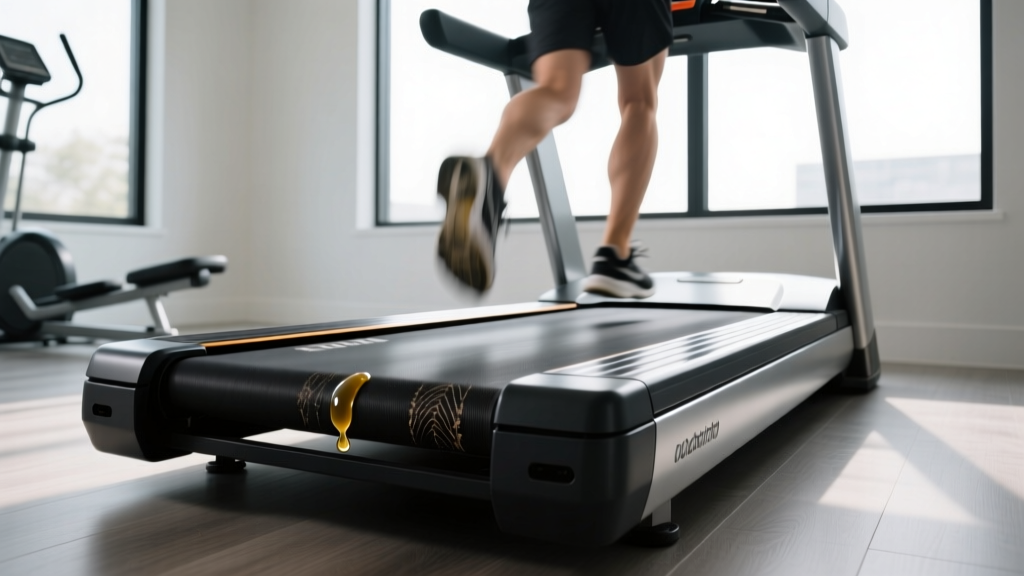
The Backwards Treadmill Trend: Belt Maintenance & Lubrication
Discover how the backwards treadmill trend impacts belt wear. Learn expert treadmill belt maintenance, lubrication steps, and tension adjustments.

The Biomechanics of 'The Backwards Treadmill' and Belt Wear
The fitness community has recently embraced 'the backwards treadmill' trend—clinically known as retro walking or reverse treadmill walking. Physical therapists and strength coaches champion this movement for its ability to isolate the vastus medialis oblique (VMO), reduce patellofemoral joint stress, and improve proprioception. However, while your knees may thank you, your treadmill's running belt and deck are enduring an entirely new set of mechanical stresses.
When you walk forward, your heel strikes the belt and pushes backward, assisting the motor's rotational momentum. When you engage in backwards treadmill walking, your toe strikes first, and your foot actively pulls the belt forward against the motor's inertia. This opposing shear force dramatically increases the coefficient of friction between the belt and the deck. If your treadmill belt maintenance and lubrication schedule is designed only for standard forward walking, reverse walking will rapidly deplete the silicone barrier, leading to deck warping, motor overheating, and premature belt fraying.
⚠️ Warranty Warning: Many manufacturers, including NordicTrack and ProForm, explicitly state in their user manuals that running backwards on the treadmill voids the motor and deck warranty due to the unnatural load placed on the drive system. Always keep your speed under 2.0 MPH when utilizing the backwards treadmill technique to mitigate severe motor amp spikes.The Science of Friction: Why Lubrication is Non-Negotiable
The running belt of a standard home treadmill (like the popular Sole F80 or Horizon 7.4) glides over a medium-density fiberboard (MDF) or phenolic-coated deck. Without a microscopic layer of 100% silicone lubricant, the PVC underside of the belt creates massive kinetic friction. According to repair experts at Treadmill Doctor, a dry belt can increase motor amp draw by up to 40%.
For backwards treadmill enthusiasts, this friction is compounded. The reverse pulling motion causes the belt to micro-slip on the front roller if tension is even slightly off, generating localized heat that literally melts the factory-applied silicone into a gummy residue. This residue attracts dust and pet hair, turning into an abrasive paste that will sand your deck down to the raw MDF core within months.
Choosing the Right Lubricant
Never use WD-40, petroleum jelly, or household oils. These degrade the PVC backing of the belt and cause it to stretch and snap. You must use 100% pure liquid silicone specifically formulated for fitness equipment. Brands like Spot X, Godora, or the OEM silicone provided by your manufacturer are the only safe options. A standard 4-ounce bottle costs between $8 and $15 and will last an average user over a year.
Step-by-Step Belt Lubrication Guide
Proper application requires more than just squirting oil onto the top of the belt. Follow this exact procedure to ensure the silicone reaches the high-friction center zone where the backwards treadmill foot-strike occurs.
- Power Down and Unplug: Never apply lubricant while the machine is connected to a live 120V outlet. The risk of the console shorting or the belt suddenly engaging is a severe safety hazard.
- Loosen the Rear Roller: Using the Allen wrench provided with your machine, turn both left and right rear roller adjustment bolts counterclockwise exactly three full turns. Keep track of your turns so you can restore the exact tension later.
- Lift and Apply: Lift the center of the belt. Insert the applicator wand of your 100% silicone lubricant. Squeeze exactly 0.5 ounces (half a bottle line) in a zigzag pattern across the center third of the deck on one side. Repeat on the opposite side. Do not over-lubricate; excess silicone will leak out the sides and create a slipping hazard on your floor.
- Restore Tension: Tighten both rear roller bolts clockwise exactly three full turns to return to your baseline tension.
- Distribute the Silicone: Plug the machine in. Stand on the side rails, start the treadmill at 2.0 MPH, and let it run for three minutes. Then, step on and walk normally for two minutes, followed by two minutes of gentle backwards treadmill walking to work the silicone into the reverse-friction zones.
Maintenance Schedule: Standard vs. Reverse Walkers
Because the backwards treadmill trend alters wear patterns, your maintenance intervals must adapt. Use the table below to determine your lubrication and inspection schedule based on your weekly workout composition.
| User Profile | Weekly Mileage | Lubrication Interval | Tension Check Interval |
|---|---|---|---|
| Standard Forward Walker/Runner | 10–15 miles | Every 3 months / 130 miles | Every 6 months |
| Mixed (Forward + Occasional Retro) | 10–15 miles | Every 2 months / 90 miles | Every 3 months |
| Dedicated Backwards Treadmill User | 5–10 miles (Retro) | Every 4 to 6 weeks | Monthly |
Tension and Alignment: The Hidden Casualties of Retro Walking
Lubrication is only half the battle. The backwards treadmill technique places asymmetric lateral forces on the belt. If your foot strike is slightly heavier on your right side while pulling backward, the belt will gradually track to the left, eventually fraying against the side rail cap.
The 'Lift Test' for Proper Tension
With the machine off, reach under the center of the belt and lift it. You should be able to lift the belt exactly 2 to 3 inches off the deck.
- Less than 2 inches: The belt is over-tensioned. This will cause the motor to overheat and the front roller bearings to grind. According to Treadmill Doctor's tension guidelines, over-tightening is the number one cause of snapped drive belts.
- More than 3 inches: The belt is too loose. When you transition to backwards treadmill walking, the belt will hesitate or 'stutter' under your foot, which is a major fall risk and will rapidly strip the teeth off the front roller pulley.
Fixing Belt Drift
If the belt drifts to the left while walking backwards, do not adjust the front roller. Only adjust the rear roller. Turn the left rear adjustment bolt clockwise by exactly 1/4 turn. Turn the machine on to 2.0 MPH and observe for two minutes. Repeat if necessary. Never turn the bolt more than 1/2 turn at a time, or you risk snapping the bolt head off inside the frame.
Troubleshooting Common Belt Failure Modes
Recognizing the early warning signs of belt failure can save you from a $200 deck replacement. Here is how to diagnose specific issues related to high-friction workouts.
- Symptom: A distinct burning rubber or ozone smell during reverse walking.
Diagnosis: Severe under-lubrication or a warped MDF deck. The friction is generating heat exceeding 140°F, melting the belt backing. Action: Stop immediately, lubricate, and inspect the deck for grooves. - Symptom: The belt stutters or pauses for a microsecond when your heel strikes during backward walking.
Diagnosis: Belt tension is too loose, or the motor drive belt (the small ribbed belt connecting the motor to the front roller) is glazed and slipping. Action: Perform the lift test; if tension is correct, remove the motor hood and inspect the drive belt for cracking. - Symptom: The treadmill shuts off abruptly after 10 minutes of retro walking.
Diagnosis: Thermal overload. The motor controller is detecting an amp draw exceeding 12-14 amps and triggering the safety shutoff to prevent a fire. Action: Lubricate the belt. If the issue persists, the deck is permanently damaged and must be replaced.
Expert Tip: The Clamp Meter Test
For the ultimate diagnostic, purchase a $30 digital clamp meter. Clamp it around the hot (black) wire inside the motor hood while walking on the machine. A healthy, well-lubricated treadmill walking at 3.0 MPH should draw between 4 to 6 amps. If your backwards treadmill walking pushes this number above 10 amps, your friction coefficient is dangerously high, and immediate maintenance is required to prevent motor controller failure.
When to Replace vs. Maintain
Maintenance can only delay the inevitable. Treadmill belts have a finite lifespan, typically measured in hours of use rather than years.
- DIY Belt Replacement: If the belt edges are fraying, or the underside feels like rough sandpaper, lubrication will no longer help. A replacement belt for a standard 20-inch by 55-inch deck (common on ProForm and Horizon models) costs between $40 and $75 online. Installation takes about 45 minutes with basic socket wrenches.
- Deck Replacement: If you run your fingers under the belt and feel deep, physical grooves worn into the wood, the deck is compromised. Running a new belt over a grooved deck will destroy the new belt in under a month. Replacement decks cost $100 to $180, and many modern decks are reversible—simply unbolt the deck, flip it over to the unused side, and reinstall it to double its lifespan.
- Professional Service: If you are uncomfortable working with electrical components and tension bolts, a certified fitness equipment technician will charge a standard call fee of $90 to $150, plus parts, to perform a full belt, deck, and motor service.
Frequently Asked Questions
Can I use a curved manual treadmill for the backwards treadmill trend?
Curved manual treadmills (like the AssaultRunner or Technogym Skillmill) do not have motorized belts or MDF decks; they use a slat belt on ball bearings. While they require zero silicone lubrication, walking backwards on a curved deck is biomechanically awkward and places severe stress on the Achilles tendon due to the aggressive decline angle at the rear of the curve. Stick to flat, motorized treadmills for retro walking.
Does walking backwards clean the belt?
No. A common myth is that reverse walking 'sweeps' dust out from under the belt. In reality, the opposing friction simply grinds debris deeper into the deck's phenolic coating. Always use a vacuum with a hose attachment to clean under the belt edges monthly.
By respecting the unique mechanical demands of the backwards treadmill trend and adhering to a strict, data-driven lubrication and tension schedule, you can protect your equipment investment while safely reaping the rehabilitative benefits of retro walking.
More gear to consider
All reviews
Air Bike vs Assault Bike: Space & Spirit Fitness XT185 Treadmill

Rowing Machine Guide: Setup vs NordicTrack X22i Incline Treadmill

Is a Walking Pad the Same as a Treadmill? 2026 Market Trends
Bike Maintenance vs. the Amazon Commercial Dad on Treadmill

Can a Plane Take Off on a Treadmill? Stair Climber Setup Guide
