
CrossFit Treadmill Maintenance: Belt, Bearing, and Slat Care
Keep your curved crossfit treadmill in peak condition. Learn exact bearing lubrication, slat belt tensioning, and dust removal protocols for heavy WODs.

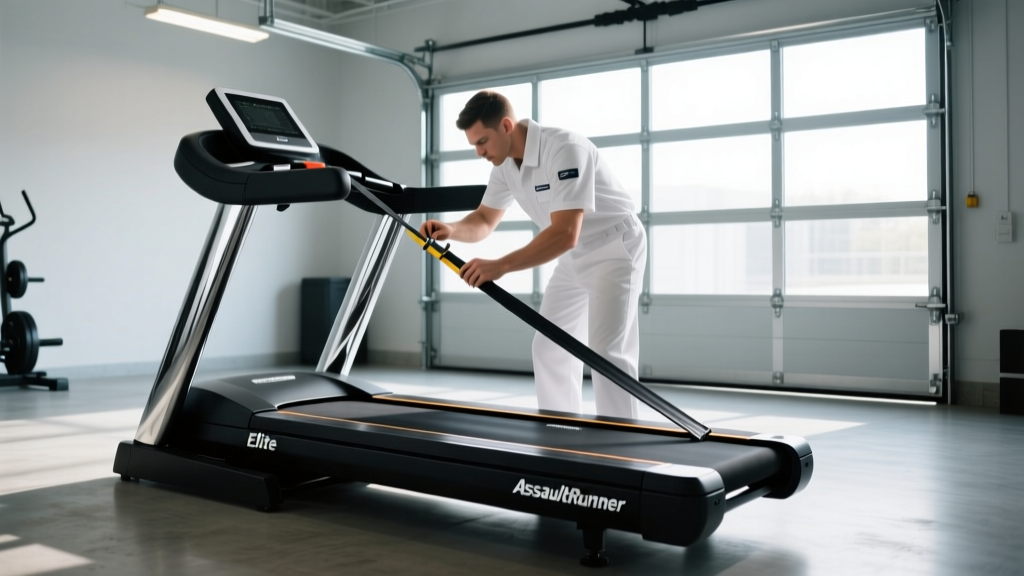
When your box programs 400-meter sprint intervals or burpee step-overs, a standard motorized deck will snap under the torque. That is why investing in a dedicated crossfit treadmill—typically a curved manual runner or a heavy-duty slat-belt machine—is non-negotiable for high-intensity functional training. However, the extreme vertical impact forces generated during WODs accelerate wear on moving parts far beyond standard commercial gym use. Proper maintenance is the difference between a machine that lasts a decade and one that requires a $1,200 rebuild after 18 months.
The Anatomy of High-Impact Treadmill Wear
To maintain your equipment, you must first understand the mechanical stress it endures. During a maximal-effort sprint, a 200-pound athlete generates up to 600 pounds of downward force per footstrike. On a curved manual treadmill (like the AssaultRunner Elite or Echo Runner V2), this force is absorbed by the vulcanized rubber belt and the front/rear carriage bearings. On a motorized slat-belt treadmill (like the TrueForm Pro or Woodway Curve), the impact is distributed across individual rubber slats bolted to a Kevlar-reinforced guide belt. Because a crossfit treadmill lacks the shock-absorbing deck flex of a traditional motorized runner, the hardware itself must absorb the kinetic energy.
Step-by-Step CrossFit Treadmill Belt and Slat Maintenance
Belt tension and slat integrity dictate the rolling resistance and safety of the machine. A loose belt will slip during acceleration phases of a WOD, while an over-tensioned belt will destroy the carriage bearings and increase the physiological cost of running.
Adjusting Curved Treadmill Belt Tension
- Locate the Rear Axle Bolts: On most curved models, the rear roller is secured by two 15mm or 3/8-inch hex bolts on the exterior frame caps.
- Loosen the Locking Nuts: Back off the locking nuts on the tensioning screws located just behind the axle caps.
- Apply Equal Tension: Turn both tensioning screws clockwise exactly 1.5 turns. Never adjust one side more than the other, as this will cause the belt to track off-center and shred the edge guides.
- Test the Deflection: Press down on the center of the belt. You should see exactly 1.5 to 2 inches of deflection. If it feels like a drum, you have over-tensioned it.
Inspecting and Replacing Slat-Belt Treadmills
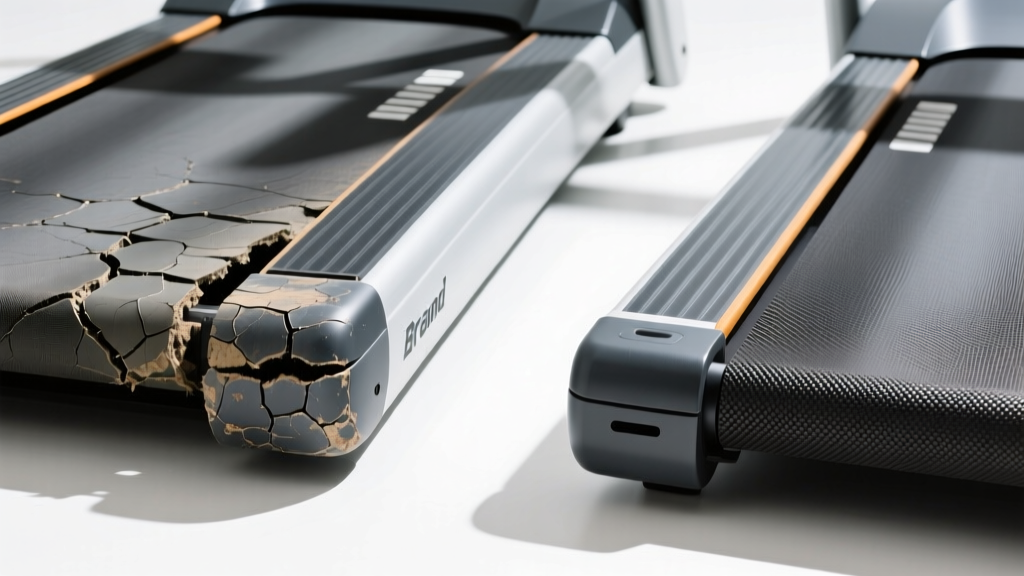
Individual rubber slats on machines like the TrueForm are subject to severe abrasion from Olympic lifting shoes and repeated burpee step-overs. Inspect the slats monthly for micro-fractures near the bolt holes. If a slat cracks, it can catch on the front roller and cause a catastrophic belt lockup during a sprint. Replacement slats typically cost $35 to $50 each, while a full replacement guide belt and slat kit can exceed $1,400. Always use a torque wrench set to the manufacturer's specification (usually 4-6 Nm) when bolting new slats to prevent stripping the Kevlar guide belt.
Applying silicone lubricants or WD-40 to the top of a curved or slat belt to 'fix' a squeak will permanently ruin the vulcanized rubber grip. This creates a massive slip hazard for athletes wearing slick-soled weightlifting shoes. Only apply dry PTFE (Teflon) lubricant to the internal guide rails and roller axles.
Bearing and Axle Care: Preventing the 'Death Wobble'
The lifespan of your crossfit treadmill depends heavily on bearing health. Most commercial curved treadmills use sealed cartridge bearings in the front roller and unsealed, serviceable bearings in the rear carriage wheels. When bearings fail, the machine develops a lateral 'death wobble' at high cadences (>160 SPM), making sprint intervals dangerous.
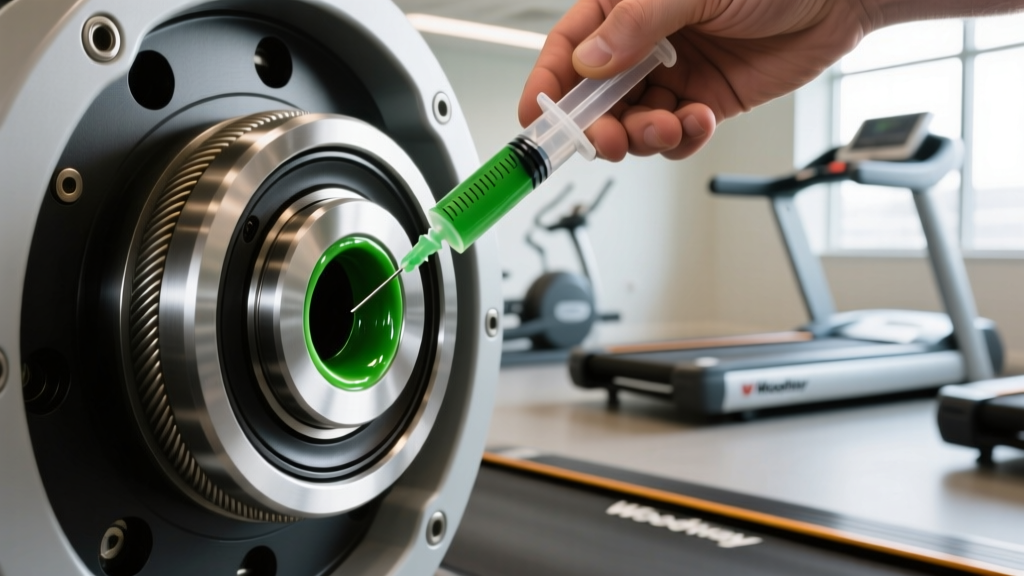
Greasing Unsealed Carriage Bearings
For machines with serviceable bearings, standard white lithium grease is insufficient for the high-shear environment of a CrossFit box. You must use a marine-grade lithium complex grease, such as Lucas Oil Red 'N' Tacky. This formulation resists melting under high friction and repels moisture from sweat and humidity. Inject the grease using a needle-nose syringe directly into the bearing housing every 90 days, wiping away any purged, contaminated grease that is forced out of the seals.
For sealed deep groove ball bearings found on models like the Echo Runner, maintenance is zero until failure. However, when they begin to grind or squeal, they must be pressed out using a 12-ton hydraulic shop press and a bearing puller kit. Attempting to hammer them out will warp the aluminum roller shaft, resulting in a $300 replacement shaft cost.
The Hidden Killer: Gym Chalk Dust Mitigation
Magnesium carbonate (gym chalk) is the single most destructive element in a CrossFit environment. Chalk dust is highly abrasive and hygroscopic (moisture-absorbing). When it settles into the treadmill's carriage wheels and belt hinges, it mixes with ambient humidity and sweat to form a highly abrasive grinding paste that eats through urethane and steel.
Never use compressed air to blow chalk dust out of a treadmill; this forces the abrasive particles deeper into the sealed bearing housings. Instead, use a shop vac with a soft brush attachment to extract dust from the slat hinges and carriage tracks. Perform this extraction within 48 hours of any heavy chalk-use WODs (like heavy cleans or muscle-up days) to prevent the dust from hydrating and hardening.
Troubleshooting Common WOD-Induced Failures
When equipment breaks down mid-WOD, you need rapid diagnostics. Use this decision matrix to identify and resolve the most common mechanical failures.
| Symptom | Probable Cause | Actionable Fix |
|---|---|---|
| Belt tracks left/right during EMOM pacing | Uneven rear axle tension or worn edge guides | Measure distance from rear axle cap to frame on both sides; adjust tensioning bolts to equalize within 1mm. |
| High-pitched squeaking at >160 SPM | Dry carriage wheels or chalk buildup on guide rails | Vacuum rails, apply dry PTFE spray to the internal guide tracks (not the running surface). |
| Sluggish rolling resistance / heavy feel | Over-tensioned belt or seized front roller bearing | Release rear tension by 1 full turn. If resistance persists, replace the front sealed cartridge bearing. |
| Lateral 'death wobble' during sprints | Catastrophic bearing failure or bent roller shaft | Halt use immediately. Press out rear bearings and inspect the steel shaft for warping with a dial indicator. |
When to Replace vs. Repair: Cost Breakdown
Knowing when to perform DIY maintenance versus calling a certified technician saves gym owners thousands in downtime. Below is a realistic cost and effort framework for Assault Fitness and Woodway style machines in a commercial box environment.
- DIY Belt Tensioning & Cleaning: $0 (Requires 15mm wrench, shop vac, PTFE spray). Time: 20 minutes. Frequency: Monthly.
- DIY Slat Replacement: $45 per slat. Time: 15 minutes per slat. Requires metric hex keys and a torque wrench.
- Professional Bearing Press & Rebuild: $250 - $400 labor plus $80 in SKF or Timken replacement bearings. Time: 2-3 hours. Required when sealed bearings grind or shafts warp.
- Full Guide Belt & Slat Kit Replacement: $1,200 - $1,600 in parts. Due to the precision required to tension the Kevlar guide belt without snapping it, this is highly recommended to be performed by a factory-certified technician under warranty.
By adhering to a strict, data-driven maintenance schedule, you ensure that your equipment can safely handle the brutal deceleration forces of sprint intervals and the repetitive abuse of high-volume conditioning benchmarks for years to come.
More gear to consider
All reviews
Buying Alternatives to Analysis: Practical, Evidence-Based Substitutes for Lab-Driven Fitness Assessment
How To Choose Percussion: A Practical, Evidence-Based Guide for Fitness Professionals and Home Users

Best Longevity Sports: Evidence-Based Activities That Extend Healthspan and Reduce Mortality Risk

Best Equip Body Chest for World: Performance, Fit, and Real-World Testing Across 12 Countries

Athletes’ Alternatives to NormaTec: Evidence-Based Recovery Tools Beyond Pneumatic Compression
