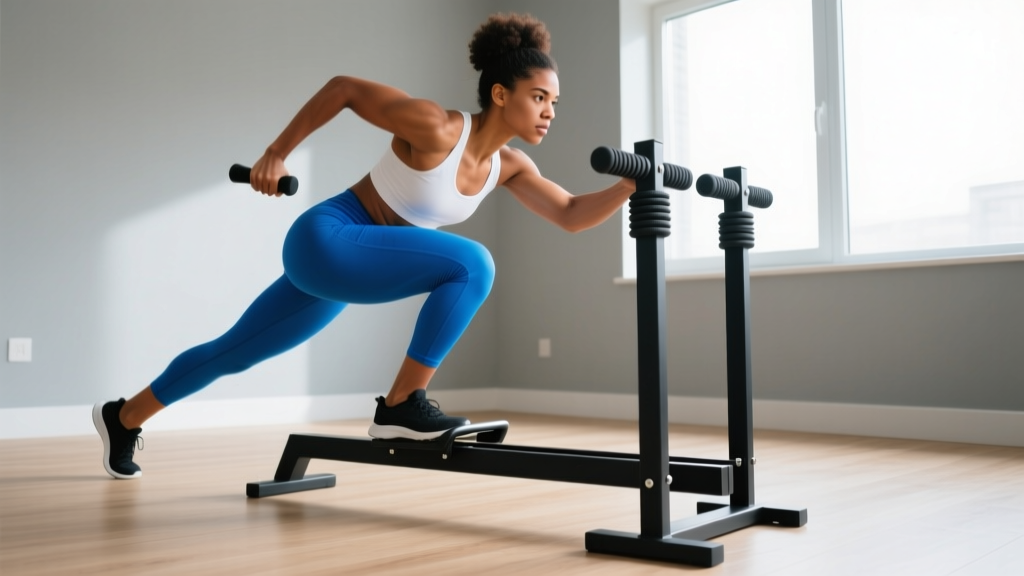
Beyond the Leg Press Curl Machine: Sled Push Pull Beginner Guide
Transition from the leg press curl machine to functional sled push pull equipment. Follow our step-by-step beginner guide for joint-friendly leg gains.

The Comfort Trap of Fixed-Path Leg Training
If you have spent the last few months building your lower body foundation, you are likely familiar with the standard leg press curl machine. Often found in commercial gyms as a selectorized dual-action unit (like the Body-Solid GCLP400 or similar plate-loaded combos), these machines offer a safe, stable environment to isolate the quadriceps and hamstrings. However, as we move through 2026, the fitness industry has seen a massive shift toward functional, ground-based training. While the leg press curl machine is excellent for hypertrophy in a fixed path, it completely removes the need for ankle stability, core bracing, and unilateral force production.
This is where sled push pull equipment enters the conversation. Transitioning to sled work is one of the most effective ways to build athletic, resilient legs while sparing your joints from the heavy eccentric loading and spinal compression associated with traditional barbell squats and heavy machine presses. This step-by-step beginner guide will show you exactly how to integrate sled training into your routine, leaving the limitations of fixed machines behind.
Why Sleds Beat Machines for Joint Health
Unlike the leg press curl machine, sled pushes and pulls are concentric-only movements. There is no eccentric (lowering) phase, which is the primary cause of muscle tissue damage and delayed onset muscle soreness (DOMS). According to research published in the ExRx Sled Push Biomechanics database, sled training allows for massive metabolic conditioning and quad development with near-zero impact on the knee joint cartilage, making it the ultimate tool for longevity and recovery.
Choosing Your Sled: A 2026 Buyer’s Matrix
Before you step onto the turf, you need the right equipment. The market has expanded significantly, and picking the wrong sled can lead to friction issues or awkward biomechanics. Below is a comparison matrix of the most common sled types for beginners.
| Sled Type | Average Cost (2026) | Best For | Beginner Suitability |
|---|---|---|---|
| Push Prowler (Upright) | $250 - $450 | Quad drive, sprint mechanics, core bracing | High (Easy to learn) |
| Drag Sled (Low Profile) | $120 - $200 | Hamstring/glute pull, backward walking | High (Requires harness/strap) |
| Wheeled Turf Sled | $300 - $600 | Indoor gyms without turf, speed work | Medium (Friction varies by floor) |
| Combo Push/Pull Sled | $350 - $550 | Versatility, home gym owners | Very High (Best overall value) |
Expert Recommendation: For a beginner transitioning from a leg press curl machine, a Combo Push/Pull Sled (such as the Titan Fitness Push/Pull Sled or Rep Fitness Drag Sled) is the most cost-effective choice. It features both high upright poles for pushing and a low eyelet for attaching pull straps.
Step-by-Step: Your First Sled Push Pull Session
Forget the heavy plates you load onto the leg press curl machine. Sled training requires a completely different approach to loading, primarily because turf friction can add an unpredictable 15% to 30% to the actual weight of the plates. Follow this exact protocol for your first session.
Step 1: The Setup and Base Loading
Start with the empty sled. Most commercial sleds weigh between 45 lbs and 75 lbs. Do not add weight for your first 10 minutes. The friction of the turf will provide enough resistance to teach your nervous system the proper motor patterns. If you are on carpet or a slick floor, add one 25 lb bumper plate to establish a baseline.
Step 2: The Forward Push (Quad & Calf Focus)
- Grip Height: Place your hands on the high poles, roughly at chest or shoulder level. Gripping too low forces your hips up and ruins your spinal alignment.
- Spinal Brace: Tuck your chin slightly and brace your core as if you are about to be punched in the stomach. Your spine must remain neutral from your neck to your tailbone.
- The Drive: Push through the balls of your feet. Do not reach with your toes; instead, drive the ground away from you with short, rapid, piston-like steps.
- Distance: Push the sled for exactly 15 to 20 yards. Rest for 90 seconds. Repeat for 4 sets.
Step 3: The Backward Pull (Knee Health & VMO Focus)
Backward sled dragging is the ultimate antidote to knee pain, heavily targeting the vastus medialis oblique (VMO) and the tibialis anterior. According to ExRx Sled Drag Mechanics, this movement increases blood flow to the knee joint without shearing force.
- Attachment: Loop a nylon pull strap or tricep rope through the front eyelet of the sled.
- Stance: Face the sled, holding the rope with both hands, arms extended straight out in front of you.
- The Drag: Lean back slightly and walk backward. Focus on fully extending the knee and flexing the quad with every step.
- Distance: Drag for 20 yards, then turn around and pull the sled back to the start using your hands (hand-over-hand pull). Complete 3 sets.
⚠️ Common Beginner Failure Mode: The 'Turf Burn' Spin
When pushing heavy loads, beginners often let their feet slip outward, causing the sled to spin and the metal base to catch the turf. This creates sudden, jarring stops that can tweak the lower back. Fix: Keep your feet hip-width apart and ensure your driving foot is directly under your center of mass, not reaching out in front of you.
Programming: Integrating Sleds with Machine Work
You do not need to abandon the leg press curl machine entirely. In fact, pairing fixed-path hypertrophy work with functional sled conditioning creates a highly synergistic leg day. Here is a beginner-friendly superset framework that maximizes muscle growth while keeping the joints lubricated.
'The sled is the ultimate finisher. It teaches the muscles you just isolated on the machines how to work together as a single, coordinated unit in space and time.'
— 2026 NSCA Conditioning Guidelines (via Stronger By Science)
The Hybrid Leg Day Template
- 1A. Leg Press (Machine): 3 sets x 10-12 reps (Focus on deep stretch and hypertrophy)
- 1B. Sled Forward Push: 3 sets x 20 yards (Moderate weight, focus on speed and quad burn)
- Rest 120 seconds between supersets.
- 2A. Lying Leg Curl (Machine): 3 sets x 12-15 reps (Focus on hamstring isolation)
- 2B. Backward Sled Drag: 3 sets x 20 yards (Light weight, focus on knee extension and blood flow)
- Rest 90 seconds between supersets.
Tracking Progress Without the Ego
One of the hardest adjustments when moving from a leg press curl machine to the sled is the inability to easily track exact poundage. Because artificial turf varies in friction—from the slick, fast turf of a baseball facility to the thick, grabby turf of a CrossFit box—100 lbs on the sled in Gym A might feel like 150 lbs in Gym B.
How to track progress: Instead of obsessing over the plates, track time and distance. Use a stopwatch. If you pushed 90 lbs for 20 yards in 8 seconds last week, your goal this week is to push the same 90 lbs for 20 yards in 7 seconds. Speed is your primary metric for concentric power development.
Final Thoughts on Functional Leg Training
The leg press curl machine will always have a place in bodybuilding and pure hypertrophy routines. It is safe, easy to set up, and great for chasing a pump. However, if your goal is to build legs that are not just large, but capable, athletic, and resistant to injury, sled push pull equipment is non-negotiable. By starting light, focusing on your spinal brace, and utilizing the concentric-only nature of the sled, you will unlock a new tier of lower body performance that no fixed machine could ever provide.
More gear to consider
All reviews
Leg Press Machine vs Squat: Home Gym Setup Showdown

Optimizing Space: Squat Racks & Leg Press Machine Weights
Titan Leg Press Hack Squat Machine: 2026 Glute Market Trends

Leg Extension & Curl Machine Guide: Adding a Sitting Leg Press Machine

Massage on a Budget: Evidence-Based, Affordable Relief Without Sacrificing Quality
