
Hack Squat vs Individual Leg Press Machine Setup & Comparison
Compare the spatial, structural, and assembly requirements of a hack squat vs an individual leg press machine with our complete installation walkthrough.

The Spatial Reality: Footprint and Floor Loading
When outfitting a commercial facility or a high-end home gym, comparing the biomechanics of a hack squat versus an individual leg press machine is only half the battle. The physical installation, spatial footprint, and structural floor loading requirements dictate which machine can actually exist in your space. Both machines subject the floor to immense dynamic forces, but their weight distribution and center of gravity differ drastically.
A hack squat machine operates on a fixed 45-degree linear plane, concentrating dynamic load directly downward through dual guide rods. Conversely, a standalone individual leg press machine often utilizes a pendulum or pivoting lever arm system, which shifts the center of gravity rearward during the eccentric phase of the lift. Understanding these spatial and structural realities is critical before unboxing a single bolt.
| Specification | Rep Fitness Hack Squat V2 | Arsenal Strength Linear Leg Press |
|---|---|---|
| Approximate Price (2026) | $1,899 | $3,499 |
| Footprint (L x W) | 53' x 35' | 85' x 34' |
| Machine Weight (Unloaded) | 385 lbs | 590 lbs |
| Max Load Capacity | 600 lbs (Carriage) | 1,000 lbs (Lever Arm) |
| Minimum Floor Requirement | 3000 PSI Concrete | 3500 PSI Concrete |
According to facility design guidelines endorsed by the National Strength and Conditioning Association (NSCA), heavy plate-loaded lower body equipment must be placed on high-density vulcanized rubber matting (minimum 3/4-inch thick) over reinforced concrete. Dropping 600+ lbs on a suspended floor or standard residential subfloor will cause catastrophic structural failure over time.
Unboxing and Staging: Managing the Freight
Both machines arrive via LTL (Less Than Truckload) freight on standard 48x40-inch wooden pallets. However, the staging process diverges significantly due to component weight distribution.
- Hack Squat Staging: The main frame is a single, welded A-frame structure weighing approximately 180 lbs. The carriage assembly, which houses the linear bearings and shoulder pads, weighs roughly 120 lbs. You will need a 2-ton hydraulic engine hoist or three able-bodied installers to lift the carriage onto the guide rods without damaging the bearings.
- Individual Leg Press Machine Staging: The main chassis is longer and more cumbersome, often requiring a pallet jack to maneuver into the final installation zone. The pivot arms and seat carriage are shipped separately. Because the lever arms are heavily counterbalanced, installing them requires supporting the arm with a floor jack while securing the primary pivot bushings.
Step-by-Step Assembly: Divergent Mechanical Paths
Assembling lower body equipment requires precision. Misaligned structural bolts will lead to frame binding, asymmetric loading, and premature wear on bushings. Always use a calibrated torque wrench and apply blue Loctite (Grade 242) to all structural threading.
Assembling the Hack Squat Carriage and Linear Bearings
- Frame Anchoring: Position the main A-frame. Do not fully tighten the base gusset bolts until the frame is perfectly leveled using a 48-inch machinist level. Shimming the base with high-density UHMW plastic is often necessary to prevent frame torsion.
- Guide Rod Lubrication: Before installing the carriage, coat the dual linear guide rods with a high-viscosity PTFE (Teflon) grease. Do not use WD-40 or standard silicone spray, as these will strip the factory lubrication from the internal linear bearings.
- Carriage Mounting: Using your engine hoist, lift the carriage assembly and align the linear bearing housings with the guide rods. Slowly lower the carriage, ensuring both rods enter the bearings simultaneously to prevent internal ball-retainer damage.
- Safety Catch Installation: Bolt the angled safety catch brackets to the main uprights. Torque all M12 structural bolts to 45 Nm.
Building the Individual Leg Press Machine Pivot Arms
- Chassis Alignment: Slide the extended chassis into position. Due to the 85-inch length, ensure you have at least 36 inches of clearance on all sides for plate loading and user egress.
- Pivot Arm Bushing Installation: Slide the bronze or urethane pivot bushings into the main chassis receivers. Apply a light coat of white lithium grease to the outer sleeve of the bushing to prevent squeaking during high-rep sets.
- Arm Attachment: With the support of a floor jack, raise the heavy lever arms into the pivot points. Insert the primary pivot pins and secure them with heavy-duty snap rings or cotter pins, depending on the manufacturer's design.
- Seat and Backpad Routing: Mount the adjustable seat carriage. Ensure the pop-pins engage cleanly into the adjustment holes without excessive lateral play.
Mechanical Calibration and Safety Catch Alignment
The most critical phase of installation is calibrating the safety mechanisms. A failure in the safety catch alignment can result in severe crush injuries. The ASTM International sets rigorous standards for fitness equipment structural integrity and safety catch load ratings, but proper installation is the end-user's responsibility.
⚠️ CRITICAL WARNING: Asymmetric Binding Failure ModesIf a hack squat carriage binds on the descent, it is almost always due to frame torsion or uneven guide rod lubrication. If the user pushes unevenly, the linear bearings can jam against the steel rods, locking the carriage in place mid-rep. For an individual leg press machine, the primary failure mode is lateral pivot arm play caused by under-torqued pivot bolts, which causes the sled to track diagonally and grind the bushings. Always perform 20 unloaded test reps before adding weight.
To calibrate a hack squat, load the carriage with 135 lbs. Release the safety handles and lower the carriage slowly. Engage the safety catches at the lowest point. The catches must engage simultaneously on both the left and right sides. If one side catches first, the frame is twisted, and the base bolts must be loosened and re-leveled.
Maintenance Protocols for Longevity
Lower body machines endure massive 1200+ lb loads (user weight + external load). Adhering to a strict maintenance schedule prevents catastrophic mechanical failure.
- Weekly: Wipe down all guide rods and pivot shafts with a microfiber cloth to remove chalk dust and sweat. Chalk acts as an abrasive lapping compound that will destroy linear bearings and bronze bushings within months.
- Monthly: Inspect all structural bolts with a torque wrench. Vibrations from dropping the carriage or sled into the safety catches will loosen M10 and M12 hardware over time.
- Bi-Annually: Reapply PTFE grease to hack squat guide rods. For the individual leg press machine, inspect the pivot bushings for excessive play. If lateral movement exceeds 1/8th of an inch, the bushings must be pressed out and replaced.
- Upholstery Care: Clean vinyl backpads with a pH-neutral cleaner. Avoid bleach-based products, which degrade the stitching and cause the foam padding to compress prematurely.
Final Verdict: Which Setup Fits Your Facility?
Choosing between a hack squat and an individual leg press machine ultimately comes down to your spatial constraints and maintenance bandwidth. The hack squat offers a more compact vertical footprint (53 inches long), making it ideal for rooms with low ceilings or limited depth. However, its reliance on precision linear bearings demands stricter maintenance and careful installation to prevent carriage binding.
The individual leg press machine requires significantly more floor space (85+ inches) and a higher ceiling clearance for the user's legs at full extension. Yet, its pivoting lever-arm design is generally more forgiving regarding installation tolerances and requires less frequent lubrication, relying on heavy-duty bronze bush, the individual leg press machine requires significantly more floor space (85+ inches) and a higher ceiling clearance for the user's legs at full extension. Yet, its pivoting lever-arm design0+ inches) and a higher ceiling clearance for the user's legs at full extension. Yet, its pivoting lever-arm design is generally more forgiving regarding installation tolerances and requires less frequent lubrication, relying on heavy-duty bronze bushings that can withstand years of neglect.
Ensure your concrete subfloor meets the 3000+ PSI requirement, invest in a quality torque wrench, and never skip the shimming process during frame leveling. A properly installed machine will provide decades of safe, hypertrophy-inducing training.
More gear to consider
All reviews
Difference Leg Press Machines Make for Glute Training: 2026 Guide

Hip Thrust Pads vs DIY Leg Press Machine: Budget Breakdown

Space Guide: Power Cage & 45 Degree Leg Press Machine Layout
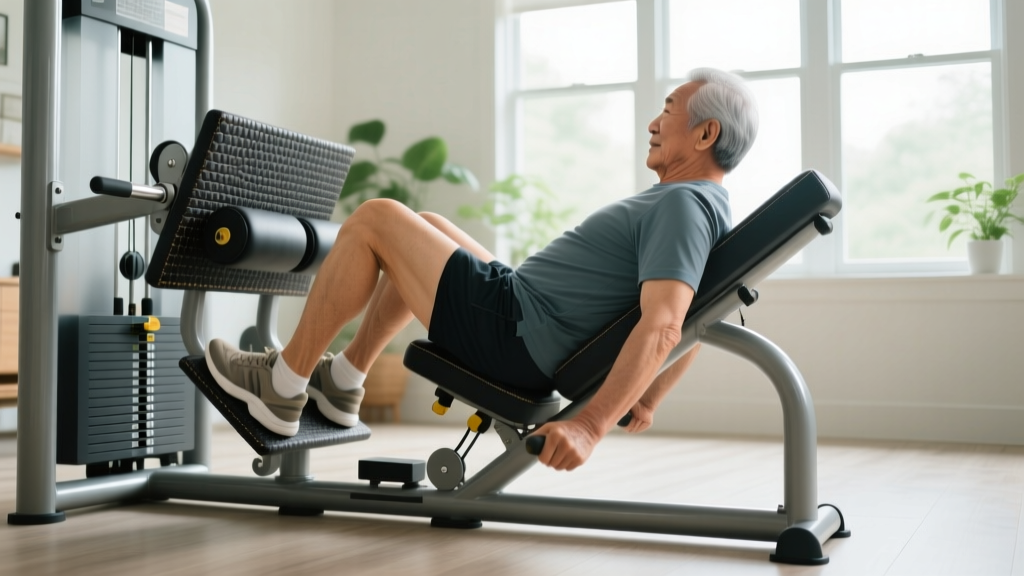
Hip Thrust Pads and the Leg Press Machine for Seniors: Budget Guide

Best Leg Press Machine for Home Gyms: 2026 Titan vs Rogue
