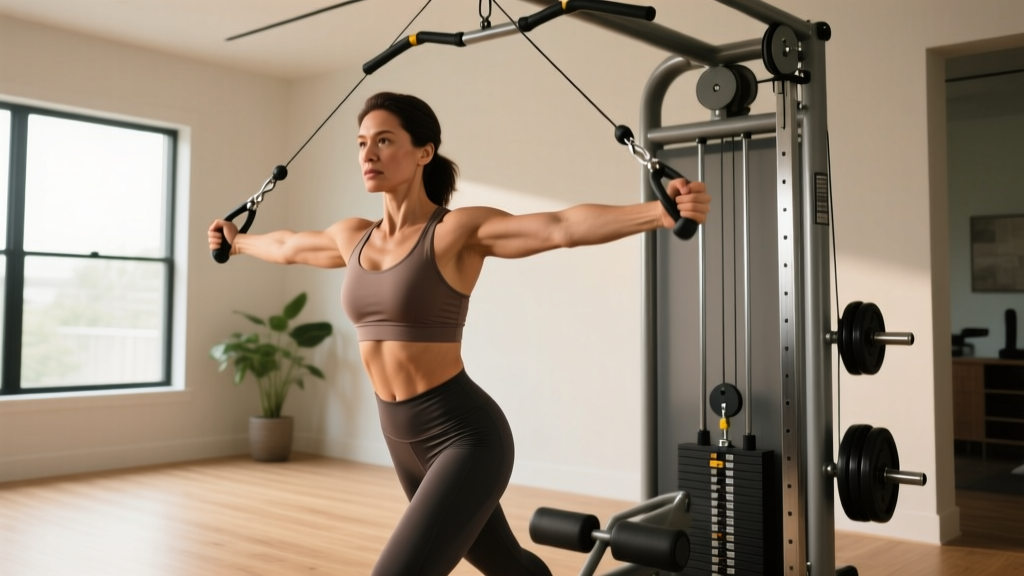
Beyond a Basic Chest Press Machine Image: Cable Crossover Guide
Master the cable crossover for chest training. Move beyond the basic chest press machine image with our beginner step-by-step biomechanics guide.

The Fixed-Path Trap: Why Move Past the Standard Chest Press?
When most beginners type a standard chest press machine image into a search engine, they are greeted by the familiar sight of a seated, pin-loaded device with fixed metal arms. While these machines are excellent for absolute novices learning the mind-muscle connection, they enforce a rigid, predetermined bar path. This fixed trajectory ignores the natural biomechanics of the shoulder joint and limits the pectoral muscles' ability to fully adduct (cross the midline of the body).
Enter the cable crossover machine (often configured as a functional trainer). By utilizing independent, adjustable pulleys, the cable crossover allows for multi-planar movement, constant tension throughout the entire range of motion, and a peak contraction that fixed machines simply cannot replicate. According to ExRx.net's Cable Crossover Biomechanics, the continuous tension provided by cables maximizes motor unit recruitment in the sternal head of the pectoralis major, making it a superior tool for hypertrophy once basic pressing strength is established.
Fixed Machine vs. Cable Crossover: A Biomechanical Breakdown
| Feature | Standard Chest Press Machine | Cable Crossover (Functional Trainer) |
|---|---|---|
| Movement Path | Fixed, rigid trajectory | Dynamic, adaptable to individual limb length |
| Peak Contraction | Low (tension drops off at lockout) | High (tension increases as hands meet) |
| Core Stabilization | Minimal (seated, back supported) | High (requires standing, staggered stance) |
| Joint Stress | Can force shoulders into unnatural planes | Wrists and elbows dictate the natural groove |
Decoding the Machine: 2026 Buyer & User Specs
Before stepping up to the cables, you must understand the hardware. Not all cable machines are built equally, and the pulley ratio is the most misunderstood specification in the fitness industry.
The 1:1 vs. 2:1 Pulley Ratio Rule
1:1 Ratio: 10 lbs on the weight stack equals 10 lbs of resistance at the handle. This provides a true, heavy strength curve ideal for chest flyes and presses. (e.g., Rogue Fitness Monster Cable Crossover - approx. $4,200 in 2026; Bells of Steel Functional Trainer - approx. $2,100).
2:1 Ratio: 10 lbs on the stack equals 5 lbs at the handle. This allows for finer micro-loading but often introduces 'slack' or a jerky feeling at the bottom of a flye movement due to the extra pulleys. (e.g., Titan Fitness Functional Trainer V2 - approx. $1,399).
Beginner Tip: If your gym uses a 2:1 machine, you must double the pin weight to match the perceived resistance of a 1:1 machine. Always account for this when tracking your progressive overload.
Step-by-Step: The Perfect Mid-Cable Flye Setup
Proper setup eliminates momentum and protects the rotator cuff. Follow this exact sequence before initiating your first rep.
- Set the Pulley Height: Adjust both pulleys to the highest or second-highest notch (typically 72 to 78 inches from the floor). The cables should pull slightly downward, aligning with the natural angle of the sternal pec fibers.
- Select the Attachment: Use the standard single-grip D-handles. Avoid stirrup handles meant for triceps, as they force the wrist into awkward extension.
- Establish the Staggered Stance: Do not stand with feet parallel. Step forward with your dominant leg, placing it 14 to 18 inches ahead of your trailing foot. This base of support prevents you from being pulled backward by the weight stack.
- Hinge and Brace: Lean forward approximately 15 to 20 degrees from the hips. Keep your spine neutral and brace your core as if anticipating a punch to the stomach.
- Set the Arms: With a slight bend in the elbows (about 10 to 15 degrees), lock this angle in. Your elbows should act as hinges, not pistons. The movement comes entirely from the shoulder joint.
The 3 Essential Beginner Cable Chest Angles
To achieve complete pectoral development, you must target the clavicular (upper), sternal (mid), and costal (lower) heads. The NSCA's Guide to Cable Training emphasizes that manipulating the angle of pull is the most effective way to shift emphasis across the chest musculature without changing equipment.
1. High-to-Low Cable Flye (Lower Pec Emphasis)
- Pulley Position: Highest notch.
- Execution: Pull the handles down and across your body, aiming for your belt buckle.
- Pro-Tip: Do not let the handles cross over each other; stop when they touch to maintain continuous tension on the pecs rather than transferring the load to the front deltoids.
- Prescription: 3 sets of 12-15 reps, 60 seconds rest.
2. Mid-Cable Crossover (Sternal/Mid Pec Emphasis)
- Pulley Position: Shoulder height (approx. 60 inches).
- Execution: Pull straight forward, bringing the handles together directly in front of your sternum. Imagine you are hugging a large barrel.
- Prescription: 3 sets of 10-12 reps, 90 seconds rest.
3. Low-to-High Cable Flye (Upper Pec Emphasis)
- Pulley Position: Lowest notch, near the floor.
- Execution: Scoop the handles upward and inward, finishing at eye level. This mimics the biomechanics of an incline bench press but with constant tension.
- Prescription: 3 sets of 12-15 reps, 60 seconds rest.
Real-World Failure Modes and Edge Cases
Coach's Warning: The most common reason beginners abandon cable crossovers is forearm fatigue. If your grip fails before your chest does, you are holding the handles too tightly. Use a 'hook grip' or invest in a pair of figure-8 lifting straps for your heaviest working sets.
Even with perfect setup, beginners frequently encounter the following edge cases:
- The 'Death Grip' Wrist Extension: Bending the wrist backward at a 90-degree angle under load compresses the carpal tunnel. Fix: Keep the back of your hand perfectly in line with your forearm. The handle should rest in the heel of the palm, not the fingers.
- Cable Friction and Sticking: On older or poorly maintained commercial machines, the cables may stick at the bottom of the movement, causing a jarring stretch on the pec tendon. Fix: If you feel mechanical friction, switch machines. Never attempt to 'muscle through' a sticking cable, as the sudden release of tension can cause a pec strain.
- Over-Stretching at the Bottom: Allowing the weight to pull your arms too far behind your torso places extreme shear force on the anterior shoulder capsule. Fix: Stop the eccentric (lowering) phase when your hands are in line with your torso. Do not let your elbows travel behind your back.
Final Thoughts on Programming
Transitioning from the rigid path of a traditional chest press to the dynamic freedom of a cable crossover requires patience. Start with 30% to 40% less weight than you think you need to master the stabilization requirements. Once your neuromuscular system adapts to the staggered stance and independent arm tracking, the cable crossover will become the most effective hypertrophy tool in your arsenal, delivering a pump and muscle fiber recruitment that fixed machines simply cannot match.
More gear to consider
All reviews
Gym Layouts: Wide Chest Press Machine vs Incline, Flat, Decline

Push-Up Bar Setup to Perfect Chest Press Machine Form
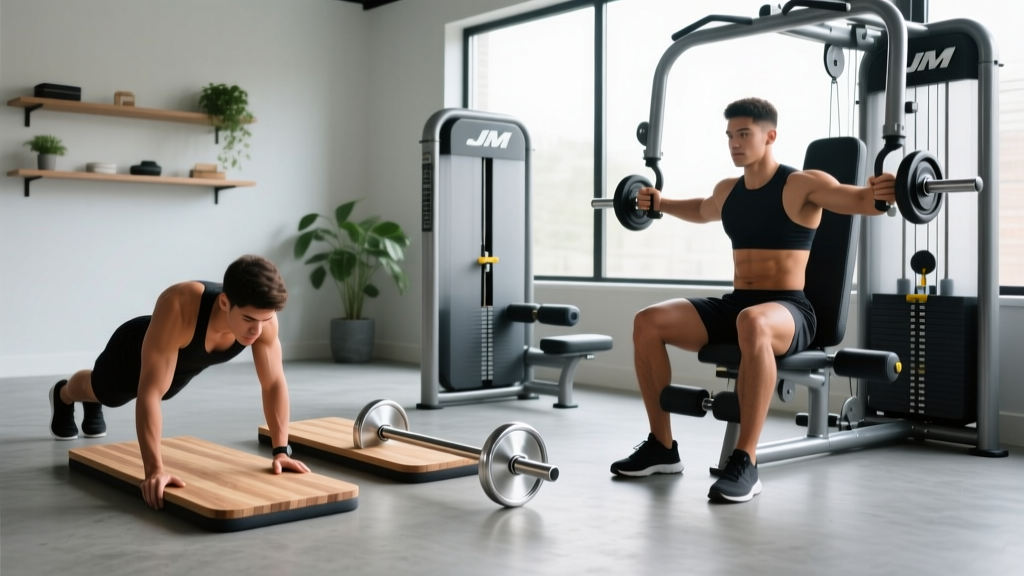
Push-Up Boards vs JM Press on Chest Press Machine: Beginner Guide

Space Homegym Compare Essentials: Real-World Metrics, Brand Benchmarks, and Smart Layout Decisions
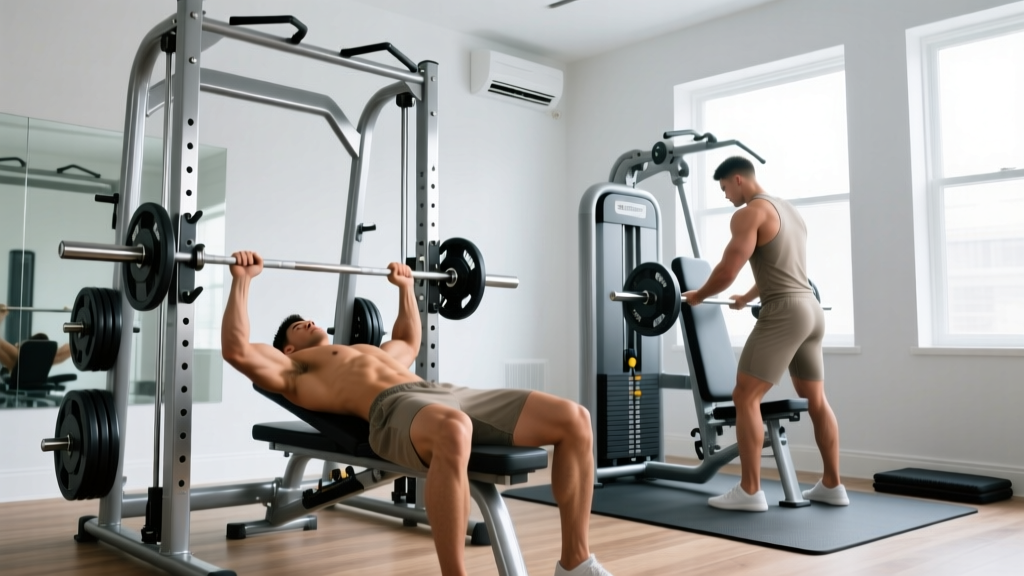
Bench Press Racks vs. Chest Press Machine Weight Without Plates
