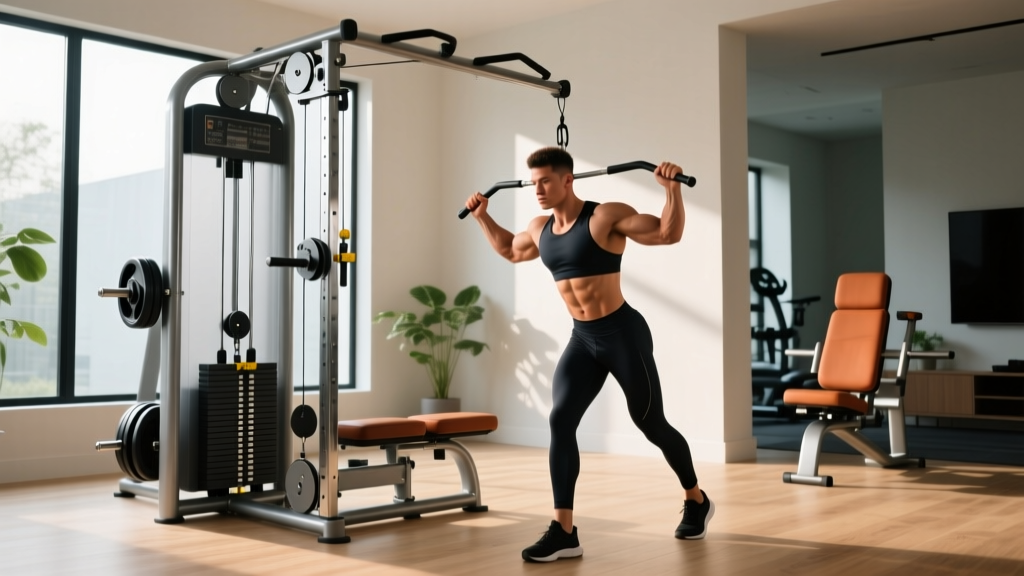
Setup Guide: Preacher Curl Benches & Bicep Curls on Cable Machine
Master your arm station setup. This buying guide covers preacher curl bench selection, assembly, and optimizing bicep curls on cable machine rigs.

The Ultimate Arm Station: Combining Strict Isolation with Constant Tension
Building a dedicated arm-training zone in your home gym requires more than just tossing a bench next to a functional trainer. To maximize hypertrophy, you need to pair the strict, momentum-free isolation of a preacher pad with the continuous time-under-tension provided by cable systems. This 2026 setup and installation walkthrough covers everything from selecting the right preacher curl bench to rigging the perfect bicep curls on cable machine configurations.
Setup Blueprint Summary:• Footprint Required: 4 ft x 6 ft minimum clearance
• Pad Angle Target: 45° to 60° for optimal brachialis/biceps brachii activation
• Cable Pulley Height: 12-18 inches (low) for standard curls; 48 inches (mid) for spider-curl variations
• Estimated Budget: $280 - $650 (Pad + Attachments + Hardware)
Phase 1: Preacher Curl Bench & Pad Buying Guide
Not all preacher pads are created equal. The primary failure point in budget equipment is the vinyl tearing at the seam and the foam bottoming out under heavy loads (e.g., curling 80+ lbs for reps). When shopping in 2026, look for 11-gauge steel frames and high-density, multi-layered foam.
Top Tier Preacher Pads for Home Gyms
- Rep Fitness Preacher Curl Attachment ($169.99): Designed for 2x2 and 3x3 uprights. The pad features a 45-degree angle with a specialized contoured top that prevents armpit impingement. The vinyl is commercial-grade, rated for high-friction sweat resistance.
- Titan Fitness Preacher Pad ($139.99): A budget-friendly workhorse. It utilizes a standard 45-degree slope. While the foam is slightly less dense than the Rep model, the 2x2 steel tubing and UHMW plastic-lined brackets make it a secure, rattle-free addition to most power racks.
- Rogue Monster Utility Bench with Preacher Pad ($425.00): A standalone, heavy-duty unit. The pad angle is slightly steeper at 55 degrees, which shifts more mechanical tension onto the short head of the biceps. It features a 3x3 steel base and laser-cut number holes for rapid seat height adjustments.
Specification & Pricing Matrix
| Model | Pad Angle | Steel Gauge | Compatibility | 2026 Price |
|---|---|---|---|---|
| Rep Fitness Attachment | 45° | 11-Gauge | 2x2 / 3x3 Racks | $169.99 |
| Titan Fitness Pad | 45° | 11-Gauge | 2x2 Racks | $139.99 |
| Rogue Monster Standalone | 55° | 7-Gauge | Freestanding | $425.00 |
Phase 2: Spatial Planning and Floor Anchoring
Before unboxing, map out your spatial requirements. A standalone preacher bench requires a 3 ft x 4 ft operational footprint. However, if you are integrating this into a functional trainer or power rack for cable work, you must account for the barbell path and plate loading clearance.
- Measure the Drop Zone: Ensure at least 18 inches of clearance behind the seat for plate loading if using an EZ-curl bar attachment.
- Anchor the Base: If using a standalone bench, bolt the 3x3 base to your rubber matting using 3/8-inch lag bolts to prevent the unit from tipping forward during heavy eccentric negatives.
- Cable Path Alignment: Position the preacher pad exactly 24 to 30 inches away from the cable machine's low pulley housing to ensure the cable angle remains parallel to the floor during the concentric phase.
Phase 3: Step-by-Step Assembly & Ergonomic Calibration
Improper seat height is the number one reason lifters experience elbow tendonitis on preacher benches. According to biomechanics data cataloged by ExRx.net, the elbow joint must act as a fixed hinge aligned precisely with the mechanical axis of the pad's pivot point.
Expert Calibration Tip: Sit on the bench and place your triceps flat against the pad. Your armpits should rest gently over the top edge without digging into the chest cavity. Adjust the seat height via the pull-pin until your elbows are exactly 1 inch below the top crest of the pad.
Hardware Tightening Sequence
To eliminate lateral wobble, do not fully tighten any bolts until the entire frame is assembled. Use a torque wrench set to 40 ft-lbs for all M8 carriage bolts connecting the pad bracket to the main upright. Apply blue Loctite to the seat adjustment pull-pin threads to prevent vibration loosening over time.
Phase 4: Rigging Bicep Curls on Cable Machine
While free-weight preacher curls are excellent, executing bicep curls on cable machine setups provides continuous tension throughout the entire range of motion, specifically targeting the stretched position where muscle damage and subsequent hypertrophy are maximized. The American Council on Exercise (ACE Fitness) highlights that cable resistance curves can be manipulated to match human strength curves, making them superior for joint preservation.
Step 1: Pulley Height and Attachment Selection
Set your functional trainer's low pulleys to the absolute bottom position (usually 2 to 4 inches off the floor). For the attachment, bypass the standard straight bar. Instead, use a rotating EZ-curl bar attachment or dual D-handles. The rotating sleeves reduce valgus stress on the wrists and elbows, a common failure point when locking into a strict preacher pad.
Step 2: Execution and Cable Routing
- Standard Low-Pulley Preacher Curl: Route the cable directly between your legs. Keep your feet planted wide to avoid the cable rubbing against your shins. The 1:1 or 2:1 pulley ratio will dictate your weight selection; remember that a 2:1 ratio means 50 lbs on the stack equals 25 lbs of actual resistance at the bar.
- Mid-Pulley Spider Curl Variation: Set the pulleys to chest height (approx. 48 inches). Straddle the preacher bench facing away from the cable tower, leaning your chest over the pad. This creates a behind-the-body cable angle, heavily biasing the long head of the biceps and the brachialis.
Maintenance and Failure Point Prevention
Arm stations endure high friction and sweat exposure. Implement this 90-day maintenance checklist to protect your investment:
- Vinyl Care: Wipe down the preacher pad with a pH-neutral cleaner after every session. Avoid bleach-based wipes, which degrade the polyurethane coating and cause micro-cracking within 6 months.
- Cable Inspection: Run a microfiber cloth along the length of your cable machine's wire rope monthly. If the cloth snags, you have a broken internal strand. Replace the cable immediately—do not wait for the outer nylon sheath to fail.
- Pulley Lubrication: Apply a dry PTFE (Teflon) spray to the pulley wheel bearings twice a year. Avoid WD-40, which attracts gym chalk and dust, eventually seizing the bearing.
By meticulously selecting your preacher pad based on steel gauge and foam density, and correctly calibrating your spatial footprint for cable integration, you create a commercial-grade arm station capable of delivering elite hypertrophy stimulus right in your garage.
More gear to consider
All reviews
Tricep Rope vs Bar Attachment: Better Than the Dumbbell Wrist Curl?

Cupping for Vibration: Evidence-Based Protocols for Reducing Mechanical Oscillation in Musculoskeletal Tissue

Plate Loaded Bicep Curl Machine & Tricep Extension Guide: 2026 Review

Preacher Bench Setup: Top Biceps Workout Equipment Guide 2026

12 Practical DIY Roller Ideas for Home, Workshop, and Fitness Use