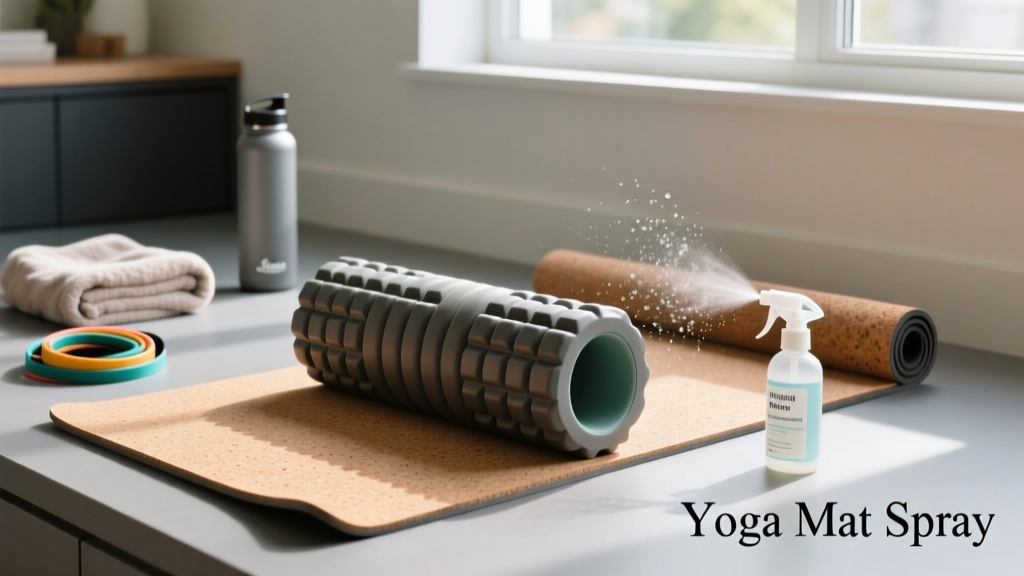
Recovery Zone Setup: Foam Roller Guide & Yoga Mat Spray DIY
Learn how to set up a home recovery zone, master foam roller density and size selection, and mix a sanitizing yoga mat spray DIY recipe.

Phase 1: Planning and Installing Your Home Recovery Station
Building a dedicated mobility and recovery zone in your home requires more than just tossing a mat onto the floor. A proper 'installation' of your recovery space involves deliberate spatial planning, structural storage solutions, and selecting equipment that matches your specific myofascial needs. Whether you are converting a corner of your garage or dedicating a spare room, the foundational footprint for a comprehensive stretching and rolling station requires a minimum clearance of 6 feet by 6 feet. This allows full extension for 36-inch foam rollers and unrestricted movement for dynamic stretching.
The first step in the physical installation is addressing vertical storage. Storing high-density foam rollers horizontally on the floor not only creates a tripping hazard but can also cause long-term warping in softer EVA (Ethylene-Vinyl Acetate) foams if they are not supported at multiple points. We recommend installing a heavy-duty slatwall panel or a 1/4-inch steel pegboard mounted directly into wall studs. Using 4-inch heavy-duty J-hooks (rated for at least 15 lbs each) allows you to cradle 36-inch rollers at three equidistant points, preserving their structural integrity while keeping your floor space clear for your yoga mat.
Phase 2: The Core Setup — Foam Roller Density and Size Selection
The centerpiece of any recovery zone is the foam roller. However, selecting the wrong density or size is a common failure point that leads to either ineffective release or bruised tissue. Understanding the material science behind these tools is critical for your setup.
Density Breakdown: Matching Material to Tissue Tolerance
Foam rollers are primarily manufactured from three materials, each offering a distinct compressive resistance. According to guidelines on myofascial release from the American Council on Exercise (ACE), matching the density to your pain tolerance and tissue adaptability is essential for safe recovery.
| Density Level | Primary Material | Compression Rating | Best Use Case | Avg. Price Range |
|---|---|---|---|---|
| Soft / Low | Standard EVA Foam | High Yield (Sinks easily) | Beginners, acute injury rehab, gentle spinal mobilization | $12 - $20 |
| Medium / Standard | High-Density EVA / EPP Blend | Moderate Yield | General fitness, post-run recovery, Pilates integration | $18 - $30 |
| Firm / High | EPP (Expanded Polypropylene) | Low Yield (Very rigid) | Deep tissue work, IT band, heavy lifters, chronic adhesions | $25 - $40 |
| Extra-Firm / Grid | ABS Plastic Core + EVA Shell | Zero Yield Core (Targeted pressure) | Pinpoint trigger point therapy, mimicking massage therapist thumbs | $35 - $55 |
Size and Dimensions: Spatial Considerations
Size selection is dictated by both your anatomical targets and the physical dimensions of your installed recovery zone:
- 12 to 13 Inches (Travel/Targeted): Ideal for isolating single limbs (calves, quads, lats) and easily stored in a drawer or small cubby. Perfect for apartments with limited square footage.
- 18 Inches (Standard): The versatile middle ground. Wide enough to accommodate the thoracic spine for upper back extension, yet compact enough for most home gym racks.
- 24 to 36 Inches (Full Body/Clinical): Essential for longitudinal rolling (lying parallel to the roller to open the chest and align the spine). Installation Note: 36-inch rollers require a minimum of 42 inches of clear wall space for horizontal J-hook mounting.
Phase 3: Maintenance — The Ultimate Yoga Mat Spray DIY Recipe
Once your hardware is installed and your rollers are mounted, maintaining the hygiene of your soft goods (mats and foam roller surfaces) is the final phase of the setup. Commercial mat cleaners often contain harsh alcohols or synthetic fragrances that degrade the structural integrity of your equipment. For instance, alcohol-based sprays will rapidly dry out and flake the surface of TPE (Thermoplastic Elastomer) mats and strip the natural oils from open-cell rubber mats like the JadeYoga Harmony or Manduka eKO.
To protect your investment, formulating a yoga mat spray DIY solution is both cost-effective and material-safe. This specific recipe utilizes witch hazel as a gentle astringent and antimicrobial agent without the dehydrating effects of isopropyl alcohol.
The Setup-Safe DIY Mat & Roller Cleaning Formula
This formula is safe for PVC, TPE, natural rubber, and the EVA/EPP surfaces of your foam rollers.
- Base Liquid: Pour 3/4 cup (6 oz) of distilled water into a 16 oz amber glass spray bottle. (Distilled is critical; tap water introduces minerals that can clog the spray nozzle and leave white residue on dark mats).
- Astringent: Add 1/4 cup (2 oz) of alcohol-free witch hazel. This cuts through the sebum and sweat oils left behind after intense mobility sessions.
- Antimicrobial Agent: Add 12 drops of Tea Tree essential oil (Melaleuca alternifolia). Tea tree is proven to combat the fungi and bacteria that thrive in the porous surfaces of open-cell yoga mats and foam roller crevices.
- Scent & Soothing: Add 8 drops of Lavender or Eucalyptus essential oil to provide a calming aromatherapy profile for your recovery space.
- Emulsification: Because oil and water do not naturally mix, add 1/2 teaspoon of vegetable glycerin or a drop of unscented Castile soap to act as an emulsifier, ensuring the essential oils disperse evenly rather than floating at the top.
Application Protocol: Shake vigorously before each use. Mist the surface of your mat or foam roller lightly from a distance of 12 inches. Allow the solution to sit for 30 seconds to break down lipid bonds in sweat, then wipe clean with a microfiber cloth. Never soak an open-cell natural rubber mat, as it will absorb the liquid and become waterlogged.
Phase 4: Final Assembly and Daily Workflow Integration
A successful installation is only as good as the workflow it supports. Arrange your recovery zone in a logical sequence. Place your wall-mounted foam rollers adjacent to your mat space, with your DIY spray bottle and microfiber cloths stored in a small, wall-mounted acrylic dispenser or basket. According to physical therapy best practices outlined by Harvard Health Publishing, consistency in myofascial release yields significantly better results than sporadic, intense sessions. By having your 18-inch or 36-inch roller visibly mounted and your cleaning spray immediately accessible, you reduce the friction of starting your daily recovery routine.
Frequently Asked Questions
Can I use vinegar in my yoga mat spray DIY recipe?
While white vinegar is a natural disinfectant, its high acidity (acetic acid) can break down the bonding agents in some synthetic TPE mats over time and leave a lingering odor in porous EVA foam rollers. Witch hazel is a much safer, pH-balanced alternative for fitness equipment.
How do I install wall mounts for foam rollers on drywall?
Do not rely on standard drywall anchors for a 36-inch foam roller, especially if it is an ABS-core model weighing upwards of 3-4 lbs, as the leverage can pull the anchor out over time. Always use a stud finder to mount your J-hooks directly into wooden wall studs. If stud placement does not align with your desired layout, install a wooden backing board (like a 1x6 pine board) into the studs first, and then mount your hooks to the board.
Does foam roller density affect spinal alignment exercises?
Yes. For thoracic extension exercises (lying back over the roller to open the chest), a medium-density EVA or soft grid roller is recommended. Using an extra-firm EPP or ABS-core roller directly on the spinous processes of the spine can cause severe bruising and trigger protective muscle guarding, which defeats the purpose of the mobility setup.
More gear to consider
All reviews
Yoga Blocks, Straps & Sanuk Yoga Mat Flip Flops: 2026 Space Guide

Band Setup: Levels, Types & Standard Yoga Mat Length Clearance

Brad Sports Maintenance Essentials: A Field-Proven Protocol for Longevity, Performance, and Safety
Foam Roller Selection & How to Clean Lululemon Yoga Mats

Beyond the Lululemon Yoga Mat Outlet: Resistance Band Guide
