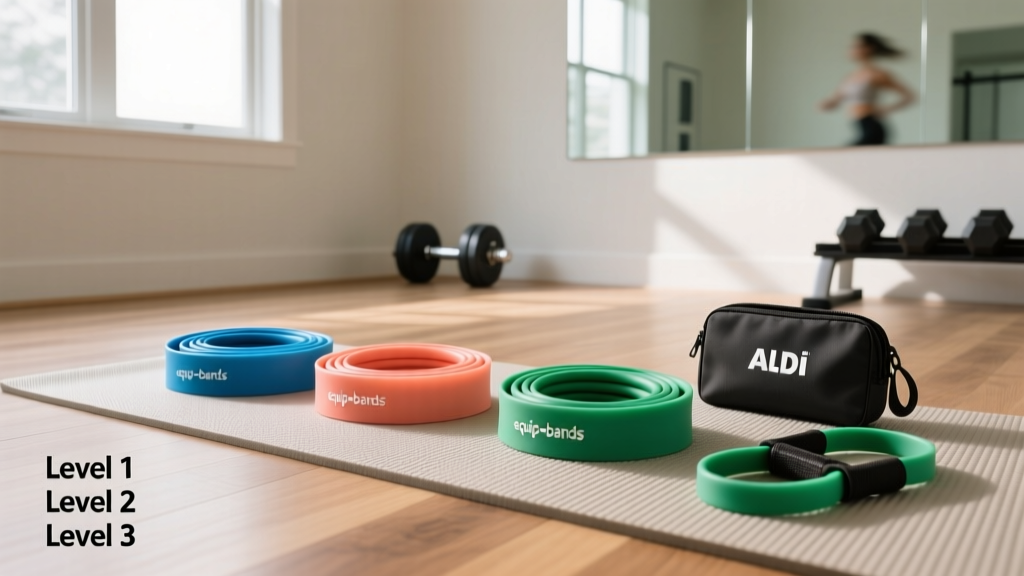
Resistance Band Set Guide: Levels, Types & Aldi Yoga Mat Pairings
Master your beginner fitness journey with our step-by-step resistance band set buying guide. Learn levels, types, and how to pair them with an Aldi yoga mat.

Starting a home fitness journey in 2026 does not require a $2,000 smart gym or a garage full of iron. For beginners, elastic resistance training is one of the most effective, joint-friendly ways to build foundational strength. According to the National Institute on Aging, resistance training is critical for improving balance, bone density, and functional mobility at any age. However, walking into the fitness aisle or browsing online can be overwhelming. Tube bands, loop bands, therapy ribbons, color-coded tension levels—where do you start?
This step-by-step beginner guide will demystify resistance band sets, explain how to decode tension levels, and address a crucial, often-overlooked piece of the home gym puzzle: protecting your flooring. Specifically, we will look at how to safely pair high-tension bands with budget-friendly surfaces, like the highly popular Aldi yoga mat, without destroying your gear.
Step 1: Choose the Right Type of Resistance Band
Not all elastic bands are created equal. Your choice should dictate your workout style. Here are the three primary types you will encounter when shopping for a beginner set:
1. Tube Bands with Handles
These resemble jump ropes made of thick latex or TPE tubing, featuring carabiners on the ends that clip onto plastic or foam handles. They often come with a door anchor and ankle straps.
- Best For: Mimicking traditional gym cable machines (bicep curls, chest presses, tricep pushdowns).
- Price Range: $15 to $30 for a comprehensive 5-piece set.
- Beginner Verdict: Highly recommended. The handles provide a familiar grip, and the included door anchor allows for hundreds of American Council on Exercise (ACE) approved movements.
2. Continuous Loop Bands (Pull-Up Assist / Power Bands)
These are thick, continuous flat loops of heavy-duty layered latex, usually 41 inches long. They range from 1/4 inch to 4 inches in width.
- Best For: Pull-up assistance, heavy lower-body compound movements (squats, deadlifts), and mobility stretching.
- Price Range: $10 to $45 per band, depending on thickness.
- Beginner Verdict: Buy one or two individual loops (a light and a medium) rather than a full set. They are incredibly durable but can be intimidating to grip without handles.
3. Flat Therapy Bands
Thin, wide ribbons of latex or latex-free elastomer, often sold in rolls or pre-cut 5-foot lengths. Brands like TheraBand dominate this space.
- Best For: Physical therapy, Pilates, senior mobility, and lightweight upper-body toning.
- Price Range: $8 to $15.
- Beginner Verdict: Excellent for rehabilitation or travel, but they lack the durability and tension ceiling needed for progressive strength building.
Step 2: Decode Resistance Levels and Tension
The biggest mistake beginners make is assuming that color codes are universal. A green band from Brand A might offer 15 lbs of resistance, while a green band from Brand B might offer 40 lbs. Always check the manufacturer's specific tension chart. However, most tube band sets follow a general industry standard based on thickness and diameter.
| Color | Estimated Tension | Best Beginner Application |
|---|---|---|
| Yellow | 5 - 15 lbs | Rotator cuff warm-ups, physical therapy |
| Green / Red | 15 - 30 lbs | Bicep curls, lateral raises, overhead presses |
| Blue / Black | 30 - 50 lbs | Squats, chest presses, bent-over rows |
| Silver / Gold | 50 - 80+ lbs | Heavy deadlifts, assisted pull-ups (loop bands) |
If you are stuck between two resistance levels, buy the lighter one. You can always combine a 15 lb green band and a 30 lb blue band using the same carabiner handle to create a 45 lb resistance. You cannot, however, make a 50 lb band lighter if it compromises your form.
Step 3: Protect Your Gear (The Aldi Yoga Mat Factor)
When assembling a budget home gym, many beginners purchase their foundational gear from local discount grocers. The Aldi yoga mat—frequently sold under the 'Crane' or 'Easy Home' brand names in the seasonal 'Aldi Finds' middle aisle—is a staple for new exercisers. Priced between $14.99 and $19.99, these 6mm TPE (Thermoplastic Elastomer) or NBR foam mats offer excellent cushioning for floor work.
However, pairing high-tension resistance bands with a budget TPE Aldi yoga mat introduces a specific mechanical hazard: shear force friction.
The Shear Force Problem
When you perform a foot-anchored exercise (like a resisted squat or bicep curl), you step on the band. As you pull upward, the band tries to slide laterally against the mat. TPE foam is eco-friendly and lightweight, but it has a relatively low tensile tear strength compared to natural rubber. The microscopic grit on your bare foot or shoe, combined with the aggressive lateral pull of a 40 lb band, acts like a dull saw. Within a few weeks, this will cause 'pilling,' permanent indentations, or outright tearing of your Aldi yoga mat's surface.
How to Safely Anchor Bands on Budget Mats
- Use the Door Anchor: For 80% of upper-body exercises, use the door anchor included in your tube band set. This removes your feet from the equation entirely and saves your mat from friction burns.
- The Microfiber Barrier: If you must step on the band, place a folded microfiber towel or a smooth cotton t-shirt between your foot and the band. This allows the band to slide against the fabric rather than grinding into the TPE foam.
- Wear Clean Indoor Shoes: Bare feet have natural oils and microscopic calluses that grip and tear foam. Wearing a clean, smooth-soled indoor sneaker distributes the pressure evenly across the mat.
- Inspect for Micro-Tears: Before every workout, run your fingers along the edges of the band. If you feel any nicks, discard it immediately. A snapping 40 lb band can cause severe welts or eye injuries.
Step 4: Your First 4-Week Beginner Progression Plan
Now that you have your tube band set and your Aldi yoga mat properly protected, it is time to build a routine. The goal of the first four weeks is neuromuscular adaptation—teaching your brain to fire the correct muscles under variable elastic tension.
Weeks 1-2: Form and Control (3 Days/Week)
Use the Yellow or Green band. Focus on a 2-second concentric (pulling) phase and a slow 3-second eccentric (releasing) phase. Elastic bands provide 'accommodating resistance,' meaning they get heavier as they stretch. Controlling the eccentric phase is where the real muscle damage and growth occur.
- Banded Squats: 3 sets of 12 (Stand on band, hold handles at shoulder height).
- Seated Rows: 3 sets of 12 (Sit on your Aldi mat, legs extended, loop band around feet—use the towel barrier!).
- Chest Press: 3 sets of 12 (Anchor band in door at chest height, press forward).
Weeks 3-4: Tension Overload (3 Days/Week)
Upgrade to the Blue or Black band. Drop the reps to 8-10 per set. If you can easily complete 12 reps with perfect form, the band is too light. You should struggle on the final two reps of every set.
Step 5: Maintenance and Edge Cases
Resistance bands are perishable goods. Unlike cast iron dumbbells that last generations, latex and TPE bands degrade. To maximize the lifespan of your investment:
- Avoid UV Exposure: Never leave your bands in direct sunlight or in a hot car. UV rays break down the polymer chains in latex, causing it to dry rot and snap.
- Keep Away from Oils: Do not use lotions, sunscreen, or massage oils before handling your bands. Petroleum-based products will dissolve the latex exterior.
- Latex Allergies: If you experience redness, itching, or hives after a workout, you may have a Type I or Type IV latex allergy. Switch immediately to 100% TPE or fabric-covered resistance bands, which are widely available from brands like Fit Simplify or Gritin.
Frequently Asked Questions
Can I use an Aldi yoga mat for heavy resistance band training?
Yes, but with caveats. The 6mm Crane TPE mats sold at Aldi are fantastic for joint cushioning during floor work, planks, and stretching. However, they are not designed for the heavy shear friction of foot-anchored power bands. Use a door anchor or a protective fabric barrier to extend the life of your mat.
How do I clean my resistance bands?
Wipe them down with a damp cloth and mild dish soap after heavy sweating. Never use bleach, alcohol-based sanitizers, or harsh chemical cleaners, as these will strip the protective silicone coating and accelerate dry rot.
Are fabric loop bands better than rubber ones?
For lower-body glute and hip work (like lateral band walks or clamshells), fabric bands are superior because they do not roll up your leggings or pinch your skin. However, for upper-body pulling and full-body compound movements, traditional rubber tube or loop bands offer a much wider range of motion and higher tension ceilings.
By understanding the mechanics of elastic resistance and respecting the material limits of your budget gear, you can build a highly effective, safe, and progressive home gym without breaking the bank.
More gear to consider
All reviews
Battle Rope Length & Thickness Guide: Don't Waste Your Yoga Mat Bread

Jump Rope Setup: Speed & Beaded on Manduka ProLite Yoga Mat - 4.7mm

Pull-Up Assist Band Sizing: Anchor Errors & How Wide Are Yoga Mats?

Pull Up Assist Band Sizing & Manduka X Yoga Mat Review
Exercise Ball Size Guide & Gaiam Yoga Mat Wash Review
