
How to Choose a Yoga Mat and Pull-Up Assist Bands
Learn how to choose a yoga mat and size pull-up assist bands with our step-by-step beginner guide for building the perfect home gym setup.

The Ultimate Beginner Home Gym Duo
Building a functional, joint-friendly home gym in 2026 does not require a massive financial investment or a dedicated spare room. In fact, the most effective beginner setup for building foundational strength and mobility relies on two highly specific pieces of equipment: a high-quality floor mat and a properly sized set of resistance bands. Whether you are working on your first unassisted pull-up or establishing a daily stretching routine, understanding how to choose a yoga mat and correctly sizing your pull-up assist bands will dictate your progress, safety, and long-term consistency.
This step-by-step guide bridges the gap between floor-based mobility work and vertical pulling mechanics, giving you the exact specifications, pricing, and progression frameworks you need to succeed.
Part 1: How to Choose a Yoga Mat for Floor Work and Band Anchoring
Before you can safely anchor a band to a door or perform floor-based scapular pulls, you need a reliable foundation. Many beginners make the mistake of buying ultra-cheap, 3mm PVC mats that offer zero joint protection and become slippery the moment you sweat. When evaluating how to choose a yoga mat for a home gym that includes resistance training, you must prioritize density and grip over mere aesthetics.
Material Breakdown: TPE vs. Natural Rubber vs. PVC
- Natural Rubber (The Gold Standard): Offers the best grip and density. The Liforme Original (approx. $140) features a 4.2mm natural rubber base with a polyurethane (PU) top layer that grips even when wet. It is heavy (approx. 5.5 lbs), making it ideal for anchoring light bands during floor work without the mat sliding.
- PVC (The Durability Pick): The Manduka PRO (approx. $120, 6mm thick) is virtually indestructible and comes with a lifetime guarantee. However, PVC requires a 'break-in' period. Expert Tip: To remove the factory film and prevent slipping, scrub the mat with coarse sea salt and a damp cloth, then leave it in the sun for two hours.
- TPE (The Budget/Eco Pick): Brands like Gaiam offer TPE mats around $30-$50. They are lightweight and eco-friendly but lack the sheer density required for heavy resistance band anchoring or intense plyometric footwork.
Part 2: Pull-Up Assist Band Sizing and Selection
While learning how to choose a yoga mat is largely about comfort and material science, selecting a pull-up assist band is pure physics. The most common beginner mistake is buying a single, overly thick band that does all the work, preventing the central nervous system from adapting to the movement pattern.
Understanding the Tension Curve
Pull-up bands do not provide static assistance. They operate on a variable tension curve. A band rated for '50-80 lbs of assistance' does not lift 80 lbs throughout the entire movement. It provides 80 lbs of upward force at the very bottom (when the band is maximally stretched) and near 0 lbs at the top (when the band is fully contracted). This means you still need significant strength to clear your chin over the bar, which is why micro-progression is vital.
The Industry Standard Sizing Matrix
Most premium manufacturers (like Rogue Fitness and WODFitters) use a standardized color-coding system based on the band's width and thickness. Below is the definitive sizing chart to help you select the right starting point based on your current body weight and strength level.
| Color / Size | Dimensions | Resistance / Assist | Ideal User Profile |
|---|---|---|---|
| Red (Light) | 1/4 inch wide | 15 - 35 lbs | Advanced users needing a slight warm-up assist or micro-loading. |
| Black (Medium) | 1/2 inch wide | 30 - 60 lbs | Intermediates who can do 1-3 strict pull-ups but need volume assistance. |
| Purple (Heavy) | 3/4 inch wide | 50 - 80 lbs | True beginners (130-170 lbs) working toward their very first pull-up. |
| Green (X-Heavy) | 1 1/8 inch wide | 80 - 120 lbs | Heavier beginners (180+ lbs) or those learning muscle-up transitions. |
The 'Two-Band' Rule: Never buy just one band. According to progression frameworks outlined by Nerd Fitness, you should always purchase a set of two adjacent sizes (e.g., Black and Purple). As you grow stronger, you can use the heavier band for your first two sets when fatigued, and the lighter band for your final set to force neuromuscular adaptation.
Part 3: Step-by-Step Execution for Your First Banded Pull-Up
Once you have your mat laid out for your post-workout mobility routine and your bands selected, it is time to execute. Proper setup prevents the band from snapping back or slipping off the bar.
- The Anchor: Loop the band over the center of the pull-up bar. Pull one end through the other and tighten the knot securely. Ensure the seam of the band is facing away from you to prevent pinching.
- The Step-In: Place your yoga mat directly under the bar to cushion your landing. Step onto the mat, grab the bar with an overhand grip (thumbs wrapped), and place one foot (or both knees) into the bottom loop of the band. Safety Note: Always step into the band with the center of your foot, not your toes, to prevent the band from slipping off mid-rep.
- Scapular Engagement: Before bending your elbows, pull your shoulder blades down and back (depression and retraction). This engages the lats and takes the load off your biceps and elbow tendons.
- The Pull: Drive your elbows down toward your hips. Keep your core braced. As you reach the top, remember that the band is providing the least amount of help here—fight through the sticking point.
- The Descent: Lower yourself on a strict 3-second count. The eccentric (lowering) phase builds the most strength for unassisted pull-ups.
Real-World Failure Modes and Edge Cases
Even with the best gear, beginners encounter specific mechanical failures. Here is how to troubleshoot them:
1. Band 'Rolling' on the Bar
If your band constantly slides to the left or right of the bar during a set, it is usually due to asymmetrical pulling. If your right lat is stronger than your left, the band will torque and roll. Fix: Film your sets from behind. If you see one shoulder rising higher than the other, incorporate single-arm banded lat pulldowns on your yoga mat to correct the imbalance.
2. The 'Snap-Back' Hazard
Layered latex bands can delaminate over time, especially if exposed to UV light or extreme temperature changes in a garage gym. Inspect the edges of your band monthly for micro-tears. If a band snaps while under tension, it can cause severe welts or eye injuries. Replace bands every 12-18 months with heavy use. For a comprehensive guide on safe home gym setups, refer to the equipment safety standards published by Self Magazine.
3. Mat Degradation from Band Friction
If you frequently anchor heavy bands to a door and use your mat as a sliding surface for foot placement, the friction will eventually tear the top layer of softer TPE or PU mats. Stick to dense PVC or vulcanized rubber mats if your training involves heavy, repetitive band friction.
Final Thoughts on Building Your Routine
Mastering the vertical pull is a marathon, not a sprint. By taking the time to research how to choose a yoga mat that supports your joints and understanding the precise physics of pull-up assist band sizing, you are setting yourself up for sustainable progress. Invest in a quality 5mm-6mm mat, purchase a Black and Purple band combo, and commit to a 3-day-per-week banded progression protocol. Within 8 to 12 weeks, you will be stepping off the band and pulling your own body weight with strict, unassisted form.
Further Reading & Authoritative Sources
- The New York Times Wirecutter: Best Yoga Mats - In-depth material testing and durability reviews for home gym flooring.
- Nerd Fitness: The Pull-Up Progression Guide - Step-by-step band sizing and eccentric loading protocols.
- Self Magazine: How to Do a Pull-Up - Biomechanical breakdowns and safety tips for banded variations.
More gear to consider
All reviews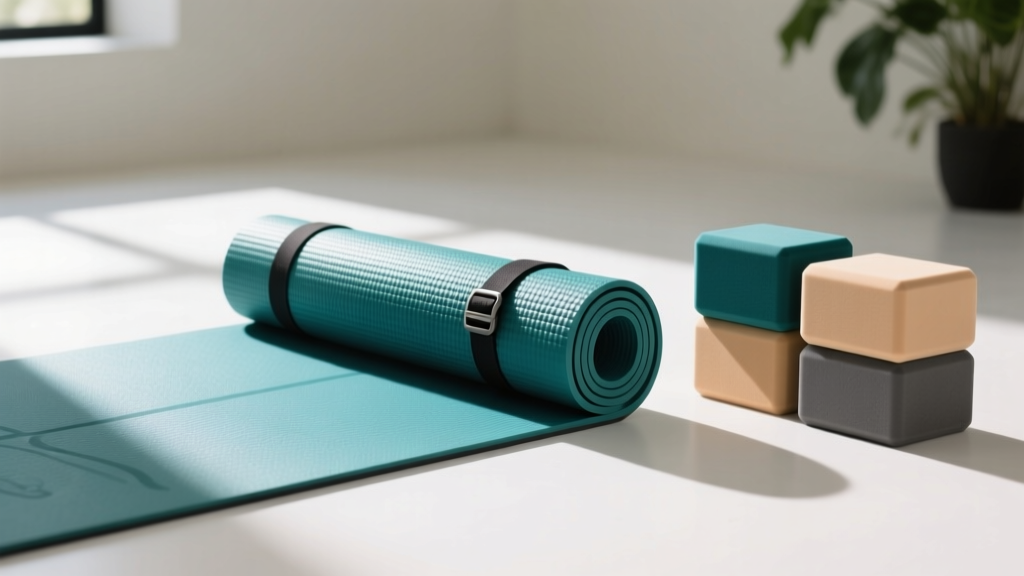
Nautilus Yoga Mat With Strap vs Custom Block Kits: 2026 Value Guide
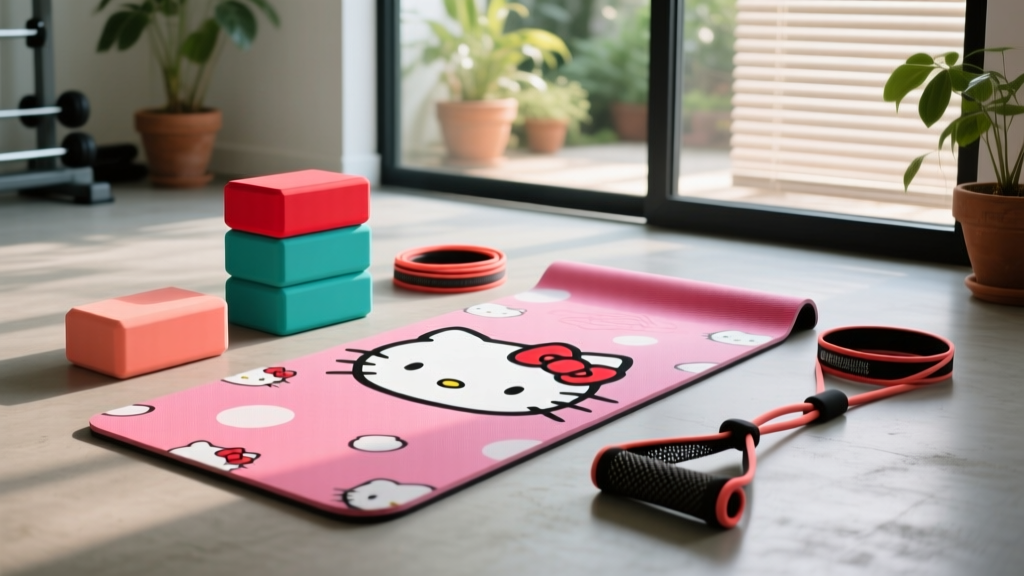
Yoga Block & Strap Guide: Caring for Your Hello Kitty Yoga Mat

Jump Rope Types: Speed, Beaded & Yoloha Unity Cork Yoga Mat Guide

Pilates Accessories Budget Guide: Manduka eQua Yoga Mat Towel Value

Yoga Mat Wirecutter Favorites vs. Rivals: 2026 Grip & Material Test
