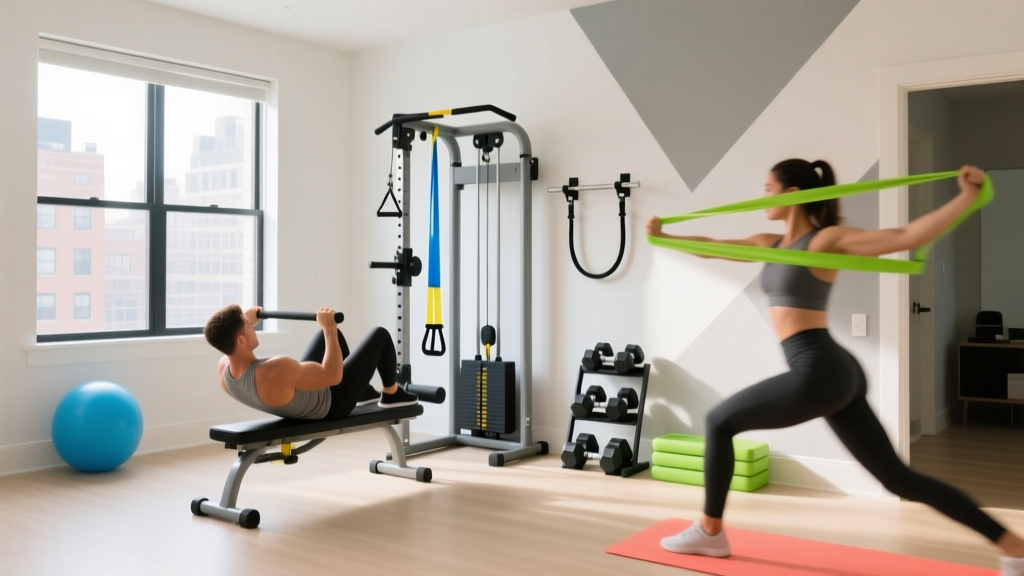
Outdoor Setup: Weatherproof Accessories for Home Gym Environments
Discover the ultimate walkthrough for outdoor setups, featuring the best weather-resistant accessories for home gym longevity against rain, UV, and rust.

The Reality of Outdoor Fitness: Why Standard Gear Fails
Building an outdoor training space is one of the most rewarding projects you can undertake, offering unlimited fresh air and natural light. However, the environment is relentless. Standard indoor equipment, when exposed to ultraviolet (UV) radiation, ambient moisture, and extreme temperature fluctuations, will degrade rapidly. Rubber crumbles, bare steel oxidizes within weeks, and nylon straps lose their tensile strength. To build a permanent, safe, and functional outdoor training space, you must completely rethink your equipment list. Selecting the right accessories for home gym setups located outdoors requires ignoring standard indoor recommendations and prioritizing material science over aesthetics.
This complete installation walkthrough covers everything from foundational drainage to selecting UV-stable attachments, ensuring your investment survives the elements for years to come.
The Climate Matrix: Assessing Environmental Threats
Before purchasing a single piece of equipment, you must identify the primary environmental threats in your specific region. Different climates attack fitness equipment through entirely different mechanisms.
| Environmental Threat | Primary Failure Mode | Vulnerable Equipment | Required Material Upgrade |
|---|---|---|---|
| High UV / Direct Sun | Polymer chain scission (brittleness) | Resistance bands, standard rubber mats, nylon slings | Silicone, Urethane, HDPE |
| High Humidity / Rain | Oxidation and crevice corrosion | Cast iron plates, steel racks, knurled bars | Hot-dip galvanized steel, Cerakote |
| Freeze/Thaw Cycles | Moisture expansion and concrete spalling | Poured concrete pads, hollow steel tubes | Sealed tubes, air-entrained concrete |
Phase 1: Foundation and Flooring Installation
The most common mistake in outdoor gym construction is laying standard 3/4-inch vulcanized horse stall mats directly onto dirt or grass. These mats trap moisture underneath, creating a breeding ground for mold, while the UV exposure degrades the rubber binder, causing it to flake and smell permanently of sulfur.
Step-by-Step Base Preparation
- Excavation: Dig down 4 to 6 inches across your designated workout footprint (minimum 10x10 feet for a standard rack setup).
- Geotextile Fabric: Lay down a heavy-duty landscaping fabric to prevent weed growth and soil migration.
- Crushed Gravel Base: Fill the excavated area with 3/4-inch crushed angular gravel (not pea gravel, which rolls). Compact it with a plate compactor to create a permeable, load-bearing base that drains water instantly.
Selecting Outdoor-Rated Flooring
For the surface layer, you need interlocking tiles designed for water permeability and UV resistance. As of 2026, the industry standard for high-end outdoor setups is the Greatmats StayLock Perforated PVC Tile (averaging $5.50 to $6.50 per square foot). Unlike solid rubber, the perforations allow rain to pass directly through to the gravel base, while the PVC material is inherently UV-stable and will not absorb water or harbor bacteria.
Warning: Never use indoor puzzle mats (EVA foam) outdoors. They will absorb rainwater like a sponge, warp in the sun, and become a severe slipping hazard.Phase 2: Rig and Rack Weatherproofing
Your power rack is the centerpiece of your gym and the most expensive component to replace. Standard powder-coated steel will eventually chip, allowing moisture to reach the bare steel, leading to rust creep beneath the coating.
Galvanization vs. Powder Coating
According to the American Galvanizers Association, hot-dip galvanizing provides a metallurgical bond between the zinc and the steel, offering cathodic protection that prevents rust even if the surface is scratched. In contrast, powder coating is merely a mechanical barrier. For outdoor rigs, you must source hot-dip galvanized steel (such as the Rogue Outdoor Monster series or specialized galvanized builds from Rep Fitness). Expect to pay a 30% to 40% premium over standard indoor powder-coated racks, but the lifespan increases from 3 years to 30+ years in harsh weather.
For hardware (bolts, nuts, and washers), discard the standard zinc-plated hardware that ships with most racks. Replace every single bolt with 304 or 316-grade stainless steel hardware to prevent galvanic corrosion and seizing.
Phase 3: Weather-Resistant Accessories for Home Gym Storage
When sourcing accessories for home gym environments exposed to the elements, you must evaluate how each item reacts to moisture and sunlight. Here is the definitive guide to outdoor-safe attachments and implements.
- Dumbbells and Kettlebells: Avoid bare cast iron and standard rubber-coated implements. Rubber degrades and becomes sticky in high heat. Invest in Urethane-coated dumbbells (e.g., Rogue Urethane Dumbbells, approx. $2.50/lb) or E-coated kettlebells. Urethane is highly resistant to UV degradation, moisture, and extreme temperature swings.
- Resistance Bands: Standard latex bands will dry rot and snap within a single summer if left in the sun. Purchase 100% Silicone resistance bands. Silicone is completely UV-stable and maintains its elasticity from -50°F to 400°F.
- J-Cups and Spotter Arms: If your galvanized rack uses UHMW (Ultra-High Molecular Weight) plastic liners on the J-cups, inspect them annually. UV exposure can make UHMW brittle over time. Keep a set of replacement HDPE or UHMW liners in a sealed, indoor bin.
- Storage Benches: Do not leave upholstered benches outside; the vinyl will crack and the foam will mold. Use a watertight, heavy-duty polyethylene storage bench (like the Suncast Deck Box) to store your collars, belts, and bands, keeping them out of the rain and direct sunlight when not in use.
Phase 4: Overhead Protection and Anchoring
While your equipment may be weatherproof, training in direct 95°F summer sun or freezing rain is miserable and unsafe. Installing an overhead shade structure is critical for temperature regulation and equipment longevity.
Shade Sails vs. Solid Pergolas
High-Density Polyethylene (HDPE) shade sails (blocking 85-95% of UV rays) are the most cost-effective solution, typically costing between $150 and $400 for a 12x16 foot commercial-grade sail. However, installation requires strict adherence to structural safety.
Expert Installation Tip: Do not attach shade sail turnbuckles to wooden fence posts or standard deck joists. The wind uplift on a 12x16 sail can exceed 1,500 lbs of lateral pull during a storm. Following FEMA guidelines on wind uplift and structural anchoring, you must set 4x4 pressure-treated posts in concrete footings poured below your local frost line, or use heavy-duty steel post anchors bolted into a reinforced concrete pad.When tensioning the sail, ensure a 15% slope to prevent water pooling, which can add hundreds of pounds of dead weight and collapse the anchor points.
Phase 5: The Outdoor Maintenance Protocol
Even the most weatherproofed outdoor gym requires a strict maintenance schedule to ensure safety and longevity. The Association for Materials Protection and Performance (AMPP) notes that routine removal of environmental contaminants is the most effective way to extend the life of protective metallic coatings.
Quarterly Maintenance Checklist
- Barbell Care: Wipe down bare or Cerakote-coated barbells with a nylon brush and apply a light coat of 3-IN-ONE Silicone Spray (never use WD-40, which attracts dust and strips lubricants). This prevents moisture from settling into the knurling.
- Pulley Systems: If you have an outdoor cable tower, spray the guide rods with white lithium grease and inspect the aircraft cables for any micro-fraying caused by temperature-induced tension changes.
- Hardware Torque Check: Temperature swings cause metal expansion and contraction, which can loosen rack bolts. Use a torque wrench to check all structural bolts on your rig every 90 days.
- Drainage Clearance: Rake the gravel perimeter around your flooring to ensure dirt and leaves have not clogged the drainage path, which could lead to water pooling under your PVC tiles.
Final Thoughts on Outdoor Longevity
Building an outdoor gym is an exercise in material science as much as it is in fitness. By investing upfront in hot-dip galvanized steel, UV-stable urethane implements, permeable PVC flooring, and properly anchored shade structures, you eliminate the constant frustration of rusted gear and degraded rubber. Treat your outdoor space with the same rigorous installation standards as a commercial outdoor bootcamp facility, and your setup will remain a pristine, functional training ground for decades, regardless of what the weather throws at it.
More gear to consider
All reviews
Electrical & Safety Rules: Weight Plate Rack for Home Gym Setups
Complete Home Gym Floor Plan Guide & Top Home Gym Door Reviews
Space-Saving Home Gym Design Layout: Essential Beginner Starter Kit
Basement Home Gym Design Ideas: Essential Beginner Starter Kit
Bowflex PR 1000 Home Gym Setup: Strength Training Walkthrough