
Maintaining Wall-Mounted Storage and Your TAG Dumbbell Rack
Learn essential maintenance tips for wall-mounted home gym storage and heavy-duty TAG dumbbell racks to ensure safety, structural integrity, and longevity.

The 2026 Home Gym Storage Landscape: Space vs. Heavy Iron
As home gyms continue to evolve in 2026, the battle between maximizing floor space and accommodating heavy iron has led to a hybrid approach in equipment storage. Most optimized garage and basement gyms now utilize wall-mounted equipment storage for accessories, kettlebells, resistance bands, and lighter fixed-weight dumbbells. However, for serious hex and urethane dumbbell sets (ranging from 10 to 120 lbs), commercial-grade freestanding units like the TAG Fitness 3-Tier Dumbbell Rack remain the undisputed gold standard.
While these storage solutions are built to last, they are not immune to the relentless forces of gravity, dynamic loading, and environmental degradation. A wall-mounted rack holding 150 lbs of kettlebells exerts immense shear and pull-out forces on your wall studs. Similarly, a heavy-duty TAG rack requires specific care to preserve its powder coat and rubber saddles. This guide provides an expert-level maintenance framework to ensure your storage infrastructure remains safe, functional, and pristine for decades.
⚠️ CRITICAL SAFETY WARNING: Never rely on drywall anchors, toggle bolts, or masonry plugs for dynamic weight storage. Dropping a 40 lb dumbbell onto a wall-mounted rack creates a kinetic shockwave that will instantly rip drywall anchors out of the gypsum core. Always anchor directly into structural wood or steel studs.Wall-Mounted Storage: Anchoring, Torque, and Load Management
Wall-mounted storage systems—whether they are custom pegboards, slatwall panels, or heavy-duty steel bracket racks—live and die by their fasteners. The most common failure mode in home gyms is not the steel bracket bending, but the fastener stripping out of the wooden stud due to improper installation or wood fatigue over time.
The 6-Month Lag Bolt Audit
Wood is a hygroscopic material; it expands and contracts with seasonal humidity changes. In a garage gym, this seasonal movement can cause the wood fibers gripping your lag bolts to compress and loosen. According to structural fastening guidelines from Simpson Strong-Tie, structural screws and lag bolts in SPF (Spruce-Pine-Fir) lumber require periodic torque verification in high-vibration environments.
- Hardware Selection: Ditch standard hex lag screws. Upgrade to 3/8-inch x 3-inch structural screws (like GRK Fasteners RSS or Simpson Strong-Tie SDWS). These feature self-tapping threads and washer heads that resist pull-out forces significantly better than traditional lags.
- Stud Verification: Use a high-quality magnetic or ultrasonic stud finder to locate the absolute center of the 2x4 or 2x6 stud. As detailed in this Family Handyman guide on finding studs, hitting the edge of a stud reduces the wood's holding capacity by over 40%.
- Torque Specs: When initially installing, torque 3/8-inch structural screws to approximately 40-50 ft-lbs. Every six months, use a torque wrench to check for a 5% loss in tension. If the bolt turns easily, the wood fibers are stripped (see troubleshooting below).
Heavy-Duty Freestanding Care: Maintaining a TAG Dumbbell Rack
The TAG Fitness 3-Tier Dumbbell Rack is a staple in commercial facilities and high-end home gyms. Constructed from 11-gauge steel and featuring heavy-duty polyurethane or rubber saddles, these racks typically cost between $550 and $750 in 2026. While they are virtually indestructible structurally, their aesthetic and functional components require specific maintenance.
Preserving Rubber Saddles and Urethane Trays
The angled trays on a TAG rack are designed to cradle dumbbells and prevent them from rolling. However, the rubber and polyurethane materials are highly susceptible to chemical degradation and UV damage.
'The number one reason commercial gym rubber trays crack and peel prematurely is the use of harsh, petroleum-based degreasers or bleach solutions by cleaning staff. In a home gym, this translates to using abrasive bathroom cleaners or undiluted multi-surface sprays that dry out the polymers.' — Commercial Gym Equipment Technician
The Correct Cleaning Protocol:
- Mix a solution of pH-neutral dish soap (like Dawn) or Simple Green Pro HD (diluted 10:1 with water).
- Wipe down the rubber saddles weekly with a microfiber cloth to remove acidic sweat and chalk dust.
- Every three months, apply a water-based rubber protectant (like 303 Aerospace Protectant) to the trays to prevent UV drying and cracking, especially if your gym is near a window.
Bolt and Gusset Inspections
Even freestanding racks experience micro-movements when users aggressively rack heavy dumbbells. The M10 and M12 hex bolts connecting the vertical uprights to the horizontal tiers can back out over time. Include a bi-annual check of all structural bolts on your TAG rack, tightening them with a metric hex key or socket set. Inspect the welded gussets at the 90-degree joints for any signs of micro-fractures or powder coat flaking, which indicate metal fatigue from repeated impact loading.
Environmental Threats: Humidity, Sweat, and Oxidation
Whether you are maintaining wall-mounted brackets or a freestanding TAG rack, the ambient environment is the silent killer of gym equipment. Flash rust can begin forming on raw steel threads or scratched powder coats within 24 hours in high-humidity conditions. Corrosionpedia defines flash rust as the rapid onset of oxidation when moisture and oxygen interact with exposed ferrous metals.
Climate Control and Preventative Coatings
- Humidity Targets: Maintain your home gym's relative humidity (RH) between 40% and 50%. If you are in a damp climate or an uninsulated garage, a commercial-grade dehumidifier is a non-negotiable investment for equipment longevity.
- Thread Protection: Spray the exposed threads of your wall-mounted lag bolts and the assembly bolts on your TAG rack with a dry PTFE lubricant or a corrosion inhibitor like Boeshield T-9. Avoid wet oils (like WD-40 standard), which attract dust and chalk, creating an abrasive paste that accelerates wear.
- Sweat Mitigation: Human sweat is highly acidic and saline. If sweat drips onto the steel uprights of your TAG rack or the wall brackets, wipe it down immediately. Over time, salt accumulation will eat through standard powder coatings, leading to sub-surface rust.
Maintenance Matrix: Wall-Mounted vs. TAG Freestanding
To keep your maintenance routine organized, refer to the comparison matrix below. This framework separates the unique stressors and care requirements for both storage types.
| Equipment Type | Primary Stressor | Maintenance Interval | Key Action Required | Estimated Repair Cost |
|---|---|---|---|---|
| Wall-Mounted Brackets | Shear & Pull-out Forces | Every 6 Months | Torque check lag bolts to 45 ft-lbs; inspect drywall for stress cracks. | $15 (Fasteners) to $150 (Drywall/Stud repair) |
| TAG Rack Steel Frame | Impact Loading & Humidity | Annually | Inspect weld gussets; apply Boeshield T-9 to exposed metal or scratches. | $30 (Touch-up paint & Rust inhibitor) |
| TAG Rack Rubber Saddles | Chemical & UV Degradation | Monthly / Quarterly | Clean with pH-neutral soap; apply water-based UV protectant. | $45 - $75 (Replacement tray per tier) |
| Slatwall / Pegboard Panels | Moisture Warping (MDF) | Annually | Check for panel bowing; ensure bottom brackets are supporting the dead weight. | $100 - $250 (Panel replacement) |
Troubleshooting: Real-World Failure Modes and Fixes
Even with diligent maintenance, equipment storage systems can fail. Here is how to address the most common edge cases and failure modes in home gym storage.
Failure Mode 1: Stripped Wood Stud on Wall-Mounted Rack
The Symptom: The bottom bracket of your wall-mounted dumbbell rack wiggles, and the lag bolt spins freely without tightening. The drywall around the bracket is cracking.
The Fix: Do not simply use a thicker bolt, as this will split the stud. Unload the rack immediately. Remove the stripped bolt and inject high-quality wood glue into the hole. Pack the hole tightly with wooden matchsticks or a custom-cut 1/2-inch hardwood dowel. Let the glue cure for 24 hours. Once cured, drill a new pilot hole and drive a 1/2-inch structural lag screw into the reinforced wood. This restores up to 90% of the original pull-out strength.
Failure Mode 2: Sub-Surface Rust on TAG Rack Uprights
The Symptom: You notice small bubbles or a rough texture under the black powder coat on the lower legs of your TAG rack, often caused by saltwater (sweat) pooling on the floor and wicking up the steel.
The Fix: Use a brass wire brush to gently remove the bubbling powder coat and surface rust without damaging the surrounding healthy finish. Wipe the area with isopropyl alcohol to remove oils. Apply a rust converter (like Ospho) to neutralize any remaining oxidation, then seal the patch with a high-gloss black enamel touch-up paint designed for metal. To prevent recurrence, place rubber floor mats under the rack feet and ensure the floor slopes slightly away from the equipment to prevent liquid pooling.
Frequently Asked Questions (FAQ)
Can I mount a heavy dumbbell rack to a cinder block or concrete wall?
Yes, but you must use wedge anchors or epoxy anchors (like Simpson Strong-Tie SET-3G) rather than sleeve anchors. Concrete is highly susceptible to micro-fracturing under dynamic loads. Drill the hole to the exact depth specified by the anchor manufacturer, blow out the concrete dust with compressed air, and allow epoxy anchors to cure for a full 24 hours before loading the rack.
How do I prevent my TAG dumbbell rack from sliding on rubber gym flooring?
Heavy rubber flooring can actually act as a slip plane when lateral force is applied. If your TAG rack shifts when you are racking heavy weights, attach heavy-duty rubber anti-vibration pads (like those used for washing machines) to the base feet using double-sided mounting tape. This increases the coefficient of friction between the steel feet and the rubber floor matting.
More gear to consider
All reviews
Space Saving Dumbbell Rack Head-to-Head: 2026 Guide

Kettlebell Storage: Mistakes Using a Dumbbell Rack with Plate Storage

How to Build a DIY Vertical Dumbbell Rack & Weight Plate Tree
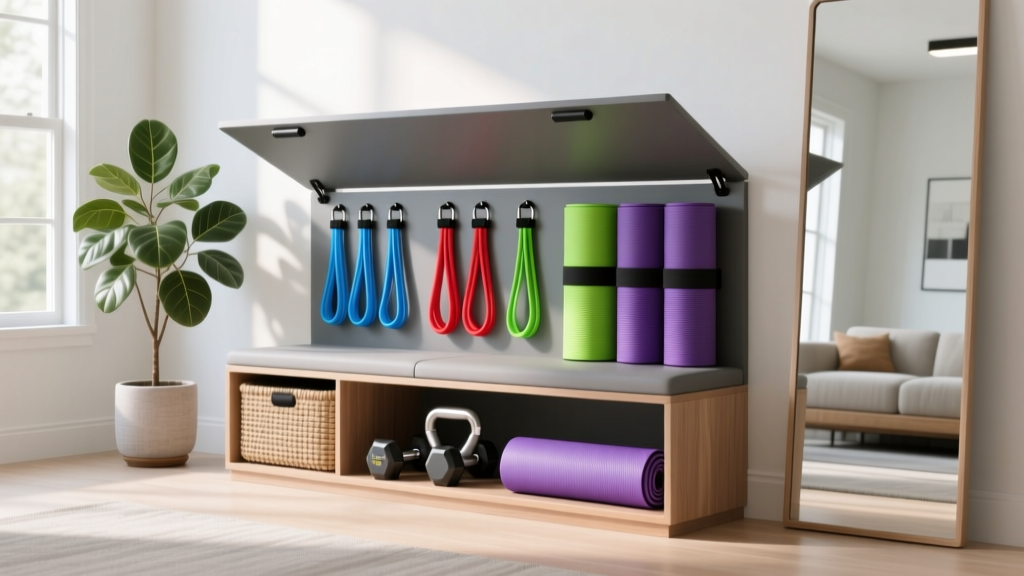
Space Optimization: Resistance Bands & The Home Gym Storage Bench

Beyond Basic Dumbbell Storage Ideas: Step-by-Step Kettlebell Rack Guide
