
Pad Setup: Calories Burned on Treadmill Calculator With Incline
Master your walking pad setup and traditional treadmill assembly. Learn to verify console accuracy using a calories burned on treadmill calculator with incline.

Pre-Installation: Space, Power, and Surface Preparation
Whether you are unboxing a compact under-desk walking pad or a heavy-duty incline treadmill, the installation process dictates the machine's lifespan and safety. In 2026, modern cardio equipment features highly sensitive lower control boards (PCBs) that are vulnerable to static discharge and power surges. Before cutting any zip ties, you must prepare your environment.
Electrical Requirements: Standard incline treadmills (like the Sole F63 or NordicTrack T Series) draw up to 15 amps under heavy load and require a dedicated 120V/15A circuit. Walking pads (like the KingSmith R2 Pro) typically draw 3 to 5 amps and can share a standard household circuit. Never use an extension cord for any motorized cardio equipment.For floor preparation, invest in a 3/4-inch thick, high-density EVA foam equipment mat. This is not just for noise reduction; it provides a crucial dielectric barrier that prevents static electricity from traveling through the floor and shorting out the treadmill's motor controller. According to the CDC's physical activity guidelines, creating a safe, unobstructed 2-foot clearance zone behind the machine is also critical for preventing severe friction-burn injuries in the event of a fall.
Phase 1: Walking Pad Unboxing and Assembly
Walking pads have surged in popularity for home offices, but their out-of-the-box setup requires specific attention to belt tension. We will use the KingSmith WalkingPad R2 Pro ($499) as our benchmark for this walkthrough.
- Unfolding the Hinge: The R2 Pro features a 180-degree folding handrail. Locate the hidden safety latch under the front console housing. Squeeze the release mechanism while lifting the upright bar until it clicks into the locked vertical position.
- Belt Tensioning (Crucial Step): Manufacturers intentionally ship walking pads with loose belts to prevent motor strain during transit. If you turn it on immediately, the belt will slip at speeds above 2.5 mph. Locate the two rear roller adjustment holes at the back of the deck. Using the provided Allen wrench, turn both the left and right bolts exactly one-quarter (1/4) turn clockwise.
- Firmware Pairing: Download the companion app. Connect via Bluetooth while the machine is idle. Ensure the 2026 firmware update is applied, which patches the auto-speed transition algorithm to prevent sudden jolts when switching from desk mode to workout mode.
Phase 2: Traditional Incline Treadmill Installation
Setting up a traditional machine like the Sole F63 ($1,199) is a two-person job due to the 140-pound upright assembly. The most common failure point during installation is the data cable connection.
- Upright Alignment: Feed the data cable through the left upright tube. Ensure the cable is not pinched between the steel tube and the mounting bracket.
- Pin Alignment: The data cable connectors feature a small green or red alignment arrow. These arrows must point directly at each other before you push the connectors together. A misaligned pin will instantly result in an E01 (Communication Error) when you power on the console.
- Bolt Torquing: Secure the uprights using the provided M8 bolts. If you have a torque wrench, set it to 35 Nm. Overtightening can strip the internal threading of the frame weld nuts.
Phase 3: Incline Motor Calibration and Console Verification
Once assembled, traditional treadmills require incline calibration so the console knows the exact physical limits of the lift motor. To force calibration on most standard consoles, press and hold the 'Incline Up' and 'Speed Down' buttons simultaneously for 5 seconds. The machine will beep, move to the maximum 15% grade, drop to 0%, and return to idle.
Validating Output: Using a Calories Burned on Treadmill Calculator With Incline
During your post-setup test walk, you will likely notice a discrepancy between the treadmill's console display and your smartwatch. Treadmill consoles are notoriously inaccurate because they rely on legacy MET (Metabolic Equivalent of Task) formulas that default to a 150 lb user and ignore biomechanical efficiency.
To verify your actual energy expenditure, you must cross-reference your workout using an independent calories burned on treadmill calculator with incline. These third-party calculators factor in your exact body weight, the specific grade percentage, and your walking speed to provide a true thermodynamic estimate. Research published in sports science journals and summarized by the Mayo Clinic confirms that adding a 10% incline can more than double your caloric expenditure compared to walking on a flat surface, a metric that basic walking pad consoles completely fail to capture since they lack incline motors.
Walking Pad vs. Incline Treadmill: 2026 Comparison Matrix
Choosing between a walking pad and a standard incline treadmill depends heavily on your spatial constraints and fitness goals. Below is a structural and functional comparison based on our latest teardowns.
| Feature | Walking Pad (e.g., Urevo Strol 2E) | Incline Treadmill (e.g., Sole F63) |
|---|---|---|
| Price Range | $250 - $499 | $999 - $1,500 |
| Motor Size | 1.5 to 2.5 HP (Peak) | 3.0 to 4.0 HP (Continuous) |
| Incline Capability | None (Fixed 0%) | 0% to 15% Motorized |
| Setup Time | 10 - 15 Minutes | 60 - 90 Minutes |
| Max Speed | 4.0 to 6.0 mph | 10.0 to 12.0 mph |
| Deck Length | 40 to 45 inches | 55 to 60 inches |
Troubleshooting Common Setup Failures
Even with careful assembly, edge-case failures can occur during the first 48 hours of use. Here is how to diagnose the most frequent issues:
1. The Belt Slips at Higher Speeds
If the walking pad belt hesitates when you step on it at 3.5 mph, the tension is still too loose. Do not over-tighten. Add another 1/8 turn to both rear bolts. If the belt is too tight, you will hear a high-pitched whining sound from the front roller bearing, indicating excessive friction that will eventually burn out the motor.
2. Incline Motor E02 Error Code
An E02 error on a standard treadmill indicates the console is not receiving feedback from the incline position sensor. This usually happens if the incline motor was manually forced down during unboxing. To reset, remove the motor hood cover, locate the optical sensor wheel on the side of the incline gear, and ensure it is free of factory grease. Run the manual calibration sequence mentioned in Phase 3 to re-establish the software baseline.
3. Console Shuts Off Randomly
This is almost always a thermal overload or a static discharge issue. If you skipped the EVA foam mat installation, static buildup from your shoes on the belt is shocking the PCB. Unplug the machine for 10 minutes, wipe the deck with a slightly damp microfiber cloth to remove factory dust, and install a proper grounding mat.
Safety Warning: Never attempt to adjust the incline lift motor wiring while the machine is plugged in. The capacitors on the lower control board can hold a dangerous electrical charge even after the unit is disconnected from the wall.
By meticulously following these setup protocols and validating your metabolic output with precise external calculators, you ensure your 2026 cardio investment is both mechanically sound and accurately tracking your fitness journey.
More gear to consider
All reviews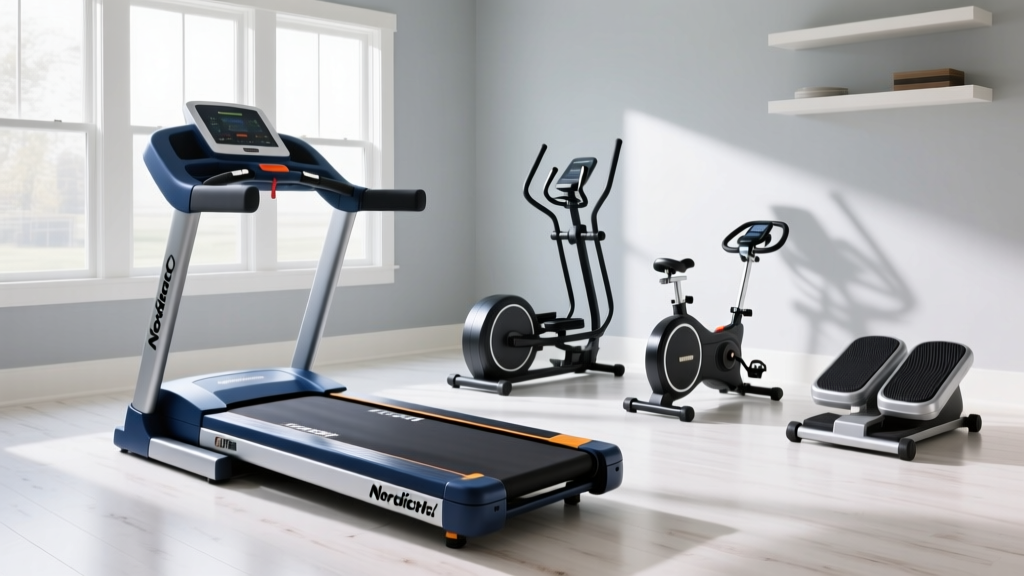
NordicTrack Commercial 1750 Folding Treadmill vs Compact Cardio
Force Plate Treadmill Installation & Noise Level Comparison Guide

Rowing Machine Buying Guide: Ditch the Treadmill Bar Grip

Elliptical vs Treadmill Value: Why Does My Treadmill Keep Stopping?

Best Folding Treadmills for a Treadmill Virtual Run Setup (2026)
