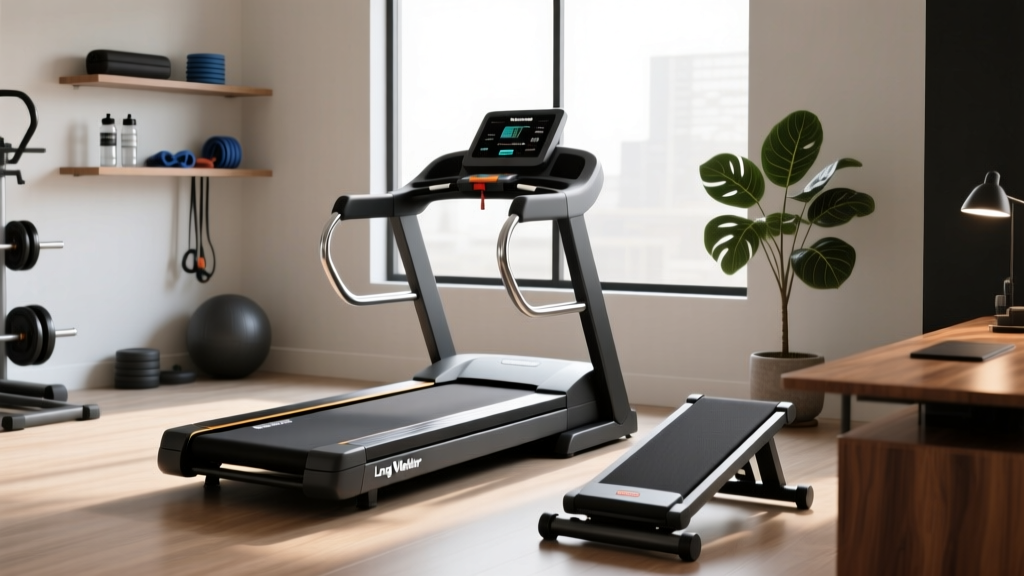
VitalWalk Treadmill Troubleshooting: Curved vs Motorized Mistakes
Fix common VitalWalk treadmill errors. Compare troubleshooting for motorized models vs curved manual treadmills with our expert repair guide.

The Biomechanical and Mechanical Divide: Understanding Your Drive System
When fitness enthusiasts transition between a motorized VitalWalk treadmill and a curved manual treadmill, they often carry over maintenance habits and operational expectations that lead to catastrophic equipment failure. The fundamental error lies in treating these two machines as variations of the same appliance. According to biomechanical research published in the National Center for Biotechnology Information (NCBI), curved non-motorized treadmills alter running kinematics, increasing hamstring activation and requiring the user to generate the propulsive force. Mechanically, this means the drive systems are entirely different: your VitalWalk motorized unit relies on a PWM (Pulse Width Modulation) DC motor controller and a continuous PVC belt, while a curved manual relies on user-driven urethane slats gliding over sealed ball bearings.
Mixing up the troubleshooting protocols for these two systems is the number one reason home gym owners void their warranties and destroy their running decks. This guide dissects the most common mistakes users make when diagnosing issues on a VitalWalk motorized treadmill versus a curved manual alternative, providing exact, actionable repair frameworks.
Critical Warning: Never apply liquid silicone spray to a curved manual treadmill slat belt. While silicone is standard for motorized PVC belts, it will attract polyurethane dust on a curved deck, creating an abrasive paste that destroys the wheel bearings within 40 hours of use.Top 5 Troubleshooting Mistakes on the Motorized VitalWalk Treadmill
The VitalWalk treadmill series (particularly the 2.25 HP and 3.0 HP folding models) utilizes a compact DC motor and a lightweight control board. Because of its space-saving design, thermal management and belt alignment are highly sensitive. Here are the most frequent diagnostic errors:
1. Misdiagnosing the 'E01' and 'E02' Error Codes
When a VitalWalk display flashes 'E01', users often assume the motor is dead and order a $150 replacement. In reality, E01 is a communication failure between the console and the lower motor control board, usually caused by a pinched 5-pin ribbon cable in the folding hinge mechanism. 'E02' indicates a speed sensor failure. The magnetic reed switch on the motor flywheel has likely shifted. The Fix: Unplug the unit, remove the motor hood, and use a multimeter to test the reed switch for continuity while manually spinning the flywheel. Adjust the sensor gap to exactly 2-3mm from the magnet.
2. Over-Tensioning a Slipping Belt
A slipping belt on a motorized VitalWalk is often blamed on a worn belt, prompting users to crank the rear roller adjustment bolts. Over-tensioning increases the amp draw on the DC motor. If your motor is pulling more than 12-15 amps under load (measurable via a clamp meter on the positive motor lead), you are starving the motor of its lifespan. The Fix: Tension the belt only until it stops slipping at 4.0 MPH. The correct tension allows you to lift the center of the belt exactly 2 to 3 inches off the deck.
3. Using the Wrong Lubricant Viscosity
VitalWalk decks are pre-coated with a specific wax-silicone hybrid. Applying generic, high-viscosity 100% silicone oil from third-party kits creates a hydroplaning effect and causes the belt to track violently to the left or right. Always use the manufacturer-specified low-viscosity treadmill lubricant, applying exactly 15ml in a zigzag pattern under the belt every 150 miles.
4. Ignoring Incline Motor Calibration
If your VitalWalk model features an auto-incline and it stalls or clicks without moving, users often replace the incline motor. The actual culprit is usually the potentiometer inside the incline gear housing losing its zero-point calibration. The Fix: Enter the engineering diagnostic mode (usually by holding 'Stop' and 'Speed Up' simultaneously for 5 seconds) and run the auto-calibration sequence to reset the upper and lower limit switches.
5. Overloading Peak HP vs. Continuous Duty HP
VitalWalk markets 'Peak HP' (e.g., 3.0 HP), but the Continuous Duty HP (CHP) is often 1.5 to 1.75 HP. Users weighing over 220 lbs who attempt sustained running at 7.0+ MPH will trigger the control board's thermal overload protection, causing the machine to shut down mid-stride. This is not a defect; it is a safety feature. The solution is to upgrade to a higher CHP unit or limit sustained running to 5.5 MPH.
Curved Manual Treadmills: Why Motorized Fixes Fail Here
Curved manual treadmills (like the Woodway Curve, TrueForm Runner, or AssaultRunner) have no motor, no control board, and no power cord. Troubleshooting is purely mechanical. Applying motorized logic to these machines results in severe damage.
- The 'Lag' Illusion: Users complain that the curved belt 'lags' or feels heavy at the start of a run. Unlike a VitalWalk motor that provides instant torque, a curved belt requires you to overcome the static friction of 70+ individual slat bearings. If the resistance feels abnormally high, the issue is bearing degradation, not a 'motor' issue.
- Slat Tension Misalignment: Motorized belts are tensioned via rear rollers. Curved belts are tensioned via the front and rear axle shafts. If the belt tracks to one side, adjusting only the rear axle will bind the slats against the side rails, snapping the urethane guides. Both axles must be adjusted in perfectly equal increments.
- Debris in the Slat Channels: Because curved treadmills sit closer to the floor and have open gaps between slats, pet hair and dust infiltrate the bearing tracks. While a VitalWalk deck is a solid board protecting the motor, a curved deck requires monthly vacuuming of the underside slat channels to prevent bearing seizure.
Comparative Troubleshooting Matrix
Use this matrix to quickly identify the correct diagnostic path based on your specific machine architecture.
| Symptom | Motorized VitalWalk Fix | Curved Manual Fix |
|---|---|---|
| Belt slips during foot strike | Adjust rear roller bolts 1/4 turn clockwise; check motor amp draw. | Check front/rear axle tension; inspect slat guide wheels for flat spots. |
| Machine shuts down randomly | Test control board thermal sensor; clean motor fan intake; check CHP limits. | N/A (No electrical components); check for mechanical binding causing user fatigue. |
| Loud grinding or squeaking noise | Lubricate PVC belt; inspect motor drive belt (if present); check roller bearings. | Degrease and repack slat wheel bearings with white lithium grease; do not use liquid oil. |
| Console displays Error Code | Trace 5-pin ribbon cable; test optical/magnetic speed sensor gap. | N/A (Console is battery-powered; replace CR2032 battery or check Bluetooth module). |
Step-by-Step: VitalWalk Belt Calibration and Sensor Realignment
For the most common VitalWalk issue—erratic speed changes and E02 errors—follow this precise calibration protocol. You will need a 4mm Allen wrench, a Phillips head screwdriver, and a digital multimeter.
- Access the Motor Hood: Remove the 4 to 6 screws securing the front plastic motor cover. Disconnect the unit from the wall.
- Locate the Speed Sensor: Find the small black plastic sensor mounted near the front roller pulley or motor flywheel. It will have two thin wires leading to the control board.
- Test the Reed Switch: Set your multimeter to continuity (the beep setting). Place the probes on the two sensor pins. Manually rotate the flywheel. You should hear a beep every time the magnet passes the sensor. If there is no beep, the sensor is dead and must be replaced (Part cost: ~$12).
- Adjust the Gap: If it beeps intermittently, loosen the sensor mounting screw. Slide the sensor closer to the magnet until the gap is exactly 2.5mm. Tighten the screw and retest.
- Recalibrate the Deck: While the hood is off, inspect the deck wear. If the phenolic coating is worn through to the wood, lubrication will not fix the friction. The deck must be flipped (if double-sided) or replaced (Part cost: $45-$80).
According to equipment maintenance guidelines highlighted by Consumer Reports, failing to maintain the deck-to-belt friction coefficient is the leading cause of premature motor burnout in compact home treadmills, as the motor works up to 40% harder to pull a dry belt.
When to Repair vs. Replace: 2026 Cost Analysis
Understanding the financial threshold of repair is crucial for home gym owners. The economics of fixing a budget-friendly motorized VitalWalk differ vastly from a premium curved manual treadmill.
Repair Economics: A replacement DC motor for a VitalWalk treadmill typically costs between $110 and $160, plus $40 for a new control board if a power surge fried the MOSFETs. If your repair costs exceed $200, and the unit is out of its 1-year parts warranty, replacing the entire motorized unit is often more economical due to the low manufacturing cost of compact folding treadmills.Conversely, curved manual treadmills retail between $2,500 and $6,000. Replacing a set of 6203-2RS sealed bearings on a curved slat belt costs less than $30 in parts, though it requires 2 hours of labor to disassemble the tensioning axles. Always repair a curved manual; never abandon it over a mechanical bearing failure.
The Final Verdict on Drive Systems
Troubleshooting a VitalWalk treadmill requires an electrical mindset: you are managing voltage, sensor gaps, amp draw, and thermal limits. Troubleshooting a curved manual treadmill requires a mechanical mindset: you are managing bearing friction, urethane tension, and physical alignment. By respecting the distinct engineering of your specific cardio machine, you avoid the costly, destructive mistakes that plague cross-over users, ensuring your equipment survives the rigors of your daily training block.
More gear to consider
All reviews
Banana Treadmill Setup & Feature Comparison Guide
Incline Treadmill Disadvantages vs Benefits: 2026 Feature Comparison

Curved vs Motorized Treadmills: The Rock Wall Treadmill Effect
Maintaining Compact Treadmills for HIIT Treadmill Workouts

Side by Side Treadmill Feature Comparison & Buying Mistakes