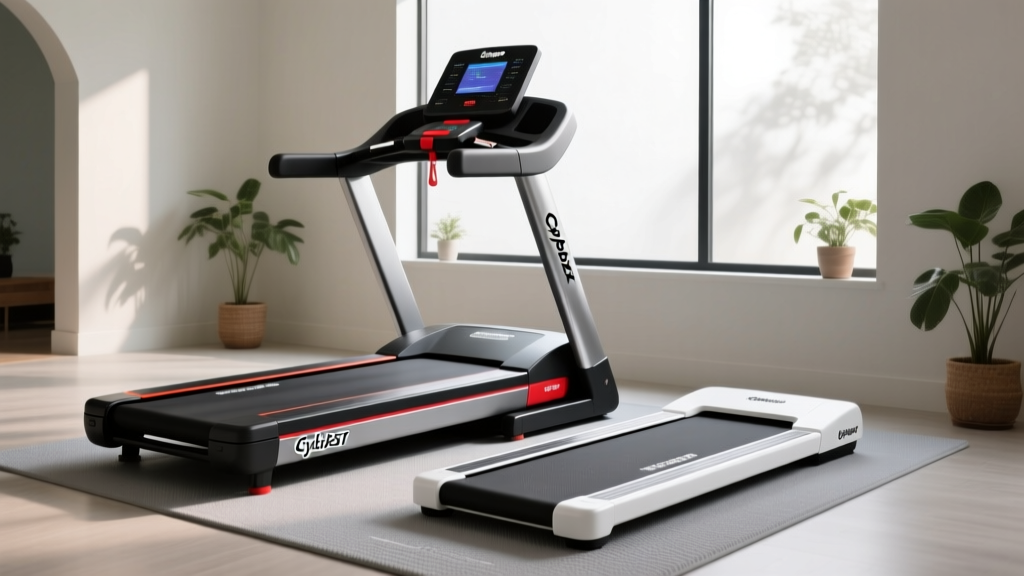
Treadmill Track Sticking? Motor Size & Installation Setup Guide
Prevent treadmill track sticking with our complete setup walkthrough. Learn how to choose the right motor CHP, tension the belt, and calibrate your machine.

The Hidden Link Between Motor Size and Treadmill Track Sticking
Unboxing and assembling a new treadmill is an exciting milestone for any home gym, but few things ruin the experience faster than stepping onto the belt and feeling a jarring hesitation. This phenomenon, commonly referred to as treadmill track sticking or belt hesitation, is frequently misdiagnosed by users as a defective belt or a warped deck. In reality, the root cause often traces back to two critical installation and purchasing errors: selecting an underpowered motor for your specific biomechanical load, and improperly tensioning the track during the initial setup.
When a treadmill motor lacks the continuous torque to handle your foot-strike impact, it momentarily bogs down. The drive belt slips, or the controller hesitates, resulting in that dangerous "sticking" sensation mid-stride. Furthermore, if you attempt to compensate for a weak motor by over-tightening the running belt during installation, you create excessive friction that spikes the motor's amp draw, leading to thermal throttling and further track sticking. This comprehensive setup and installation walkthrough will guide you through selecting the correct horsepower, positioning your machine, and calibrating the track to guarantee a smooth, hesitation-free run in 2026 and beyond.
Step 1: Decoding Motor Size and Continuous Horsepower (CHP)
Before you even unbox the machine, you must verify that the motor is matched to your body weight and intended workout intensity. In the fitness equipment industry, manufacturers often market "Peak Horsepower," which only measures the motor's maximum output for a fraction of a second. For installation and long-term performance, you must look exclusively at Continuous Horsepower (CHP), which dictates the motor's ability to sustain a load indefinitely without overheating.
According to Consumer Reports, a minimum of 3.0 CHP is the baseline for dedicated runners in 2026. If you purchase a 2.5 CHP machine but weigh over 200 lbs and run at speeds above 7 mph, the motor will consistently operate at its thermal limit, directly causing the treadmill track sticking sensation as the internal breaker micro-trips to save the windings.
2026 Motor Sizing Matrix: Weight, Activity, and CHP
| User Weight | Primary Activity | Minimum CHP Required | 2026 Model Benchmark |
|---|---|---|---|
| Under 150 lbs | Walking / Light Jogging | 2.5 CHP | Horizon T202 ($899) |
| 150 - 200 lbs | Running / Interval Training | 3.0 CHP | Sole F63 ($1,199) |
| 200 - 250 lbs | Heavy Running / Sprints | 3.5 CHP | Sole F80 ($1,399) |
| 250+ lbs | Running / Steep Incline Walks | 4.0+ CHP | NordicTrack Commercial 2450 ($2,799) |
Step 2: Unboxing and Positioning for Motor Ventilation
Proper installation begins with spatial awareness. A treadmill motor generates significant heat, especially during the first 30 minutes of a run. If the motor hood is suffocating against a wall, the ambient temperature inside the chassis rises, thinning the lubricants and increasing the coefficient of friction between the belt and the deck.
- Clear the Perimeter: Leave a minimum of 24 inches of clearance on the left, right, and front of the treadmill. This allows the motor's intake fan to pull in cool room air.
- Check the Circuit: Plug the treadmill directly into a dedicated 15-amp or 20-amp wall outlet. Never use an extension cord or a power strip shared with other appliances. Voltage drops caused by shared circuits will starve the motor of amperage, mimicking the symptoms of treadmill track sticking even on a perfectly tensioned belt.
- Level the Feet: Use a carpenter's level across the deck. Adjust the rear leveling feet until the bubble is perfectly centered. An unbalanced deck causes uneven belt wear and forces the motor to work harder on one side of the track.
Step 3: Belt Tensioning and Alignment (The Anti-Sticking Protocol)
This is the most critical phase of the setup walkthrough. Factory belts are often shipped loose to prevent deck warping during transit. If you run on it immediately, it will slip. If you tighten it too much, you will choke the motor. Experts at Treadmill Doctor note that over-tightening is the number one cause of premature motor bearing failure and roller snap.
The Quarter-Turn Tensioning Method
- Locate the Rear Roller Bolts: Find the two hex-key bolts at the very back of the treadmill, on the left and right sides of the end cap.
- Perform the Lift Test: With the machine off, reach under the center of the running belt and lift. A properly tensioned belt should raise exactly 2 to 3 inches off the deck. If it touches the deck, it is too loose. If you cannot lift it past 1 inch, it is dangerously tight and will cause the motor to bind.
- Adjust in Increments: Insert the provided 6mm Allen wrench into both the left and right bolts. Turn both bolts exactly one-quarter (1/4) turn clockwise. Never adjust one side more than the other, or the track will drift.
- Test Under Load: Turn the treadmill on to 3 mph. Step onto the side rails, then step firmly onto the belt. Pay attention to the foot-strike. If the belt hesitates or you experience treadmill track sticking, step off and repeat the 1/4 turn adjustment.
"A properly tensioned belt should feel like an extension of the deck, not a rubber band stretched to its limit. If your motor housing is hot to the touch after just 10 minutes of walking, your belt tension is too high, and the motor is wasting energy fighting friction rather than moving your mass."
— FitGearPulse Engineering Team
Step 4: Deck Lubrication and First-Run Calibration
Even with a 4.0 CHP motor, a dry deck will cause the track to stick. While many premium 2026 models feature "maintenance-free" wax-impregnated decks, budget and mid-tier models require manual silicone lubrication upon setup.
- Verify Deck Type: Check your owner's manual. If your deck is pre-lubricated, adding more silicone will create a sludge that attracts dust and ruins the traction.
- Apply Lubricant (If Required):" Loosen the belt slightly. Squirt exactly 15ml to 20ml of 100% silicone treadmill lubricant in a zigzag pattern across the center of the deck. Do not use WD-40 or petroleum-based products, as they will melt the PVC backing of the running belt.
- Distribute the Silicone: Retension the belt using the quarter-turn method. Run the treadmill at 2 mph for 3 minutes without stepping on it. The rotation will evenly distribute the silicone, eliminating dry spots that cause micro-sticking.
Troubleshooting: When the Track Still Sticks After Setup
If you have verified your CHP requirements, ensured a dedicated 20-amp circuit, and properly tensioned the belt to the 3-inch lift standard, but you are still experiencing treadmill track sticking, you are likely dealing with an edge-case hardware failure.
Diagnostic Checklist for Persistent Sticking
- Inspect the Drive Belt: Remove the motor hood (unplug the machine first). Check the small ribbed belt connecting the motor pulley to the front roller. If it is glazed, cracked, or loose, it will slip under heavy foot-strike impact, mimicking a sticking running track. Replacement drive belts cost between $25 and $45.
- Check the Deck for "Burn Spots": If the previous owner or the factory test-ran the machine with a dry belt, the MDF deck may have localized burn spots. Run your hand under the deck. If you feel rough, glassy patches of melted wax or wood, the friction is too high. A replacement deck costs $150 to $250 and is mandatory to save your motor.
- Calibrate the Console: Many modern treadmills require a manual calibration mode to sync the console's speed output with the motor controller's actual RPM. Consult your manual for the specific button combination (often holding 'Incline Up' and 'Speed Down' simultaneously) to enter engineering mode and recalibrate the PWM (Pulse Width Modulation) signal.
Final Thoughts on Setup and Longevity
Preventing treadmill track sticking is not about luck; it is about the precise intersection of biomechanics, electrical capacity, and mechanical tension. By respecting the Continuous Horsepower requirements for your body weight, providing adequate ventilation, and meticulously following the quarter-turn belt tensioning protocol during installation, you ensure that your motor operates well within its amperage safety margins. A properly installed treadmill in 2026 should deliver thousands of miles of fluid, hesitation-free strides, protecting both your joints and your equipment investment.
More gear to consider
All reviews
Renting a Treadmill vs Buying: 2026 Feature & Cost Comparison

Manual vs Motorized: Troubleshooting the NordicTrack X32i Treadmill

Best Step Beginner: A Practical, Data-Driven Guide to Choosing Your First Automotive Step Stool

Walking Pad vs Treadmill: A Beginner Guide to Treadmill Gradient
Treadmill Workout for Losing Weight: 2026 Portable Trends