Treadmill Stopped Working? Noise Diagnostics & Cardio Comparisons
Is your treadmill stopped working? Learn how to diagnose motor and belt noise, compare cardio machine decibel levels, and fix common friction failures.

There are few things more disruptive to a home training block than the sudden silence and jarring halt when your treadmill stopped working mid-stride. While electrical gremlins and blown capacitors do happen, the vast majority of catastrophic treadmill failures in 2026 are preceded by a distinct auditory warning sign: abnormal friction noise. By understanding the baseline acoustic footprint of your equipment and recognizing the mechanical symphony of a failing drive system, you can diagnose a seized belt, rescue a tripped thermal breaker, and avoid costly control board replacements.
This guide bridges the gap between acoustic diagnostics and mechanical troubleshooting. We will first establish a comparative noise-level baseline across major cardio machine categories, then dive deep into the exact multimeter readings, belt tension metrics, and lubrication protocols required to bring a dead treadmill back to life.
The Acoustic Baseline: Cardio Machine Noise Level Comparison
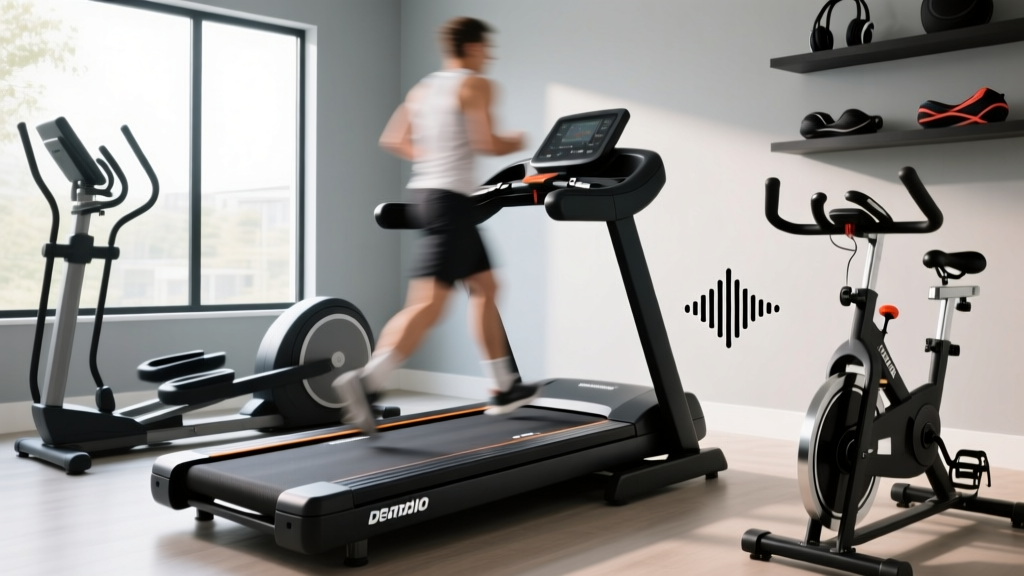
Not all cardio machines are created equal when it comes to acoustic output. A treadmill's impact and motor hum will naturally generate more decibels (dB) than a magnetic resistance bike. However, when a machine deviates from its baseline noise profile by more than 5-8 dB, it is a primary indicator of mechanical binding—the exact precursor to a machine shutting down to protect its motor.
Below is a comparative matrix of baseline operational noise levels for top-tier 2026 home cardio equipment. Use this chart to determine if your machine's current acoustic output is normal or a symptom of impending failure.
| Machine Category | Reference Model (2026) | Baseline Noise (dB) | Failure Noise Profile |
|---|---|---|---|
| Motorized Treadmill | Sole F80 / NordicTrack 1750 | 65 - 75 dB | High-pitched whining, rhythmic thumping, sudden clunk |
| Magnetic Elliptical | Bowflex Max Trainer M9 | 45 - 55 dB | Metallic grinding, squeaking pivot bearings |
| Air Rowing Machine | Concept2 Model D / RowErg | 70 - 85 dB | Rattling fan cage, chain slapping, clutch slipping |
| Indoor Cycling Bike | Peloton Bike+ / Schwinn IC4 | 40 - 50 dB | Belt slipping squeal, bottom bracket clicking |
| Stair Climber | Bowflex StairMaster 10G | 55 - 65 dB | Alternator whining, pedal arm knocking |
As documented in equipment service logs from Fitness Repair Parts, treadmills account for over 68% of all home gym motor replacements. Unlike the Concept2 rower, where the primary wear item is a $35 nickel-plated steel chain, a treadmill's wear items (the belt and deck) directly fight the motor's torque. When friction increases, the motor draws excess amperage, overheats, and triggers the internal thermal reset switch—leaving you wondering why the machine died.
Why Your Treadmill Stopped Working: The Friction-to-Failure Pipeline
When a treadmill abruptly stops, the console usually remains powered on, but the belt refuses to move. This is rarely a console failure. It is almost always a high-amperage safety shutoff. Modern treadmill motors (typically 2.5 to 4.0 Continuous Horsepower in residential units) are governed by lower-level control boards that monitor amp draw.
Decoding the Shutdown: Common Error Codes
- Sole Fitness E1 / E2 Errors: Indicates a speed sensor or motor communication failure, often caused by the belt gripping the deck so tightly that the motor cannot reach the commanded RPM, confusing the optical sensor.
- NordicTrack LS1 (Lube Switch): A proprietary code indicating the system has detected excessive friction and is demanding immediate deck lubrication before it allows the motor to engage again.
- Horizon Fitness E01 / E02: Points to an over-current protection trip. The motor pulled too many amps, and the breaker tripped to prevent a fire.
For exact code definitions, always cross-reference the Sole Fitness official manual repository or your specific manufacturer's troubleshooting guide, as firmware updates in 2025 and 2026 have refined how these errors are displayed on HD touchscreens.
Step-by-Step Troubleshooting: Diagnosing a Seized Drive System
If your treadmill stopped working and you suspect a friction-induced thermal trip, do not simply unplug it, wait five minutes, and start running again. You must identify the root cause of the friction, or you will permanently fry the motor control board (a $250 to $450 replacement part).
Step 1: The Amp Draw Test (The Gold Standard)
To accurately diagnose motor strain, you need a standard multimeter with an AC current clamp, or a plug-in power meter (like a Kill-A-Watt).
- Plug the treadmill into the power meter, and plug the meter into a dedicated 15-amp or 20-amp wall outlet.
- Power on the machine and start the belt at 3.0 MPH with no one standing on it. A healthy 3.0 CHP motor should draw between 3 to 6 amps at idle.
- Step onto the treadmill and walk at 3.0 MPH. The amp draw should rise to 6 to 9 amps.
- Increase the speed to 6.0 MPH. The draw should peak around 10 to 12 amps.
Step 2: The Belt Tension and Lift Test
Over-tightened belts are a leading cause of motor death. Many users mistakenly tighten the rear roller bolts when they feel a slight slip, inadvertently choking the motor. Turn off and unplug the machine. Reach under the center of the walking belt and lift upward. You should achieve exactly 2 to 3 inches of clearance between the belt and the deck. If it barely lifts an inch, your belt is over-tensioned. Loosen both rear roller adjustment bolts by exactly one-quarter turn counterclockwise and re-test the amp draw.
Step 3: Deck Phenolic Resin Inspection
Treadmill decks are made of MDF or particle board coated with a slick phenolic resin or wax layer. Over time, this layer wears away, exposing raw wood to the underside of the PVC belt. This creates massive friction. Slide your hand under the belt and feel the center of the deck (where your foot strikes most often). If it feels rough, dry, or grooved, the deck is compromised. No amount of liquid silicone will fix a worn-through deck. Replacement decks typically cost between $120 and $250 and are essential for restoring normal amp draws.
Common Maintenance Mistakes That Kill Cardio Machines
When panic sets in after a machine dies, users often resort to destructive 'quick fixes.' Avoid these catastrophic errors:
- The WD-40 Catastrophe: Never use petroleum-based lubricants, standard WD-40, or 3-in-One oil on a treadmill belt. These chemicals break down the PVC backing of the belt, causing it to stretch, delaminate, and ultimately destroy the rear roller bearings. Only use 100% pure liquid silicone designed specifically for fitness equipment.
- Ignoring the Vacuum Rule: Dust, pet hair, and drywall debris are sucked into the motor shroud by the cooling fan. This debris coats the motor's copper windings and insulates them, preventing heat dissipation. A motor that cannot cool itself will trip its thermal breaker at much lower amp draws. Use a shop-vac to clear the motor shroud every 90 days.
- Misaligned Rear Rollers: If you adjusted the belt tracking by turning the left roller bolt more than the right, you have skewed the roller axis. This causes the belt to ride up on the edge rail, creating a loud 'zipper' noise and eventually snapping the belt seam.
Acoustic Diagnostics for Non-Treadmill Cardio
While treadmills are the most prone to friction-based shutoffs, other cardio machines exhibit distinct noise profiles before failure. For instance, if your air rower develops a rhythmic clicking, the Concept2 Service Center notes this is rarely the chain; it is usually the one-way clutch bearing inside the sprocket failing to engage properly, requiring a simple $20 clutch replacement rather than a full machine teardown.
Similarly, magnetic ellipticals that develop a 'chatter' at the pedal arm joint are usually suffering from dried-out lithium grease in the bronze bushings. Applying a synthetic marine grease to the pivot points will drop the operational noise by up to 10 dB and prevent the joint from elongating and snapping under heavy interval training loads.
Final Thoughts: Listen to Your Equipment
A machine that has stopped working is simply communicating a mechanical limit it could no longer endure. By utilizing the amp draw test, respecting the 2-to-3-inch belt lift rule, and maintaining a strict 100% silicone lubrication schedule every 150 miles, you can ensure your treadmill remains a reliable cornerstone of your home gym for years to come. Treat abnormal noise not as a nuisance, but as an actionable diagnostic metric.
More gear to consider
All reviews
Rowing Machine Guide: Cross-Training for 5K Run on Treadmill

ProForm 390PI Treadmill vs Stationary Bikes: Budget Value Analysis
Budget Folding Treadmills: Treadmill Stress Test Target Heart Rate

Using a Wellfit Treadmill Discount Code? Belt Care Value Guide

Best Equip Cardio For Sports: High-Performance Training Tools Built for Athletes