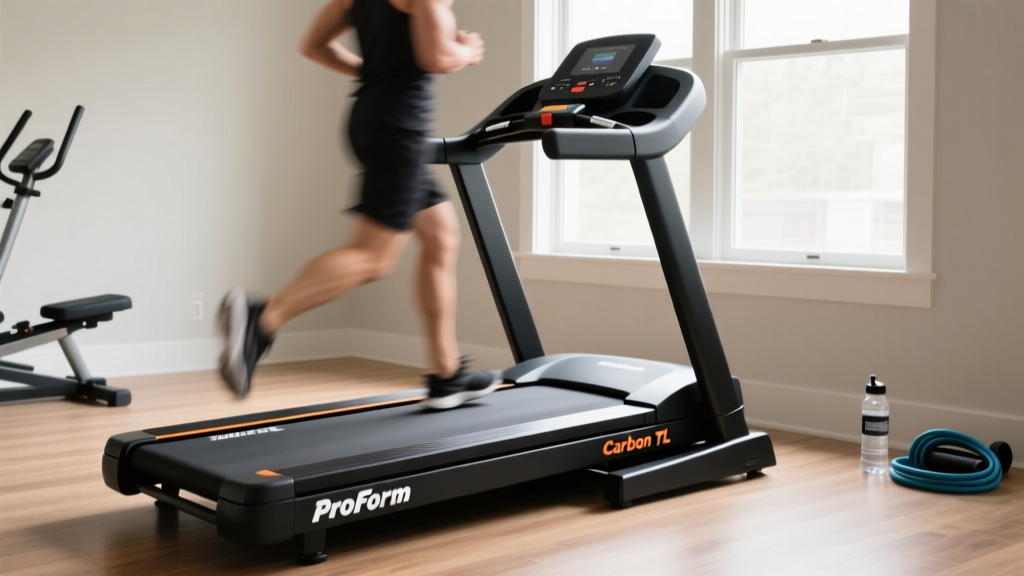
Treadmill Sprint Intervals: Buying Guide & Setup Walkthrough
Discover the best treadmill features for sprint intervals. Compare top models, motor specs, and follow our complete setup and calibration walkthrough.

Why Sprint Intervals Demand a Different Class of Treadmill
Executing treadmill sprint intervals is fundamentally different from steady-state jogging. When you push a treadmill to 12–15 MPH for 30-second all-out sprints, you subject the machine to extreme mechanical torque and rapid thermal buildup. A standard $600 folding treadmill with a 2.5 HP motor and a 50-inch belt will not only fail prematurely under these conditions but poses a severe safety risk due to belt hesitation and deck friction.
To safely and effectively perform high-intensity interval training (HIIT) at home, you need a machine engineered for rapid acceleration, sustained peak horsepower, and ample stride clearance. This guide breaks down the exact buying specifications you need, compares the top-tier models available today, and provides a complete physical setup and calibration walkthrough to ensure your machine is optimized for explosive sprinting.
Feature Comparison Matrix: What to Look For
Before unboxing your machine, you must verify that the specifications align with the biomechanical demands of sprinting. According to biomechanical analyses published in the National Institutes of Health (NIH), sprinting on a motorized treadmill alters stride length and ground contact time compared to overground sprinting, requiring a longer belt and higher torque to compensate.
| Component | Minimum Spec for Sprinting | Ideal Spec (2026 Standards) | Failure Mode if Underspecced |
|---|---|---|---|
| Motor | 3.5 CHP (Continuous) | 4.0+ CHP with Advanced Cooling | Thermal shutoff mid-sprint; drive belt snapping. |
| Belt Length | 55 inches | 60 to 62 inches | Heel clipping the rear roller; stride restriction. |
| Belt Width | 20 inches | 22 inches | Lateral drift causing foot to catch the side rail. |
| Max Speed | 12 MPH | 14 to 15 MPH | Inability to reach true anaerobic sprint thresholds. |
| Deck System | Standard cushioning | Variable durometer elastomers | Achilles tendon strain from repetitive high-impact. |
Top Treadmill Models for HIIT and Sprinting
Based on the matrix above, here is how the leading heavy-duty treadmills compare for sprint interval training.
1. Sole F80 (The Heavy-Duty Workhorse)
- Price: ~$1,799
- Motor: 3.5 CHP
- Belt: 22" x 60"
- Verdict: The Sole F80 remains a benchmark for home HIIT. Its 3.5 CHP motor features heavy-duty flywheels that maintain momentum during rapid speed transitions, preventing the "stutter" effect common in cheaper models when your foot strikes the belt at 12 MPH.
2. NordicTrack Commercial 2450 (The Tech-Integrated Sprinter)
- Price: ~$2,799
- Motor: 4.0 CHP
- Belt: 22" x 60"
- Verdict: The 4.0 CHP motor provides the overhead needed for explosive acceleration. However, the integrated iFIT screen can be a distraction; for pure sprint intervals, the manual quick-dial speed buttons on the handrails are essential for instant transitions.
3. Horizon 7.8 (The Interval Specialist)
- Price: ~$1,999
- Motor: 4.0 CHP
- Belt: 22" x 60"
- Verdict: Horizon specifically engineered the 7.8 with a rapid-response motor controller designed for interval training. It accelerates and decelerates faster than almost any other residential model, making it the safest choice for jump-on/jump-off sprint protocols.
Complete Setup and Installation Walkthrough
Buying the right machine is only 50% of the equation. A treadmill optimized for treadmill sprint intervals requires meticulous physical setup to handle the extreme lateral and longitudinal forces generated during all-out sprints.
Phase 1: Environmental Preparation
Sprinting generates up to 3.5 times your body weight in impact force. If your treadmill is placed on an uneven surface or an upper floor with weak joists, the deck will flex, causing the belt to track off-center and potentially throw you off the machine.
⚠️ Structural Warning: Do not install a 300+ lb commercial-grade treadmill on the second floor of older homes without verifying floor joist load capacity. The dynamic load of a 200 lb user sprinting can exceed 700 lbs of downward force per stride.- Clearance Protocol: Measure a minimum of 78 inches of vertical clearance (to accommodate full sprinting upright posture and arm drive) and 48 inches of clearance behind the treadmill for emergency bailouts.
- Surface Leveling: Use a 4-foot carpenter's level across the installation site. The floor must be level within 1/8th of an inch over 10 feet.
- Matting: Install a 3/8-inch thick vulcanized rubber horse-stall mat (typically 4x6 feet, costing around $50-$70 at farm supply stores) beneath the treadmill. Standard PVC puzzle mats will compress and bottom out under sprinting forces.
Phase 2: Mechanical Assembly & Belt Tensioning
Factory belt tension is set for walking and light jogging. For sprinting, the belt must be tightened to prevent "slippage"—the momentary delay between your foot strike and the belt moving, which is the leading cause of groin strains and falls on treadmills.
- Initial Assembly: Tighten all frame bolts to the manufacturer's specified torque (usually between 30-45 Nm). Use a calibrated torque wrench, not just a standard hex key.
- The Sprint Tension Test: Once assembled, set the treadmill to 10 MPH. Stand on the side rails. Grab the handrails and plant your foot firmly on the center of the moving belt, applying heavy forward pressure. If the belt stops but the front roller continues to spin, the drive belt or walking belt is too loose.
- Adjustment: Unplug the machine. Locate the rear roller adjustment bolts. Turn both the left and right bolts exactly one-quarter (1/4) clockwise. Re-test. Never tighten more than 1/4 turn at a time, or you risk snapping the belt seam.
Calibration and Safety Protocols
According to safety guidelines from the U.S. Consumer Product Safety Commission (CPSC), treadmill-related injuries frequently occur during high-speed operation when users lose their center of gravity. Proper calibration and safety rigging are non-negotiable for sprint intervals.
Speed and Incline Calibration
Over time, the potentiometer that reads your speed dial can drift. Sprinting at what the screen says is 12 MPH, when the belt is actually moving at 10.5 MPH, will ruin your interval timing and pacing.
- Enter the machine's engineering/calibration mode (refer to your specific model's service manual, usually accessed by holding the 'Incline Up' and 'Speed Down' buttons simultaneously while inserting the safety key).
- Use a digital tachometer or a smartphone app designed for belt speed measurement to verify the belt speed at 8, 10, and 12 MPH.
- Adjust the internal calibration values until the physical belt speed matches the console display within a 0.1 MPH margin of error.
The "Active Bailout" Safety Rigging
When performing treadmill sprint intervals, the standard magnetic safety lanyard is often insufficient. If you stumble at 14 MPH, the time it takes for the magnetic key to detach and the computer to command the motor to brake is too long; you will hit the rear roller.
Pro-Tip: The Jump-Off MethodInstead of relying solely on the machine's braking system, practice the "jump-off" technique. During your 30-second rest periods, do not slow the belt down. Instead, grasp the handrails, lift your body weight, and place your feet on the stationary side rails. This keeps the motor at a steady temperature and allows you to instantly resume the next sprint interval without waiting for the machine to spool back up to 12+ MPH.
Long-Term Maintenance for High-Torque Usage
Sprinting accelerates deck wear by a factor of three compared to steady-state running. The friction generated by the aggressive foot strike breaks down the silicone lubricant layer rapidly.
- Lubrication Schedule: While standard users lubricate their decks every 150 miles, sprint interval practitioners must apply 100% silicone treadmill lubricant every 50 to 75 miles.
- Drive Belt Inspection: Every 6 months, remove the motor hood and inspect the ribbed drive belt. Look for "glazing" (a shiny, hardened surface) or micro-cracks. A glazed drive belt will slip violently when you transition from a rest period to a max-effort sprint.
- Motor Brush Check: If your machine uses a brushed DC motor (common in models under $2,000), inspect the carbon brushes annually. Sprinting draws massive amperage, wearing down brushes much faster than walking or jogging.
By selecting a treadmill with a 4.0 CHP motor and a 60-inch belt, and rigorously following this setup and calibration walkthrough, you transform a standard piece of cardio equipment into a high-performance sprinting platform. This ensures your treadmill sprint intervals are not only highly effective for VO2 max development but completely safe within your home gym environment.
More gear to consider
All reviews
2026 Compact Cardio Trends: Is the ProShox 3 Treadmill Worth It?

Treadmill Buying Guide: Deck Features & 100 Silicone Oil for Treadmill

Treadmill Jacuzzi Showdown: Underwater vs Traditional Cardio

True HRC Treadmill Buying Guide: Features & 2026 Comparison
Can Walking on a Treadmill Lose Belly Fat? Home Stair Climber Guide