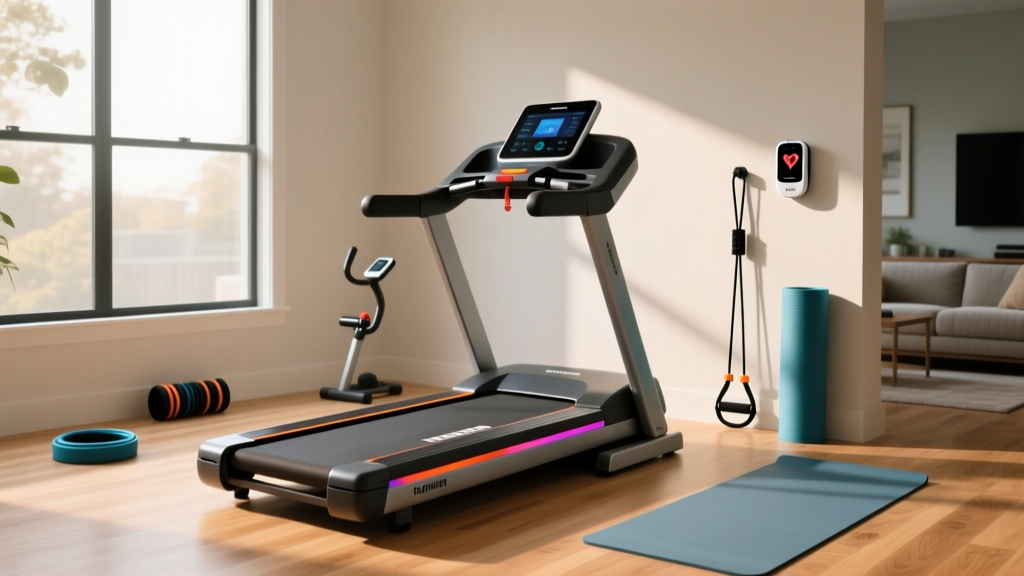
From the Inventor of the Treadmill to Modern Setup: Feature Guide
Discover how the inventor of the treadmill shaped modern cardio. Compare top 2026 features and follow our complete installation walkthrough.

The Dark Origins: Who Was the Inventor of the Treadmill?
When you unbox a 300-pound, Bluetooth-enabled smart treadmill in 2026, it is hard to imagine its crude, punitive origins. The inventor of the treadmill was English engineer William Cubitt, who patented the 'tread-wheel' in 1818. Originally designed as a penal device to crush grain and break the spirits of inmates—including Oscar Wilde—the early treadmill was a massive wooden cylinder powered by human stepping. According to Wikipedia's historical archive on the Treadmill, it wasn't until 1952 that Dr. Robert Bruce and Wayne Quinton adapted the concept into the first motorized medical treadmill for diagnosing cardiovascular disease.
Today, the leap from Cubitt’s wooden gears to modern direct-drive motors and automated incline systems is staggering. However, this engineering complexity means that modern treadmill assembly is no longer a simple 'plug-and-play' endeavor. Improper installation can void warranties, fry console motherboards, and cause premature motor failure. Below, we bridge the gap between history and modern home gyms with a comprehensive buying guide and a master-class installation walkthrough.
2026 Treadmill Buying Guide: Feature Comparison Matrix
Before you can assemble a treadmill, you must ensure you are buying the right machine for your biomechanics and space. The American Heart Association recommends at least 150 minutes of moderate-intensity aerobic activity per week, making a reliable home treadmill a vital investment. When evaluating models, ignore 'Peak Horsepower' marketing gimmicks and focus on Continuous Horsepower (CHP), belt ply, and tech integration.
| Feature Category | Entry-Level ($600 - $900) | Mid-Tier ($1,200 - $2,200) | Commercial-Grade ($2,500 - $4,500+) |
|---|---|---|---|
| Motor (CHP) | 2.0 - 2.5 CHP (Walk/Light Jog) | 3.0 - 3.5 CHP (Daily Running) | 4.0+ CHP AC/DC Motor (Sprinting) |
| Belt Dimensions | 18' x 50' (1-Ply) | 20' x 55' (2-Ply) | 22' x 60' (Multi-Ply Urethane) |
| Deck Cushioning | Basic Elastomer Bumpers | Multi-Zone Variable Flex | Orthopedic Shock-Absorption |
| Smart Tech (2026) | Basic LCD, Heart Rate Grips | Bluetooth FTMS, Zwift/Peloton Sync | HD Touchscreen, Auto-Incline/Speed |
| Weight Capacity | 225 - 250 lbs | 300 - 350 lbs | 375 - 400+ lbs |
Pre-Installation Walkthrough: Site Prep & Electrical
The most common failure mode for high-end treadmills in the first 90 days is electrical starvation. Modern 4.0 CHP motors draw significant amperage, especially during the initial startup torque phase.
1. Electrical Requirements
- Dedicated Circuit: Your treadmill requires a dedicated 15-amp or 20-amp, 120V AC circuit. Do not share this circuit with a space heater, air conditioner, or refrigerator.
- Outlet Type: Standard NEMA 5-15R (15A) or NEMA 5-20R (20A) grounded receptacle.
- No Extension Cords: Using an extension cord or a standard power strip will cause voltage drops, leading to console reboots and motor control board (MCB) burnout. If you must extend reach, use a heavy-duty, 12-gauge, single-outlet appliance cord rated for 20 amps.
2. Spatial and Structural Prep
According to Consumer Reports Exercise Equipment Guides, you must account for both static footprint and dynamic clearance. Leave at least 48 inches (4 feet) of clear space directly behind the treadmill to prevent severe friction burns or entrapment in the event of a fall. Furthermore, calculate the Dynamic Load: a 250 lb runner on a 200 lb treadmill generates up to 600 lbs of downward impact force at peak stride. Ensure your floor joists (especially on second-story wood-framed rooms) can support this localized dynamic load.
Step-by-Step Assembly: From Pallet to Power-On
Assembling a modern treadmill takes 60 to 90 minutes. You will need the included hex keys, a Phillips-head screwdriver, a rubber mallet, and a socket wrench set.
- Base Placement & Unboxing: Do not drag the cardboard box across your floor. Cut the box open and remove the side panels. With a partner, lift the deck base and place it on a high-density EVA foam equipment mat to protect your flooring and dampen acoustic vibration.
- Upright Mast Wiring (CRITICAL STEP): This is where 80% of installation errors occur. The data cable connecting the motor control board to the console runs through the right upright mast. Never force the mast into the base. Use the included guide wire or a piece of string to pull the delicate console wire through the mast. Ensure the wire is not pinched between the metal bracket and the bolt holes. A pinched wire will short out the console upon first boot.
- Securing the Uprights: Insert the main carriage bolts. Use a socket wrench to tighten them to the manufacturer's specified torque (usually around 25-30 Nm). Do not use a power drill on high torque, as you can strip the internal threading of the frame welds.
- Console Mounting: Connect the ribbon cable and the ground wire. Snap the plastic connector housings together until you hear a definitive 'click'. Mount the console to the uprights and secure the rear casing.
- Handlebar & Accessory Attachment: Attach the side rails and front handlebars. Route any secondary heart-rate monitor wires through the designated plastic channels.
Warning: Never plug the treadmill into the wall outlet until the console is fully mounted and all wire connections are secured. Exposed ribbon cables touching the metal frame while live can instantly fry the lower motor control board.
Calibration, Lubrication, and First Run
Once assembled, do not immediately jump on the belt. You must perform a dry-run calibration and check the belt tracking.
Belt Tracking and Tensioning
Stand beside the treadmill and set the speed to 2.0 MPH. Observe the running belt. It should track perfectly in the center of the deck.
- If the belt drifts left: Turn the left rear roller adjustment bolt clockwise by a quarter-turn, and the right bolt counter-clockwise by a quarter-turn.
- If the belt drifts right: Turn the right rear roller adjustment bolt clockwise by a quarter-turn, and the left bolt counter-clockwise by a quarter-turn.
- Slippage Test: Walk on the belt at 3.0 MPH. Stomp down firmly. If the front roller spins but the belt hesitates, the belt is too loose. Tighten both rear bolts equally by a half-turn until the slippage stops. Over-tightening will destroy the motor bearings.
Deck Lubrication Protocol
Most 2026 treadmills ship with a factory-applied layer of 100% pure silicone lubricant. However, you should verify this. Lift the edge of the belt and feel the deck. If it is dry, apply 15ml of 100% silicone treadmill lube in a zig-zag pattern directly onto the deck under the belt. Never use WD-40 or petroleum-based products, as these will dissolve the cotton backing of the running belt and ruin the deck's phenolic coating.
Troubleshooting First-Run Errors
| Error Code / Symptom | Probable Cause | Installation Fix |
|---|---|---|
| Console powers on, but speed reads '0' and won't start. | Safety tether not engaged or optical sensor misaligned. | Ensure the magnetic safety key is firmly seated. Check the sensor gap near the front roller magnet (should be 2-3mm). |
| Console displays 'E1' or 'E2' immediately upon startup. | Communication failure between Console and MCB. | Unplug machine. Open the console and reseat the main ribbon cable. Check the upright mast for pinched wires. |
| Loud 'clunking' noise at regular intervals. | Debris on the belt or worn front roller bearing. | Inspect the belt for drywall dust or packaging styrofoam. Clean the deck with a damp microfiber cloth. |
Final Thoughts on Modern Treadmill Engineering
From William Cubitt’s 19th-century penal wheel to the biomechanically tuned, FTMS-connected smart treadmills of 2026, the evolution of this machine is a testament to human engineering. By respecting the electrical requirements, meticulously routing the console wiring during assembly, and properly tensioning the deck, you ensure that your modern cardio investment operates as flawlessly as the medical treadmills pioneered by Dr. Bruce over seven decades ago. Take your time during the setup walkthrough, and your machine will deliver years of safe, high-performance mileage.
More gear to consider
All reviews
Best Walking Treadmill Workout & Noise Level Troubleshooting

Curved Manual vs Motorized Treadmill: ProForm XP 550e Compared

Nordic Track C990 Treadmill Comparison: Buying Mistakes & Fixes
Best Compact Fat Burning Treadmill Options for 2026

Benefits of Running on Treadmill: 2026 Belt Maintenance
