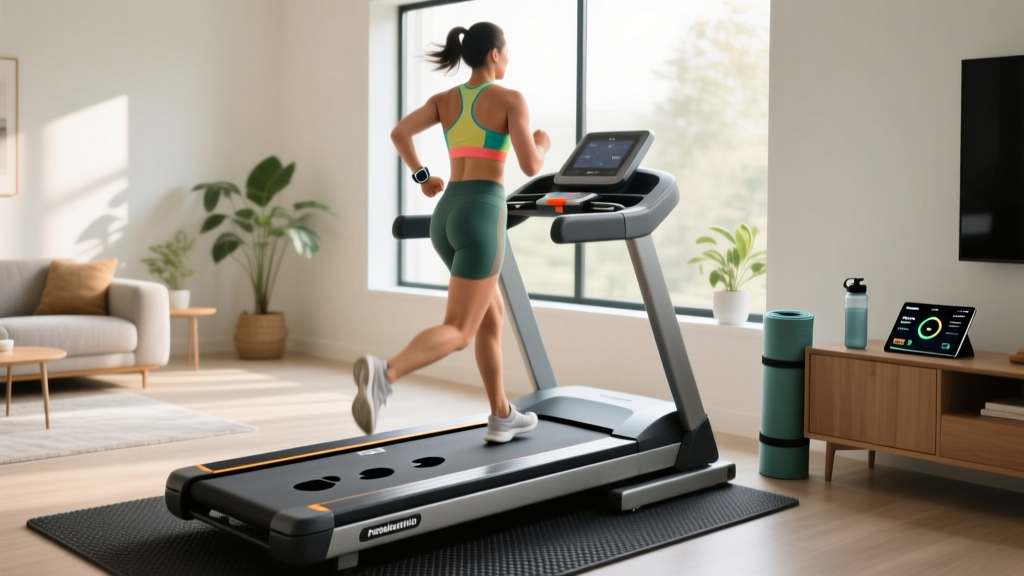
Treadmill for Beginners: Belt Care & Space-Saving Layout Guide
Learn how to optimize your room layout and perform essential belt maintenance on a compact treadmill for beginners to extend its lifespan.

The Space-Saving Dilemma: Compact Treadmills and Belt Wear
When outfitting a small apartment or multipurpose room in 2026, selecting the right treadmill for beginners often means prioritizing foldable designs, ultra-slim walking pads, or compact frames. While these space-saving cardio machines are excellent for optimizing your home gym layout, their compact engineering introduces unique mechanical stresses—specifically regarding the running belt and deck interface.
In a traditional full-sized commercial treadmill, the motor housing is massive, allowing for ample airflow and heat dissipation. Compact models, however, pack a 1.5 to 2.5 CHP motor into a tight, low-profile hood. When beginners push these machines flush against a wall or into a corner to save floor space, the exhaust heat becomes trapped. This localized heat buildup accelerates the evaporation of the factory-applied silicone lubricant between the belt and the phenolic deck. The result? Increased friction, a warped deck, and a slipping belt within the first four months of use.
Understanding the intersection of spatial layout and mechanical maintenance is critical. Many users shopping for a treadmill for beginners prioritize the machine's folded footprint over its serviceability, only to find that they lack the physical clearance required to perform basic belt alignment and lubrication.
Spatial Clearances: Designing Your Layout for Easy Maintenance
According to safety guidelines from the U.S. Consumer Product Safety Commission (CPSC), treadmills require specific clearances to prevent entrapment and injury. However, from a maintenance perspective, these clearances double as your "service zones." Fitness space planning experts at the American Council on Exercise (ACE) recommend designing home gym layouts that account not just for the user's movement, but for the technician's (or your) access to the machine's moving parts.
PRO-TIP: The Maintenance TriangleWhen mapping your room layout, imagine a "maintenance triangle" around your treadmill. You need enough space to kneel on the left side to lift the belt, enough space to walk around to the rear to access the roller bolts, and enough space to store your silicone wand and hex keys without them vibrating under the deck.
Required Spatial Clearances for Maintenance Tasks
Before finalizing your room layout, ensure your floor plan accommodates the following minimum clearances based on ASTM F2106 safety and service standards (reference: ASTM International):
| Maintenance Task | Min. Rear Clearance | Min. Side Clearance | Primary Tool Required |
|---|---|---|---|
| Belt Lubrication | 36 inches | 12 inches | 100% Silicone wand |
| Rear Roller Alignment | 48 inches | 24 inches | 1/4" or 3/16" Hex Key |
| Motor Hood Vacuuming | 24 inches | 12 inches | Crevice tool attachment |
| Deck Wax Inspection | 48 inches | 36 inches | Flashlight, tactile gauge |
Step-by-Step Belt Lubrication for Foldable Models
If your compact treadmill is positioned in a tight alcove, you must pull it out into the room's designated 48-inch rear clearance zone before beginning. Never attempt to lubricate a belt while the machine is folded or pinned against a wall.
- Perform the "Slide Test": Unplug the machine. Reach under the center of the belt and slide your fingers across the deck. If it feels dry or gritty, lubrication is required. If your fingers come away slick with oil, wait another month.
- Loosen the Belt Tension: Using a 1/4" or 3/16" hex key (check your specific model's manual), turn the left and right rear roller adjustment bolts counter-clockwise by exactly two full turns. This creates enough slack to lift the belt without removing the rear end caps.
- Apply the Silicone: Use a 100% pure liquid silicone treadmill lubricant (typically $12 to $18 for a 4oz bottle, which lasts 2-3 years). Insert the applicator wand under the belt on the left side and squeeze exactly 15ml (0.5 oz) in a wave pattern. Repeat on the right side. Do not exceed 30ml total, or the belt will slip.
- Re-Tension and Spread: Tighten the rear bolts back to their original position (two clockwise turns). Plug the machine in, set it to 2.0 MPH, and walk on it for 3 minutes to evenly distribute the silicone across the phenolic deck.
Alignment Troubleshooting: The Folding Hinge Factor
One of the most common failure modes in foldable treadmills is chronic belt drift (the belt shifting to the left or right and fraying against the side rails). In full-sized, rigid-frame treadmills, belt drift is usually caused by uneven user footfalls. In folding models, however, drift is frequently caused by the folding hinge mechanism itself.
Every time you fold and unfold a machine like the Horizon T101 (a highly rated, classic treadmill for beginners priced around $599 in 2026), the hydraulic shock and hinge pins endure immense torque. Over time, microscopic shifts in the hinge alignment can cause the front and rear rollers to sit at a 0.5-degree angle relative to each other. This geometric imperfection forces the belt to track sideways.
How to Fix Hinge-Induced Drift
- Check the Floor Level: Compact treadmills are highly sensitive to uneven floors. Use a carpenter's level across the deck. If your room layout places the treadmill on a thick, plush rug, the rear roller will sink deeper than the front, causing drift. Always place folding treadmills on a high-density EVA foam mat (at least 3/8" thick, costing ~$40) to distribute weight evenly.
- Adjust the Rear Roller: If the belt drifts to the left, turn the left rear adjustment bolt 1/4 turn clockwise. Wait 30 seconds for the belt to track. Never turn the bolt more than 1/4 turn at a time, or you will over-tension the belt and burn out the motor's drive board.
Model-Specific Quirks: Horizon T101 vs. WalkingPad R2
Different space-saving designs require vastly different maintenance approaches. Here is how two popular compact models handle belt care:
Horizon T101 (Traditional Foldable)
The T101 features a 55" x 20" belt and a standard rear-roller tensioning system. Its folding mechanism uses a hydraulic shock that locks securely. Maintenance Quirk: When folded, the deck rests directly on the locking latch. You must fully unfold the machine and engage the safety pin before attempting any belt lubrication, as the folded position compresses the deck against the belt, making it impossible to slide the silicone wand underneath.
Kingsmith WalkingPad R2 (Ultra-Compact 180-Degree Fold)
The WalkingPad R2 is a favorite for micro-apartments, folding completely in half to slide under a sofa. Maintenance Quirk: Ultra-thin walking pads often lack traditional rear roller adjustment bolts to maintain their slim profile. If the belt drifts on a WalkingPad, you cannot simply turn a hex key. Instead, you must use the specialized tensioning tool included in the box, inserting it into the hidden rear end-cap slots to manually stretch the belt tension. Furthermore, because the deck is so thin, heat dissipates poorly; you must lubricate a WalkingPad belt every 30 miles instead of the standard 150 miles recommended for full-sized treadmills.
Frequently Asked Questions
Can I lubricate the belt without moving the treadmill away from the wall?
While you might be able to reach your hand under the belt to apply silicone, you will not have the clearance to properly loosen the rear tension bolts or wipe away excess lubricant that squeezes out the back. Furthermore, trapped exhaust heat near the wall degrades the lubricant faster. Always utilize your room's designated 36-inch rear clearance zone for maintenance.
How do I know if my compact treadmill's deck is permanently damaged from friction?
Remove the belt entirely (requires loosening both side rails). Run your hand over the black phenolic coating on the wooden deck. If you feel deep grooves, exposed wood, or a burnt, rough texture, the deck is compromised. A replacement deck for a beginner model typically costs between $80 and $140. Prevent this by strictly adhering to the 15ml silicone lubrication schedule every 150 miles.
Does room humidity affect belt maintenance?
Yes. If your space-optimized layout places the treadmill in a damp basement or an unclimate-controlled garage, the MDF deck can absorb moisture and swell, increasing friction against the belt. Maintain a room humidity level between 40% and 50% to protect both the deck's structural integrity and the motor's electronic board.
Ultimately, the best treadmill for beginners is one that fits your space without sacrificing serviceability. By designing your room layout with maintenance clearances in mind and adhering to a strict silicone lubrication schedule, you can ensure your compact cardio machine delivers years of reliable, friction-free performance.
More gear to consider
All reviews
Stair Climber Setup Guide: Pairing With a Dumbbell Rowing Machine

Walking Pad vs ProForm Treadmill Lube & Care Compared

Smart Home Gym Space: Budget Essentials for Realistic, High-Performance Fitness at Home

Nordic Track Commercial 2450 Treadmill vs Elliptical Care

Rowing Machine vs Ovicx Treadmill: 2026 Cardio Guide