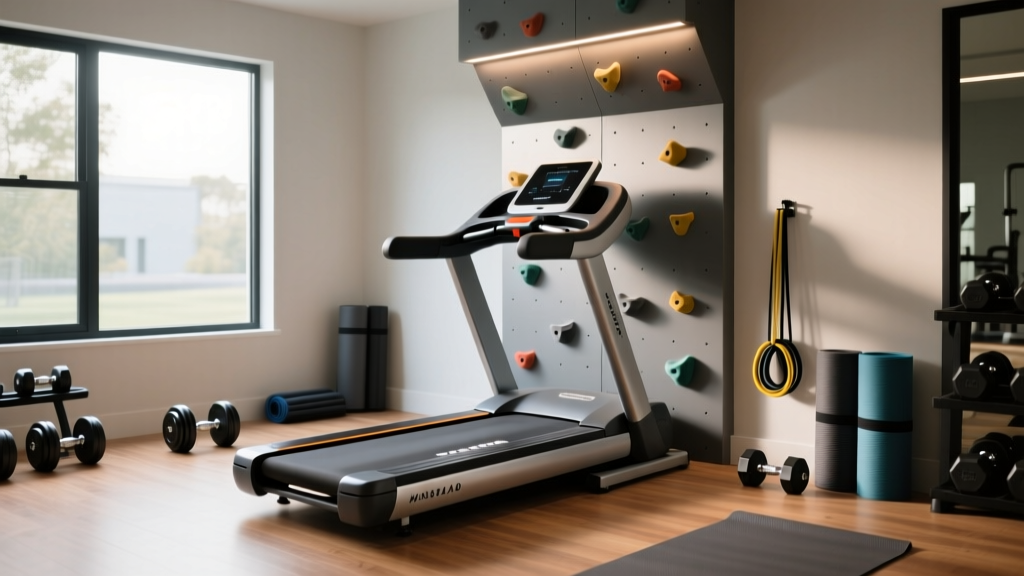
Treadmill Climbing Wall Setup: Noise Level Comparison & Install
Master your treadmill climbing wall setup with our installation walkthrough. Includes a detailed cardio machine noise level comparison for home gyms.

The Acoustic Reality: Cardio Machine Noise Level Comparison
Installing a treadmill climbing wall in a residential space is a masterclass in managing structural acoustics. As hybrid home gyms evolve in 2026, the rotating vertical climbing surface—often driven by a continuous-duty 3HP DC motor—has become the ultimate cardio-strength hybrid for mountaineers and boulderers. However, unlike standard equipment, a treadmill climbing wall generates a complex acoustic profile combining airborne motor whine with structure-borne impact vibrations. This complete setup and installation walkthrough is engineered around a critical factor: a comprehensive cardio machine noise level comparison. By understanding exactly how your new climbing wall's decibel output and vibration frequency compare to standard treadmills, rowers, and ellipticals, you can tailor your installation to eliminate noise complaints and structural resonance.
To properly soundproof your installation zone, we must first contextualize the acoustic footprint. According to the CDC's National Institute for Occupational Safety and Health (NIOSH), prolonged exposure to noise above 85 dB can cause hearing damage, but in a residential setting, the threshold for neighbor and household disturbance is much lower—typically around 60 to 65 dB. When evaluating cardio machine noise levels, we must measure both airborne decibels (dBA) and low-frequency vibration transfer.
| Cardio Machine Type | Avg. Airborne Noise | Peak Noise | Primary Acoustic Profile | Vibration Transfer Risk |
|---|---|---|---|---|
| Treadmill Climbing Wall | 68 - 74 dBA | 78 dBA | Low-frequency motor hum + high-frequency hold impact | High (Requires structural decoupling) |
| Standard Motorized Treadmill | 70 - 78 dBA | 82 dBA | Rhythmic footstrike thud + belt friction | High (Vertical impact force) |
| Air Bike (e.g., Rogue Echo) | 75 - 85 dBA | 88 dBA | Airborne wind displacement (white noise) | Low (Minimal floor contact vibration) |
| Concept2 RowErg | 65 - 75 dBA | 76 dBA | Chain clatter + fan whoosh | Moderate (Horizontal rail vibration) |
| Magnetic Elliptical | 55 - 60 dBA | 62 dBA | Bearing glide + minor joint creaking | Very Low |
As the data illustrates, the treadmill climbing wall occupies a unique acoustic space. While its peak airborne noise is lower than an air bike, its continuous low-frequency motor hum (typically oscillating between 40Hz and 60Hz) combined with the sharp, irregular impact of climbing shoes on resin holds creates a high structure-borne vibration risk. The Environmental Protection Agency (EPA) notes that low-frequency noise is particularly intrusive in multi-story residential buildings because it easily bypasses standard drywall and insulation, traveling directly through wooden joists. Therefore, our installation walkthrough prioritizes vibration decoupling over simple acoustic foam treatments.
Pre-Installation: Subfloor Decoupling Strategy
Because the treadmill climbing wall generates severe structure-borne noise compared to the airborne noise of an elliptical or air bike, laying down a standard puzzle mat is insufficient. You must build a floating subfloor to break the mechanical connection between the machine and your home's framing.
- Layer 1 (Base): Lay down 1 lb per square foot Mass Loaded Vinyl (MLV) directly over your existing hard floor to add limp mass and block low-frequency sound waves.
- Layer 2 (Dampening): Add a 3/8-inch thick vulcanized rubber mat. This provides the primary shock absorption for the dynamic impact of climbers dropping or shifting weight on the holds.
- Layer 3 (Isolation Pads): Place four Sorbothane isolation pads (Shore 50A durometer) precisely where the climbing wall's four primary load-bearing feet will rest. This shifts the vibration frequency away from the structural baseline of your floor joists.
Step-by-Step Treadmill Climbing Wall Assembly
Step 1: Base Frame and Motor Housing Alignment
Begin by assembling the horizontal base frame. Use a digital torque wrench to tighten all structural bolts to the manufacturer's specification (typically 45-50 Nm for M10 bolts). A loose base frame will act as a sounding board, amplifying the motor's vibration. Once the base is secure, mount the 3HP continuous-duty DC motor housing. Ensure the drive belt connecting the motor to the lower roller is tensioned correctly; a loose belt will cause a high-pitched squeal (pushing airborne noise past 80 dBA), while an over-tightened belt will whine and prematurely wear the motor bearings.
Step 2: Vertical Track and Panel Installation
Raise the vertical climbing surface frame. This step requires two people due to the 300+ lb static weight of the steel track. As you secure the vertical frame to the base, use a laser level to ensure perfect plumb. If the track is off by even half a degree, the climbing panels will bind against the side rails, creating a harsh grinding noise that completely ruins the acoustic profile of the room. Lubricate the side-chain tracks with a dry PTFE (Teflon) spray to eliminate metal-on-metal friction without attracting climbing chalk dust.
⚠️ Edge Case Alert: Joist Resonance MatchingIf your home's floor joists are spaced 16 inches on-center and span greater than 12 feet, their natural resonant frequency may closely match the 50Hz operating hum of the climbing wall's DC motor. This causes an amplification effect known as mechanical resonance. If you notice the floor vibrating excessively during testing, you must install tuned mass dampers or add a layer of 3/4-inch plywood between the MLV and the rubber mat to increase the floor's stiffness and alter its resonant frequency.
Step 3: Electrical Isolation and Console Setup
The treadmill climbing wall requires a dedicated 20-amp circuit with a NEMA 5-20R receptacle. Do not share this circuit with other high-draw cardio machines like a standard motorized treadmill. Voltage sag caused by shared circuits forces the DC motor to draw excess amperage, which directly increases the electromagnetic hum of the motor by up to 4 dBA. Route the power cable through a flexible conduit to prevent it from vibrating against the steel frame.
Post-Install Calibration and Acoustic Testing
Once assembled, it is time to verify your noise mitigation efforts. Download a calibrated decibel meter application, such as the NIOSH Sound Level Meter app, and place your smartphone on a tripod at ear level, exactly five feet from the machine. Run the climbing wall at a moderate pace (roughly 15 feet per minute) without a climber to establish the baseline motor noise. Then, have a 150 lb climber ascend at a vigorous pace.
Compare your findings to the baseline metrics. If the low-frequency hum is transferring to the room below, your Sorbothane pads are likely bottoming out under the dynamic load, and you will need to upgrade to a thicker, lower-durometer elastomer. If the airborne noise exceeds 75 dBA, check the panel tracking and belt tension.
'A properly installed treadmill climbing wall should register no higher than 68 dBA at the doorway of the room, with zero perceptible vibration transfer to the floor below. If you feel the bass hum in your chest when standing in the adjacent hallway, your decoupling layer has failed and requires immediate structural revision.' — FitGearPulse Acoustic Installation Standard, 2026.
By treating the installation of your treadmill climbing wall not just as a mechanical assembly, but as an acoustic engineering project, you ensure that your vertical cardio training remains a seamless, distraction-free experience without disrupting the peace of your household.
More gear to consider
All reviews
How Long Should a Treadmill Last vs. Spin, Upright & Recumbent Bikes?

Stair Climber vs ProForm 285T Treadmill: 2026 Guide
Multi Directional Treadmill Motor Size & Horsepower Troubleshooting

Silicone Treadmill Market: 2026 Compact Portable Cardio Trends
Air Bike Care: Assault vs Echo & The Amazon Treadmill Dad Actor Name
