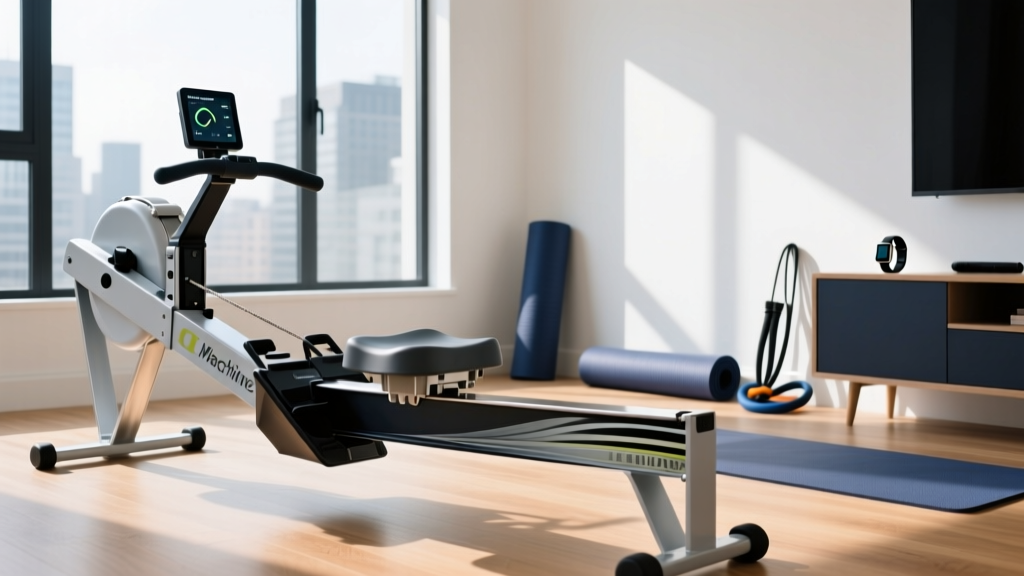
Beyond the Treadmill Buying Guide: Rowing Machine Setup
Transitioning from running? Skip the standard treadmill buying guide and master rowing machine setup, installation, and proper technique for full-body cardio.

If you have just finished reading a standard treadmill buying guide and are pivoting to a full-body cardio machine, you might assume setting up a rower is as simple as plugging it in and stepping on the belt. However, transitioning to a rowing machine requires precise spatial planning, mechanical assembly, and biomechanical calibration. In 2026, with the home fitness market dominated by advanced magnetic smart rowers and the enduring air-resistance standard, proper installation and technique are non-negotiable for preventing injury and maximizing wattage output. This complete walkthrough covers everything from unboxing and spatial mapping to your first 2,000-meter test.
Spatial Planning: Beyond the Static Footprint
Unlike the fixed, static footprint of a treadmill, a rowing machine's operational space changes dynamically during the stroke cycle. When evaluating your home gym layout, you must account for the rail length, the user's height, and the storage orientation.
Operational vs. Storage Clearance
The average user requires an additional 12 to 18 inches of clearance behind the flywheel to accommodate the full slide-back during the recovery phase. Furthermore, while air rowers like the Concept2 RowErg (retailing around $1,095) can be separated into two pieces for under-bed storage, magnetic smart rowers like the Hydrow ($2,495) require vertical storage, demanding a ceiling height clearance of at least 86 inches.
⚠️ Installation Warning: Never store a heavy magnetic smart rower vertically against a wall without the manufacturer's proprietary anchoring strap or a wall-mounted bracket. The 140+ lb center of gravity can easily tip onto hardwood floors, causing severe damage or injury.| Machine Type | Operational Length | Storage Footprint | Floor Protection |
|---|---|---|---|
| Concept2 RowErg (Air) | 106 x 24 inches | 25 x 33 inches (Separated) | 5mm PVC Equipment Mat |
| Hydrow Smart Rower (Magnetic) | 86 x 25 inches | 25 x 86 inches (Vertical) | High-density Rubber Mat |
| Standard Treadmill (Comparison) | 78 x 34 inches | 78 x 34 inches (Fixed) | Equipment Mat (Optional) |
Step-by-Step Assembly Walkthrough
While most smart rowers arrive 80% pre-assembled, the final 20% is where structural integrity is determined. Here is the installation sequence for the two most common chassis types in 2026.
Air Resistance Assembly (e.g., Concept2 RowErg)
- Front Stabilizer Attachment: Align the front leg with the rail housing. Insert the four 5/16" hex bolts. Pro Tip: Hand-thread all four bolts before applying the included 10mm hex socket to your torque wrench. Tighten in a star pattern to 20 ft-lbs to prevent frame warping.
- Monitor Arm Installation: Slide the monitor arm into the pivot bracket on the flywheel cage. Secure it using the quick-release pin. Ensure the internal ribbon cable is not pinched between the metal brackets.
- Chain Tension Check: Pull the handle to full extension. The nickel-plated steel chain should sit perfectly flush in the sprocket without lateral wobble. Apply two drops of purified mineral oil to the chain before the first stroke.
Magnetic Smart Rower Assembly (e.g., Hydrow / NordicTrack)
- Two-Person Lift: The main rail and electromagnetic resistance housing weigh upwards of 145 lbs. Have a second person support the rear rail while you bolt the front stabilizer feet to the floor-facing chassis.
- Screen Calibration: Once the touchscreen is mounted, plug the machine into a dedicated 15-amp circuit. Smart rowers draw significant peak current during high-drag electromagnetic resistance spikes. Do not use an extension cord, as voltage drop can cause the console to reboot mid-stroke.
Calibration: Demystifying the Drag Factor
A common mistake made by athletes transitioning from treadmills is assuming that maximum resistance equals maximum workout quality. On an air rower, the damper setting (1-10) does not measure resistance; it measures the drag factor, or how quickly the flywheel decelerates.
According to Concept2's official drag factor guidelines, a damper setting of 10 mimics rowing a heavy, slow wooden boat, while a setting of 3-5 mimics a sleek racing shell. For most home gym users, a drag factor between 100 and 130 (usually a damper setting of 4 or 5) is the optimal physiological sweet spot for aerobic conditioning and sustainable wattage output.
To calibrate your machine, navigate to the console's hidden 'More Options' > 'Display Drag Factor' menu. Take 10 steady strokes. The screen will output a number. Adjust the physical damper lever until that number rests between 110 and 120.
Biomechanics: The Four Phases of the Stroke
Proper setup means nothing if your biomechanics are flawed. Unlike running, which is highly reactive, rowing is a closed-chain kinetic movement requiring strict sequencing. The Mayo Clinic's aerobic exercise recommendations highlight rowing as a premier low-impact cardiovascular modality, but only when joint angles are respected.
As detailed in Concept2's technique breakdown, the stroke is divided into four distinct phases:
- 1. The Catch: Shins must be perfectly vertical (90 degrees). Torso is hinged forward to the 11 o'clock position. Arms are fully extended, lats engaged. Failure Mode: Bending the shins past vertical (compressing the ankle) forces the hips to tuck, leading to severe lower back shear at the start of the drive.
- 2. The Drive: This is a power phase, not a pull. The sequence is strictly 60% legs, 20% core, 20% arms. Push the footplate away before the handle moves. Once the legs are 90% extended, hinge the hips open, then finally draw the handle to the sternum.
- 3. The Finish: Legs are flat, core braced at an 11 o'clock lean back. The handle rests lightly against the lower ribs, wrists perfectly flat. Do not pull the handle to your neck or collarbone.
- 4. The Recovery: The exact reverse of the drive. Arms extend first, torso hinges forward past the 12 o'clock neutral spine, and only then do the knees bend to slide back to the catch.
Troubleshooting Common Setup and Technique Failures
Even with a flawless installation, mechanical wear and user error can degrade the experience. Monitor these specific edge cases during your first 30 days of use.
Heel Lift and Footstrap Slippage
If your heels lift off the footplates during the catch, your footstraps are likely threaded incorrectly. The strap must cross the foot exactly at the metatarsal joint (the widest part of the foot), not the midfoot or ankle. If using stiff-soled cycling or CrossFit shoes, loosen the strap by one full notch to accommodate the rigid sole curvature.
Chain Skip and Flywheel Rattle
A clicking sound during the recovery phase usually indicates a dry chain or a misaligned sprocket. Air rower chains require lubrication every 50 hours of use. Use only purified mineral oil or 20W motor oil. Never use WD-40 or silicone sprays, as they attract dust and degrade the internal plastic pulley bearings.
The 'Early Arm Pull' Back Strain
If you experience lumbar tightness after a 5,000-meter session, you are likely breaking your arms before your legs have fully extended during the Drive phase. This transfers the load from the glutes and quads directly to the erector spinae. To fix this, practice 'legs-only' rowing for 500 meters, keeping your arms completely straight and your torso locked at 11 o'clock until the legs are fully depressed.
Final Thoughts on Your Cardio Transition
Moving away from the treadmill introduces a learning curve that pays massive dividends in posterior chain development and VO2 max improvements. By respecting the spatial requirements, meticulously assembling the chassis, and adhering to the 60-20-20 power sequence, your rowing machine will become the most efficient, full-body cardiovascular tool in your 2026 home gym arsenal.
More gear to consider
All reviews
Top Compact Treadmills for Walking Backwards on Treadmill Incline
NordicTrack T 6.5 S Treadmill Details: Belt Maintenance & Budget Value

Curved vs Motorized: Troubleshooting Treadmill Weight Limit 300 lbs
Treadmill Calc: How to Size Motors and Horsepower

Sprinting Intervals on Treadmill: Beginner Guide & Noise Levels
