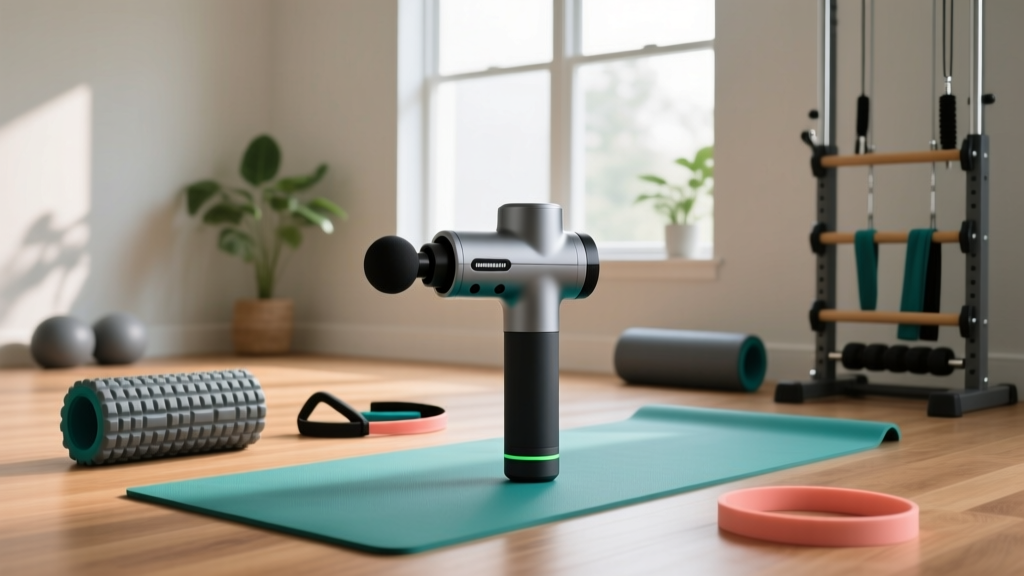
Stretching Equipment Setup & Massage Gun Lower Back Guide
Master your home recovery zone with our complete stretching equipment setup guide, featuring safe massage gun lower back integration and spatial planning.

Blueprinting the Ultimate 2026 Flexibility & Recovery Zone
Building a dedicated stretching and recovery sanctuary in your home requires far more than simply unboxing a piece of gear and placing it in a spare bedroom. As flexibility training and percussive therapy continue to dominate sports science in 2026, integrating heavy stretching equipment with targeted recovery tools demands precise spatial planning, structural awareness, and ergonomic foresight. Whether you are installing a commercial-grade iso-lateral stretch trainer or mounting a wall-based flexibility rig, the physical setup directly dictates the safety and efficacy of your routine.
This comprehensive installation walkthrough covers the exact measurements, hardware requirements, and spatial configurations needed to build a professional-grade home flexibility station. Crucially, we will also detail how to design a dedicated 'percussive nook' within this space, specifically optimizing the environment for a safe, highly effective massage gun lower back protocol before and after your stretching sessions.
Phase 1: Spatial Planning, Flooring, and Load Management
Before assembling any stretching equipment, you must prepare the physical environment. Stretching machines, such as the highly rated Precor 210i Stretch Trainer (retailing around $2,199 in 2026) or the budget-friendly LifeSpan Stretch Partner ($399), exert significant dynamic lateral force on the floor during deep hamstring and hip-flexor stretches.
Required Tools for Installation
- Power Drill & Driver: With a 1/2-inch chuck for heavy lag screws.
- Electronic Stud Finder: Essential for locating 16-inch on-center wooden studs for wall-mounted rigs.
- Torque Wrench: Required for tightening M10 and M12 structural bolts on stretching machines to manufacturer specifications (typically 45-60 Nm).
- 3/8-Inch Vulcanized Rubber Matting: Provides shock absorption and prevents equipment creep.
- Socket Set & Allen Keys: Metric and standard, depending on the brand of your flexibility trainer.
According to guidelines from the Mayo Clinic, maintaining proper body alignment and a stable base is critical when addressing musculoskeletal tension. If your stretching machine shifts on a hardwood floor while you are in a deep, loaded stretch, the resulting micro-tears or joint instability can cause severe injury. Lay down interlocking 3/8-inch vulcanized rubber tiles (such as those from Rubber-Cal) covering a minimum 6x8 foot area to anchor your equipment and dampen vibration noise.
Phase 2: Assembling the Core Stretching Machine
For this walkthrough, we will use the industry-standard Precor 210i as our baseline, though these principles apply to most seated flexibility trainers.
- Base Frame Assembly: Begin by attaching the front and rear stabilizer bars to the main longitudinal beam. Use the provided M12 hex bolts. Do not fully tighten them until all four corners are seated flat on your rubber matting to prevent frame warping.
- Seat Track and Carriage: Slide the seat carriage onto the aluminum track. Apply a thin layer of silicone-based lubricant to the track rails—never use WD-40, as it attracts dust and degrades the polyurethane wheels over time.
- Backrest and Tension Cylinder: This is the most critical safety step. When attaching the gas-strut tension cylinder, ensure the safety locking pin is fully engaged. The cylinder will exert upward pressure; use a rubber mallet to gently seat the retaining clips.
- Final Torque: Go back through every structural bolt with your torque wrench, tightening them to the exact Nm specified in your 2026 owner's manual.
Phase 3: Designing the Massage Gun Lower Back Therapy Nook
Integrating percussive therapy into your flexibility station requires a dedicated physical space where you can safely access the lumbar region. The massage gun lower back application is notoriously tricky for self-administration due to the anatomical inability to reach the Quadratus Lumborum (QL) and deep erector spinae muscles without contorting the shoulder, which alters the angle of attack and risks spinal impact.
⚠️ Critical Safety Warning: Lumbar PercussionNever apply a percussive massage gun directly to the spinous processes (the bony protrusions of your vertebrae). According to physical therapy standards highlighted by Harvard Health Publishing, direct high-frequency impact on the spine can cause periosteal bruising and exacerbate disc issues. Always angle the device laterally to target the muscle bellies of the QL and erector spinae, and always use a dampener or soft-ball attachment for lumbar work.
Ergonomic Bench Setup for Lumbar Access
To facilitate a proper massage gun lower back routine, position an 18-inch high, flat upholstery treatment bench exactly 24 inches away from the lateral side of your stretching machine. This specific 24-inch gap allows you to transition seamlessly from a loaded hamstring stretch on the machine to a prone (face-down) position on the bench for percussive therapy without navigating around heavy steel frames.
When using a high-end device like the TheraGun PRO Plus (which features a 16mm amplitude and 60 lbs of stall force, per Therabody's official 2026 specifications), the 18-inch bench height ensures that if you are self-administering, your elbow remains at a 90-degree angle, maximizing leverage and preventing wrist strain. If a partner is administering the therapy, this height aligns the lumbar region perfectly with their natural hip-hinge mechanics.
Equipment Footprint & Clearance Matrix
Proper clearance is vital for safety and airflow. Use the table below to map out your flexibility zone before unboxing any gear.
| Equipment Type | Base Footprint | Required Operational Clearance | Power / Charging Needs |
|---|---|---|---|
| Seated Stretch Trainer (e.g., Precor 210i) | 53" L x 28" W | 36" on all sides for entry/exit | None (Mechanical) |
| Inversion Table | 26" L x 40" W | 78" Vertical, 48" Lateral | None (Mechanical) |
| Treatment Bench (For Percussive Therapy) | 72" L x 24" W | 24" on sides for partner access | Standard 120V (if heated) |
| Wall-Mounted Stretch Bar | 48" W x 6" D | 48" forward clearance | None |
Phase 4: Installing Wall-Mounted Flexibility Rigs
Wall-mounted stretch bars and ballet-style flexibility rails are excellent for standing hip-openers and calf stretches. However, improper installation is a leading cause of home-gym accidents. Drywall anchors are entirely insufficient for dynamic stretching loads.
- Locate the Studs: Use your electronic stud finder to mark the edges of two wooden studs (typically spaced 16 inches on-center).
- Pre-Drill Pilot Holes: Use a 3/16-inch drill bit to create pilot holes at a height of 36 inches from the floor (standard waist height for most stretch bars).
- Drive Lag Screws: Use 3.5-inch heavy-duty structural lag screws with integrated washers. Drive them through the mounting bracket's steel backing plate directly into the center of the studs.
- Load Testing: Before applying your body weight, hang a 50 lb kettlebell from the center of the bar to verify structural integrity.
Sequencing the Protocol: Percussion Meets Tension
With your physical space fully installed and optimized, the final step is establishing a biomechanically sound workflow. The American Council on Exercise (ACE) notes that altering tissue temperature and neurological tone prior to static stretching yields superior flexibility gains.
The 2026 Integrated Recovery Workflow
- Step 1: Neurological Priming (3 Minutes): Lie prone on your treatment bench. Using the Dampener attachment on your massage gun, perform sweeping, gliding strokes along the erector spinae and QL muscles. Keep the device moving at a pace of 1 inch per second. This massage gun lower back protocol increases local blood flow and down-regulates sympathetic nervous system tension without causing muscle fatigue.
- Step 2: Active Isolated Stretching (10 Minutes): Transition immediately to your seated stretching machine. Because the lumbar fascia is now primed and hydrated, you can safely push into deeper hamstring and hip-flexor stretches. Utilize the machine's ratcheting system to hold stretches for exactly 90 seconds per muscle group.
- Step 3: Decompression (5 Minutes): If your spatial matrix included an inversion table, finish with 3 to 5 minutes of partial inversion (at a 45-degree angle) to decompress the lumbar discs that were compressed during the seated stretching phase.
Final Thoughts on Your Recovery Sanctuary
Installing a comprehensive stretching and flexibility station is an investment in your long-term mobility and spinal health. By treating the setup process with the same rigor as a commercial gym build-out—focusing on exact torque specifications, structural load management, and dedicated spatial zones for percussive therapy—you create an environment where recovery happens safely and efficiently. Remember that the massage gun lower back application is a powerful tool for unlocking lumbar stiffness, but it requires the correct ergonomic bench height and attachment selection to prevent injury. Measure twice, bolt securely, and enjoy your new benchmark in home recovery.
More gear to consider
All reviews
Normatec vs Hyperice Setup & Massage Gun for Plaque in Penis Myth

Normatec vs Hyperice Boots & Garyway Massage Gun Setup 2026

Normatec vs Hyperice & Tzumi Profit Percussion Muscle Massage Gun

Compression Boot Setup & Massage Gun Specifications: 5kg vs 8kg Amplitude Recommendation

Home Ice Baths & Pregnancy: Can You Use Massage Guns While Pregnant?
