
Standing Bent Over Dumbbell Rows: Top Adjustable Dumbbells
Master standing bent over dumbbell rows with our beginner guide and 2026 adjustable dumbbell comparison to find the perfect set for your home gym.

The Ultimate Beginner’s Guide to Standing Bent Over Dumbbell Rows
If you are building a home gym and want to develop a thick, resilient back, mastering the standing bent over dumbbell rows is non-negotiable. This foundational horizontal pulling movement targets the latissimus dorsi, rhomboids, posterior deltoids, and biceps, while demanding significant isometric core strength to protect the lumbar spine. However, as a beginner, executing this movement safely and effectively requires the right equipment. Fixed dumbbell racks are expensive and space-consuming, making adjustable dumbbells the undisputed king of the home gym.
In this comprehensive 2026 guide, we will break down the exact biomechanics of the standing bent over dumbbell row, provide a step-by-step execution guide, and review the top adjustable dumbbells on the market to help you choose the perfect set for your rowing mechanics.
💡 Quick Biomechanics Insight: According to research published in the NCBI, bilateral dumbbell rows elicit higher activation in the lower trapezius and rhomboids compared to barbells, due to the increased range of motion and the ability to pull the weights past the torso line.Step-by-Step: Perfecting Your Rowing Form
Before investing in premium gear, you must understand the movement pattern. Poor form during standing bent over dumbbell rows often leads to lumbar shear and bicep tendon strain. Follow this 5-step progression to build a bulletproof back.
- The Stance and Knee Bend: Stand with feet shoulder-width apart. Hold a dumbbell in each hand. Unlock your knees with a soft bend (about 15 to 20 degrees). This is not a squat; the knee bend simply acts as a shock absorber for your hamstrings.
- The Hip Hinge: Push your hips backward as if closing a car door with your glutes. Hinge forward until your torso is at a 45 to 60-degree angle relative to the floor. Beginner Mistake: Forcing a parallel (90-degree) torso angle often causes the lower back to round. A 45-degree angle is optimal for beginners to maintain a neutral spine while still heavily loading the lats.
- The Grip and Brace: Allow the dumbbells to hang straight down. Adopt a neutral grip (palms facing each other). Take a deep diaphragmatic breath and brace your core as if preparing for a punch. This intra-abdominal pressure stabilizes your lumbar vertebrae.
- The Pull (Concentric Phase): Drive your elbows up and back, keeping them tucked at a 30 to 45-degree angle from your torso. Do not flare your elbows out to 90 degrees, as this shifts the load to the smaller rear delts and compromises the shoulder joint. Pull until the dumbbells touch your lower ribcage or hip pocket.
- The Eccentric Lowering: Resist gravity. Lower the weights over a controlled 2 to 3-second count until your arms are fully extended and you feel a deep stretch in your lats. Refer to the ExRx exercise directory for visual confirmation of the full stretch position.
2026 Adjustable Dumbbell Comparison Matrix
Not all adjustable dumbbells are created equal, especially for rowing movements. The physical footprint, handle knurling, and end-cap design drastically alter how the dumbbell tracks against your torso during the pull. Below is our 2026 comparison matrix of the top three contenders.
| Model | Weight Range & Increments | Handle Profile & Length | Approx. Price (2026) | Rowing Suitability |
|---|---|---|---|---|
| Nuobell 552 | 5-50 lbs (5 lb jumps) | Knurled steel, 12.5" total length | $329 / pair | ★★★★★ (Excellent) |
| Bowflex SelectTech 552 | 5-52.5 lbs (2.5 lb jumps to 25) | Smooth steel, 15.75" total length | $349 / pair | ★★★☆☆ (Good, but bulky) |
| PowerBlock Elite EXP | 5-50 lbs (2.5 lb jumps w/ add-ons) | Urethane cage, 12" total length | $279 / pair (Base) | ★★★★☆ (Very Good) |
Deep Dive: Top Adjustable Dumbbells for Bent Over Rows
Let’s break down the real-world performance of these models specifically for the standing bent over dumbbell row, highlighting edge cases and failure modes you won't find in standard spec sheets.
1. Nuobell 552: The Purist’s Choice for Rowing
The Nuobell 552 has dominated the home gym market leading into 2026 for one primary reason: it mimics a traditional fixed hex dumbbell better than any competitor. The handle is genuine knurled steel, providing the necessary grip friction when your hands get sweaty during high-rep rowing sets.
- The Rowing Advantage: Because the Nuobell uses a twisting handle mechanism rather than bulky plastic dials, the physical length of the dumbbell is significantly shorter. When you pull the weight to your hip pocket during a row, the ends of the Nuobell will not prematurely collide with your torso or thighs, allowing for a complete range of motion even for lifters with shorter arms.
- Failure Mode / Edge Case: The internal pin mechanism requires the dumbbell to be completely flat and level on the rack to engage the weight plates. If you drop them hastily between sets of rows, the plates may fail to lock on the next pick-up.
2. Bowflex SelectTech 552: The Versatile but Bulky Option
Bowflex remains a household name, and the SelectTech 552 offers micro-increments (2.5 lbs up to 25 lbs) that are fantastic for beginners slowly progressing their rowing strength.
- The Rowing Advantage: The smooth steel handle is comfortable, and the weight selection dial is intuitive, allowing for rapid drop-sets during mechanical advantage row complexes.
- Failure Mode / Edge Case: The SelectTech 552 is notably long (15.75 inches) due to the plastic dial housings on both ends. During standing bent over dumbbell rows, this extra width can cause the plastic ends to bang against your outer thighs or ribs at the top of the concentric pull. Furthermore, the plastic dials are a known failure point if the dumbbell is dropped on a hard surface; a cracked dial renders the weight adjustment useless.
3. PowerBlock Elite EXP: The Indestructible Cage
PowerBlock’s welded steel cage design is virtually indestructible, making it ideal for lifters who tend to drop their weights after a grueling set of rows.
- The Rowing Advantage: The compact, blocky shape keeps the center of mass incredibly tight. The urethane coating also prevents the dumbbells from clanking loudly against each other if you accidentally bring them together at the bottom of the movement.
- Failure Mode / Edge Case: The enclosed cage design restricts your grip width to roughly 4.5 inches. For lifters with larger hands or those who prefer a wider grip to bias the upper back during pronated rows, the PowerBlock cage can feel claustrophobic and limit natural wrist extension at the peak contraction of the row.
"When prescribing horizontal pulls for beginners, equipment footprint matters. A dumbbell that alters the natural pull path due to excessive length or restrictive cages will ultimately limit latissimus dorsi recruitment and increase the risk of compensatory shoulder impingement." — National Strength and Conditioning Association (NSCA) Coaching Guidelines
Programming Your Rows: Sets, Reps, and Progression
As a beginner, your connective tissue needs time to adapt to the sheer forces placed on the biceps tendon and thoracolumbar fascia. Follow this foundational programming framework recommended by NSCA-certified professionals for your first 8 weeks.
📊 Beginner Rowing Protocol
- Frequency: 2 times per week (e.g., Upper/Lower or Full Body splits).
- Volume: 3 working sets per session.
- Rep Range: 8 to 12 reps per set.
- RIR (Reps in Reserve): Stop at 2 RIR. Do not train to absolute failure on bent-over rows, as form breakdown will immediately transfer the load to your lumbar discs.
- Rest Periods: 90 to 120 seconds between sets to allow for central nervous system recovery and grip regeneration.
Common Beginner Mistakes and Troubleshooting
Even with the perfect adjustable dumbbells, poor execution will yield poor results. Here is how to troubleshoot the most common failure modes encountered during standing bent over dumbbell rows.
Mistake 1: Using Momentum (The 'Yank')
The Symptom: Your torso rises and falls with every rep, turning the row into a chaotic, full-body heave.
The Fix: Lower the weight by 20%. Imagine your torso is encased in plaster. If your chest rises more than an inch during the pull, the weight is too heavy. Focus on a 1-second pause at the top of the movement to kill momentum.
Mistake 2: Flaring the Elbows to 90 Degrees
The Symptom: You feel the burn exclusively in the back of your shoulders, not your lats, and experience anterior shoulder pinch.
The Fix: Switch to a neutral grip (palms facing your thighs) and actively think about brushing your elbows against your ribcage as you pull. This 30-degree tuck aligns the pull with the natural fiber orientation of the lower lats.
Mistake 3: Losing the Neutral Spine
The Symptom: Lower back pain during or immediately after the set.
The Fix: Elevate your stance. If your hamstrings are too tight to maintain a flat back at a 45-degree angle, place your feet on small bumper plates or wedges to elevate your heels slightly, or perform chest-supported rows on an incline bench until your posterior chain mobility improves.
Final Verdict: Equipping Your Home Gym for Success
Mastering the standing bent over dumbbell row is a cornerstone of lifelong back health and upper body strength. For beginners navigating the 2026 fitness equipment market, the Nuobell 552 stands out as the premier choice for rowing movements due to its traditional handle geometry and lack of restrictive end-caps. However, if budget is the primary constraint, the PowerBlock Elite EXP offers unparalleled durability and a compact center of mass that facilitates excellent lat engagement.
Select the dumbbell that fits your biomechanics, respect the hip hinge, and focus on the mind-muscle connection. Your back development will follow.
More gear to consider
All reviews
Barbell Knurling Guide & The Bent Over Dumbbell Row Exercise
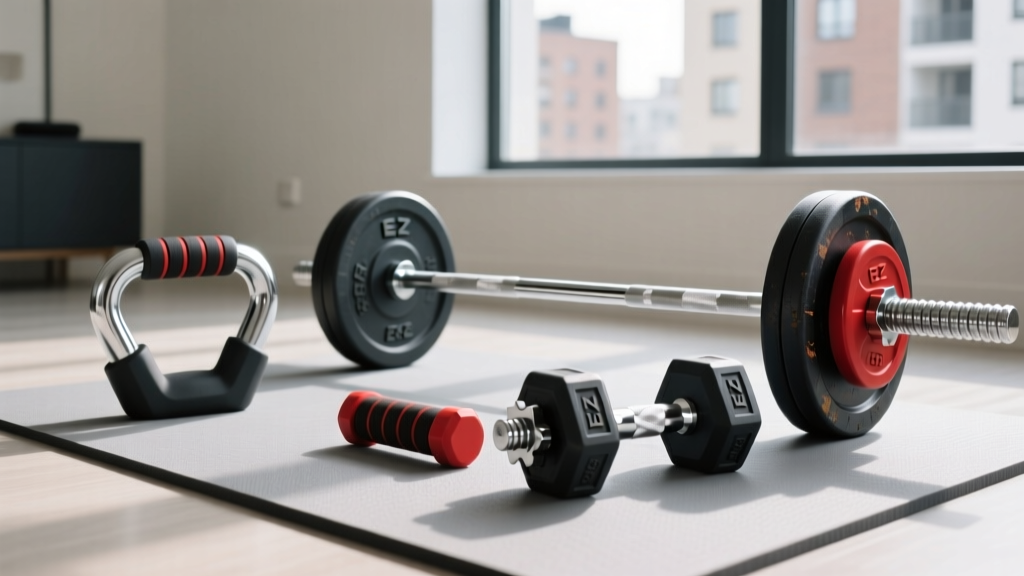
EZ Bar vs Straight Bar vs Single Dumbbell Exercises for Biceps
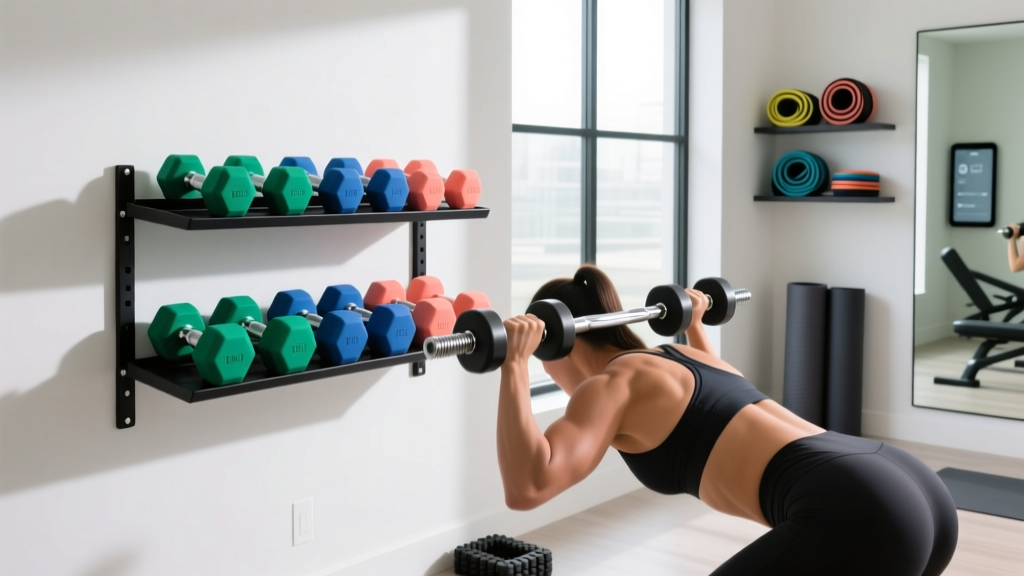
Setup Guide: Neoprene Dumbbells & Dumbbell T Bar Row
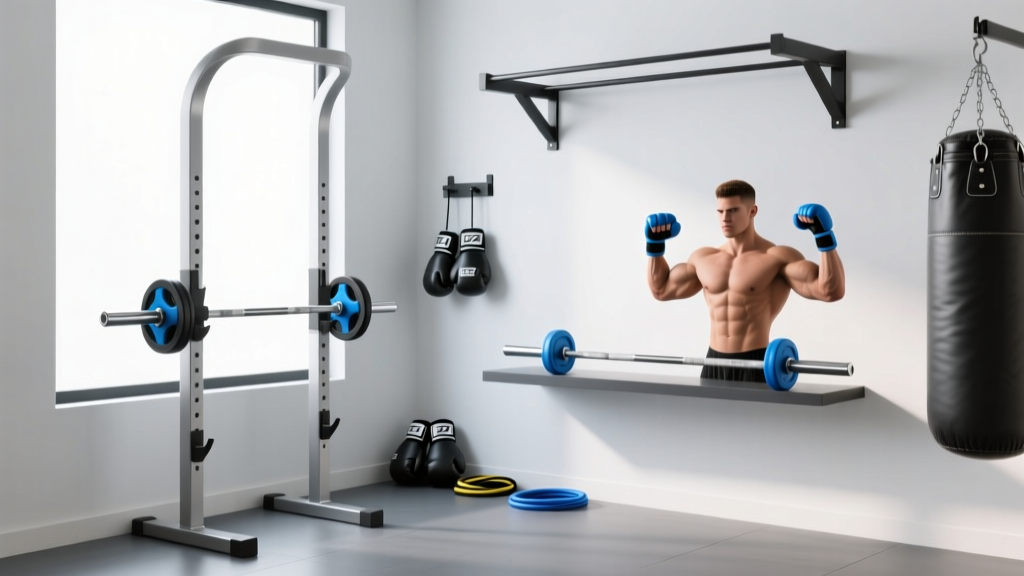
EZ Curl Bar vs Straight Bar: Space Layouts for a Boxing Dumbbell Workout

Olympic Barbell Buying Guide: Knurling & Plasti Dip Dumbbells
