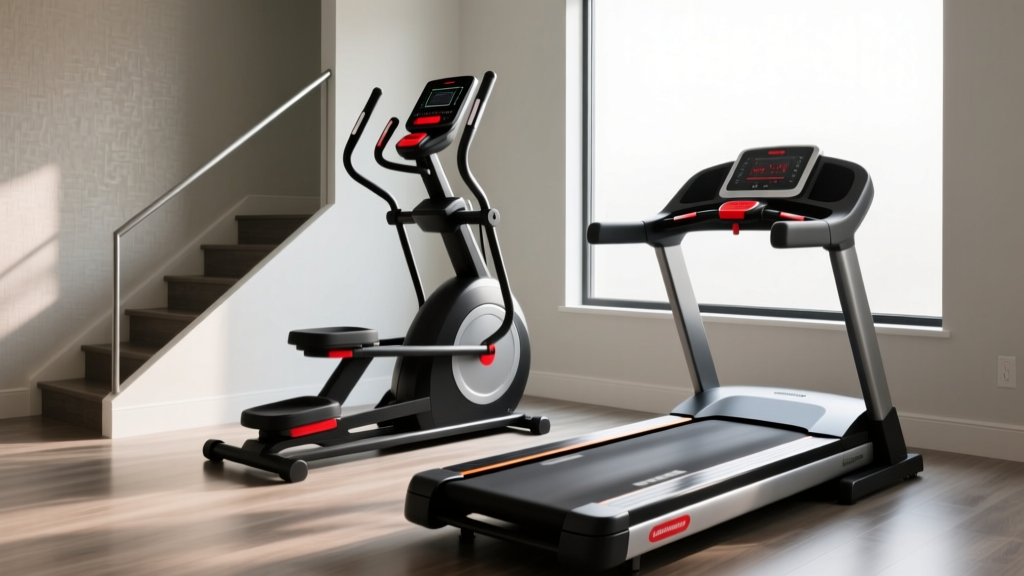
Stair Climber Setup & How to Run on Treadmill Correctly
Master your 2026 home gym with our stair climber installation walkthrough and expert guide on how to run on treadmill correctly for joint health.

The Ultimate Dual-Station Cardio Setup Guide for 2026
Building a high-performance home gym in 2026 requires more than just dropping heavy equipment into a spare room. As fitness enthusiasts increasingly recognize the value of varied cardiovascular stimuli, the dual-station cardio zone—pairing a vertical stair climber with a horizontal treadmill—has become the gold standard. However, installing a stair climber involves strict spatial and electrical tolerances that, if ignored, lead to catastrophic failure modes like ceiling strikes or tripped breakers. Furthermore, transitioning between these two machines requires a complete biomechanical reset.
This comprehensive stair climber machine for home use guide will walk you through the exact installation parameters for premium models like the StairMaster StepMill 7000PT and the Bowflex Max Trainer M9. Once your equipment is safely calibrated, we will address the neurological shift required to maintain proper form, detailing exactly how to run on treadmill correctly after stepping off the climber.
Phase 1: Spatial Mapping & The Ceiling Clearance Trap
The most common and painful mistake in stair climber installation is miscalculating the 'user envelope.' Unlike a treadmill where your height remains relatively static, a stepping machine elevates your entire body mass by 8 to 14 inches during peak extension. If you are installing a revolving staircase model (like the StepMill), you must account for the machine's base height plus your own height, plus a mandatory 6-inch overhead safety buffer.
| Machine Type (2026 Models) | Base Footprint (W x L) | Min. Ceiling Height (for 6'0" User) | Weight Capacity & Unit Mass |
|---|---|---|---|
| Revolving Staircase (e.g., StepMill 7000PT) | 35" x 53" | 8' 6" (102 inches) | 350 lbs / 615 lbs |
| Pedal Stride Climber (e.g., Bowflex M9) | 30" x 49" | 7' 8" (92 inches) | 300 lbs / 145 lbs |
| Hydraulic Stepper (Compact/Budget) | 18" x 22" | 7' 2" (86 inches) | 250 lbs / 40 lbs |
Phase 2: Electrical Load & Subfloor Isolation
Modern stair climbers utilize high-torque, low-RPM DC motors that draw a massive initial surge of amperage upon startup. The StairMaster StepMill 7000PT, priced around $4,299 in 2026, requires a dedicated 15-amp, 120-volt circuit. Plugging this machine into a shared circuit with a space heater, air conditioner, or even a high-draw treadmill will result in immediate breaker trips and potential motor board frying.
Subfloor Protection Protocol
Stair climbers generate intense vertical impact forces—up to 2.5 times your body weight per step. To protect your subfloor and reduce acoustic transfer to rooms below, you must install a high-density equipment mat.
- Material: Vulcanized rubber or PVC (minimum 3/8" or 9.5mm thickness).
- Dimensions: Extend at least 12 inches beyond the machine's footprint on all sides to catch sweat and accommodate maintenance clearance.
- Cost Expectation: $80 to $140 for a premium 4' x 8' commercial-grade mat.
Phase 3: Mechanical Calibration & Handrail Setup
Once the machine is positioned and plugged in, you must calibrate the console and handrails. According to StairMaster's official engineering guidelines, the handrails are designed for balance, not weight-bearing. If your machine features adjustable side rails, set them so that your elbows rest at a 90-degree angle when your posture is perfectly upright. Leaning heavily on the rails reduces caloric expenditure by up to 20% and places dangerous shear stress on the lumbar spine.
The Biomechanical Reset: How to Run on Treadmill Correctly
Many home gym owners utilize both a stair climber and a treadmill in the same session. However, the neurological firing patterns required for vertical climbing are diametrically opposed to horizontal running. On a stair climber, you are pushing down against gravity to elevate your center of mass. On a treadmill, the belt pulls your foot backward, meaning you must focus on pulling your leg forward and minimizing ground contact time.
Understanding how to run on treadmill correctly is vital for preventing patellofemoral pain syndrome (runner's knee) and shin splints. The Centers for Disease Control and Prevention recommends 150 minutes of moderate-to-vigorous aerobic activity weekly, but poor form on a motorized belt can turn those healthy minutes into orthopedic liabilities.
The 1% Incline Rule: To accurately simulate outdoor wind resistance and prevent the treadmill belt from artificially 'doing the work' for your hamstrings, always set your treadmill to a 1.0% to 1.5% incline during flat-road simulation runs.The 4-Point Treadmill Form Checklist
- Midfoot Strike Zone: Avoid overstriding (landing with your heel far in front of your knee). Your foot should land directly beneath your center of gravity. Overstriding acts as a braking mechanism, sending shockwaves directly into the tibia.
- Cadence Optimization: Aim for 170 to 180 steps per minute. Most modern treadmill consoles in 2026 display real-time SPM (steps per minute). If your SPM is below 160, you are likely overstriding and spending too much time in the 'flight phase,' increasing joint impact.
- Arm Carriage: Keep your hands unclenched (imagine holding a potato chip without breaking it). Arms should swing in the sagittal plane (front to back), not crossing the midline of your chest, which wastes rotational energy.
- Visual Horizon: Do not stare down at the treadmill console. Looking down flexes the cervical spine, restricting airway capacity and throwing off your pelvic alignment. Fix your eyes on a point at eye level across the room.
Troubleshooting & 2026 Maintenance Edge Cases
Even with perfect installation, cardio machines require rigorous maintenance to survive heavy home use. Here are the specific edge cases you must monitor for both machines.
Stair Climber Drive Belt Tension
After the first 50 hours of use on a revolving stair climber, the internal poly-V drive belt will experience initial stretching. If you hear a rhythmic 'slapping' sound or feel the steps hesitate slightly when you apply full body weight, the tensioner pulley needs adjustment. This requires removing the side shroud (usually 6-8 Phillips head screws) and turning the tensioner bolt exactly one-quarter turn clockwise. Never overtighten, as this will destroy the lower bearing assembly.
Treadmill Deck Lubrication Failure Modes
The treadmill deck requires 100% pure silicone lubricant. A common failure mode occurs when users apply aerosol sprays like WD-40 or lithium grease, which chemically degrades the phenolic resin coating on the MDF deck, leading to permanent friction burns and motor overheating. Apply exactly 0.5 ounces of liquid silicone under the belt every 150 miles or every 3 months, whichever comes first.
Conclusion
Creating a safe, biomechanically sound home cardio environment requires meticulous attention to both physical installation and human kinetics. By respecting the spatial and electrical demands of your stair climber, and mastering the distinct neurological cues of how to run on treadmill correctly, you ensure that your 2026 home gym remains a sanctuary for performance and longevity, rather than a source of frustration and injury. For more detailed biomechanics and joint health strategies, consult resources from the Mayo Clinic's fitness division to keep your training safe and effective.
More gear to consider
All reviews
Cardio Noise Comparison: Do Treadmill Side Rails Help?

Nautilus T614 Treadmill Review: Expert Belt Maintenance Guide
Alter G Treadmill Cost vs. Home Stair Climbers: 2026 Guide
Air Bike vs Assault Bike: Budget & Treadmill Arc Filter Costs

Is a Walking Pad the Best Treadmill Alternative? 2026 Comparison
