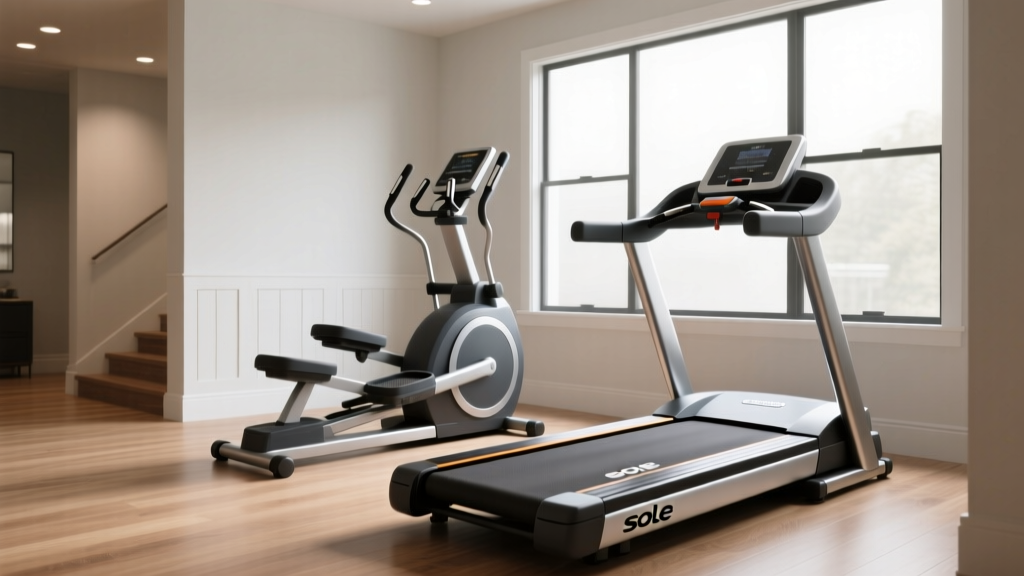
Stair Climber Home Setup: Space vs Sole F85 Treadmill Dimensions
Master your home stair climber installation. We compare step mill footprints to Sole F85 treadmill dimensions for optimal space and floor load planning.

The 2026 Home Gym Shift: Vertical Cardio and Spatial Reality
As home fitness evolves in 2026, high-intensity, low-impact (HILI) vertical cardio has overtaken traditional running for many enthusiasts. Stair climbers and step mills deliver unparalleled glute activation and cardiovascular conditioning without the repetitive joint strike of running. However, bringing a commercial-grade step mill or a compact stair climber into a residential space requires rigorous spatial and structural planning.
When mapping out a home gym layout, fitness professionals often use the Sole F85 treadmill dimensions (82.5 inches long by 35.5 inches wide by 66 inches high) as the ultimate baseline for heavy, sprawling cardio equipment. By contrasting these massive treadmill footprints with vertical stair climbers, we can uncover the hidden installation requirements—from ceiling clearance to dynamic floor loading—that dictate a successful home gym setup.
The Spatial Benchmark: Step Mills vs. Heavy-Duty Treadmills
The Sole F85 is a masterpiece of horizontal cardio, but its 82.5-inch length demands a dedicated room or a massive open-concept footprint. Stair climbers, conversely, trade horizontal sprawl for vertical height and concentrated weight density. Understanding this trade-off is the first step in your installation walkthrough.
Footprint and Weight Matrix
| Equipment Model | Category | Dimensions (L x W x H) | Unit Weight | Min. Ceiling Height |
|---|---|---|---|---|
| StairMaster SM5 | Commercial Step Mill | 48' x 28' x 76' | 255 lbs | 8' 6' |
| Bowflex Max M9 | Compact Climber | 49' x 30' x 65' | 150 lbs | 7' 0' |
| Sole F85 | Heavy-Duty Treadmill | 82.5' x 35.5' x 66' | 300 lbs | 7' 0' |
While the Sole F85 treadmill dimensions require nearly 20.5 square feet of continuous floor space, a step mill like the StairMaster SM5 occupies less than 9.5 square feet. However, that concentrated footprint introduces a critical installation variable: dynamic point loading.
⚠️ Structural Warning: Never place a commercial step mill directly over a basement drop-ceiling or unsupported floor joist span without verifying your structural load capacity. According to guidelines referenced by the American Council on Exercise (ACE) regarding home gym safety, the dynamic downward force of a 200 lb user stepping down on a step mill can momentarily exceed 400 lbs of point-load pressure on a single floor joist.Pre-Installation Checklist: Electrical and Subfloor Prep
Before unboxing your stair climber, you must prepare the environment. Unlike manual treadmills or magnetic resistance bikes, motorized step mills require specific electrical and subfloor conditions to prevent catastrophic failure modes.
1. The Dedicated Circuit Requirement
Step mills utilize high-torque AC motors to drive the step chain against the user's body weight. When a 200 lb user steps onto the first pedal, the inrush current can spike dramatically. You must install a dedicated 120V, 15-amp circuit. Sharing this circuit with a space heater, air conditioner, or even a high-draw refrigerator will result in tripped breakers and potential console motherboard damage due to voltage sags.
2. Subfloor Protection and Vibration Dampening
The Sole F85 treadmill dimensions allow for weight distribution across a wide belt deck, but a step mill concentrates vibration into four small leveling feet. You must use a 3/4-inch thick vulcanized rubber horse stall mat (typically 4x6 feet) cut to size. Avoid cheap PVC yoga mats or interlocking foam tiles; they will compress unevenly under the machine's 250+ lb frame, causing the internal drive chain to bind and wear prematurely.
Step-by-Step Stair Climber Installation Walkthrough
Whether you are assembling a compact Bowflex Max series or a full-sized StairMaster, the mechanical principles of installation remain consistent. Follow this exact sequence to avoid the most common edge-case failures.
- Base Staging and Leveling: Position the base unit on your rubber mat. Before attaching any uprights, use a 9-inch torpedo level on the side rails of the step track. Adjust the four threaded leveling feet until the bubble is perfectly centered. Pro Tip: If the base is unlevel, the polyurethane drive chain will track unevenly on the sprockets, leading to a loud 'clicking' noise within the first 30 days of use.
- Upright Mast and Wiring Routing: This is where 80% of home installations fail. As you lift the steel console mast into place, you must feed the internal wiring harness through the center channel. Edge Case Warning: Ensure the wire harness is taped to the inside of the steel tube with electrical tape. If the wire rests near the bolt-hole junction, tightening the 14mm mounting bolts will pinch and sever the optical sensor wires, resulting in a console that powers on but registers zero steps.
- Handrail and Console Attachment: Secure the handrails using the provided hex bolts, but leave them 10% loose. Have a helper stand on the bottom step and apply downward pressure to simulate user weight. While the frame is under load, tighten the handrail bolts to the manufacturer's torque specification (usually 25-30 Nm). This prevents the handrails from wobbling during high-intensity intervals.
Calibration and First-Run Diagnostics
Once assembled, do not immediately jump onto the machine for a full workout. Perform a diagnostic calibration to ensure the optical reed switch and drive tension are correctly aligned.
- The 'No-Load' Test: Power on the machine and start a manual program at the lowest speed (approx. 20 steps per minute). Listen to the drive sprocket. A smooth, low hum indicates proper chain tension. A rhythmic slapping sound means the chain is too loose; a high-pitched whine means the chain is over-tensioned and will burn out the motor bearings.
- The Optical Sensor Check: Step onto the machine and take 10 slow, deliberate steps. Watch the console. If the step count registers accurately but the 'calories' or 'intensity' metrics fluctuate wildly, the RPM sensor cable may be partially seated. Power down, unplug the machine, and reseat the ribbon cable on the back of the console PCB.
'Proper installation of vertical cardio equipment isn't just about making it fit in the room; it's about ensuring the biomechanical alignment of the machine matches the structural integrity of your home. Ignoring floor leveling on a step mill will destroy the drive train in months.' — Home Gym Engineering Report, 2025
Long-Term Maintenance and Spatial Strategy
Maintaining a stair climber requires a different protocol than maintaining a treadmill. While the Sole F85 specifications dictate regular silicone belt lubrication, step mills require chain and sprocket maintenance.
The 90-Day Chain Deflection Check
Every 90 days, remove the lower side shroud of your step mill. Press down on the center of the drive chain with your thumb. You should see exactly 1/4-inch to 3/8-inch of deflection. If the chain pushes down more than half an inch, use a 12mm wrench to adjust the tensioner bolt located on the rear idler sprocket. Proper tension prevents the steps from 'slipping' or jerking during heavy climbing sessions.
Dust Mitigation in Vertical Shafts
Because step mills operate close to the floor and utilize an open track at the base, they act as vacuums for pet hair and dust. Once a month, use a shop-vac with a crevice tool to clean the lower sprocket housing. Accumulated dust mixed with ambient humidity creates a grinding paste that will accelerate the wear of the sealed step bearings.
Final Verdict on Home Gym Space Planning
Choosing between a sprawling treadmill and a compact stair climber ultimately comes down to your spatial constraints and biomechanical goals. By using the Sole F85 treadmill dimensions as your maximum spatial threshold, you can easily visualize how a step mill or compact climber can reclaim valuable square footage in your home gym. However, this spatial efficiency demands a stricter adherence to electrical safety, floor joist load limits, and precise mechanical leveling. Master these installation fundamentals, and your vertical cardio machine will deliver years of silent, joint-friendly conditioning.
For more technical specifications and troubleshooting guides, always refer to the official StairMaster Support & Specifications portal or your specific manufacturer's service manual.
More gear to consider
All reviews
Technogym Spazio Forma Treadmill Review: Premium vs Walking Pads
Life Fitness Run CX Treadmill vs Curved Manual: Beginner Guide
Treadmill vs Elliptical Machine: Beginner Feature Guide
Manual vs Motorized: WalkingPad X25 Double Fold Running Treadmill Review

Treadmill Date: Everything in Our Walking Pad vs. Treadmill Showdown
