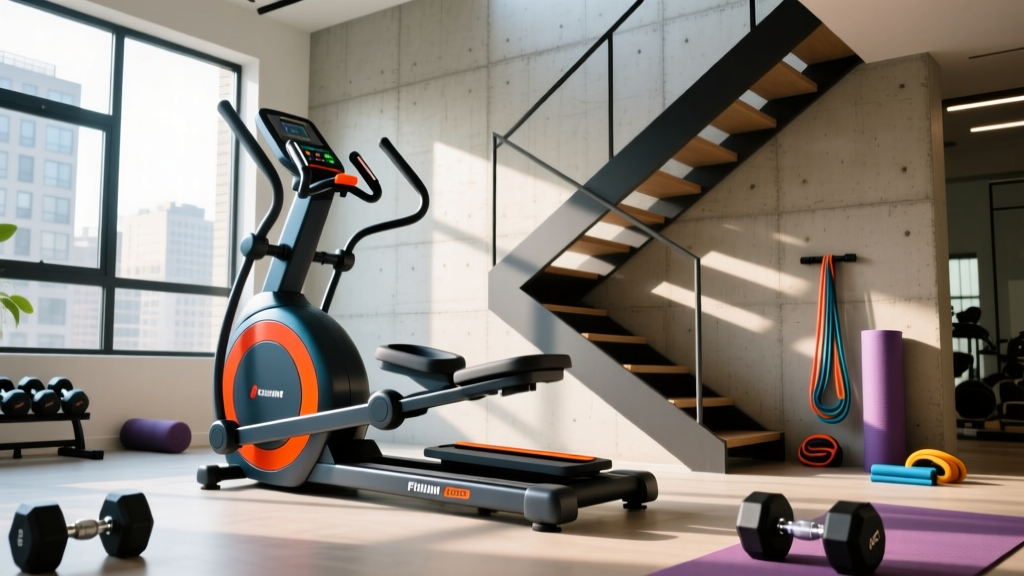
Stair Climber Installation: Replacing True Treadmill Older Models
Master your home stair climber setup and installation. Learn space, electrical, and assembly requirements when upgrading from legacy cardio gear.

Upgrading Your Home Gym: The Shift to High-Yield Cardio
As home fitness spaces evolve in 2026, many enthusiasts are downsizing their equipment footprints without sacrificing caloric output. A common scenario we see at FitGearPulse involves homeowners removing bulky legacy equipment—specifically True treadmill older models like the Z5.0 or PS-800 series—and replacing them with high-intensity, compact stair climbers. While legacy treadmills offered steady-state walking and jogging, modern stair climbers deliver superior glute activation and cardiovascular conditioning in a fraction of the time.
According to the American Heart Association, vigorous-intensity aerobic activity (which stair climbing easily achieves) requires only 75 minutes per week for substantial health benefits, compared to 150 minutes for moderate-intensity treadmill walking. However, swapping a motorized treadmill for a mechanical or hybrid stair climber requires a completely different approach to setup, electrical planning, and assembly.
Phase 1: Space, Clearance, and Electrical Prep
Before unboxing your new machine, you must prepare the installation zone. True treadmill older models typically demanded a massive 84-inch by 36-inch footprint and, crucially, a dedicated 20-amp electrical circuit to support their 3.0+ HP continuous-duty motors. Modern stair climbers change these requirements drastically.
⚠️ Critical Ceiling Clearance Warning: If you are installing a revolving staircase model (like the StairMaster StepMill 3), you must calculate ceiling height carefully. The formula is: User Height + 15 inches = Minimum Ceiling Height. A 6-foot user requires at least an 87-inch ceiling. Pedal-based climbers (like the Bowflex Max Trainer M9) only require standard 8-foot ceilings.Electrical Circuit Requirements
Unlike the 20-amp dedicated circuits required by older True treadmills, most modern pedal-based stair climbers (e.g., Bowflex, NordicTrack) operate safely on a standard 15-amp, 120-volt household outlet. However, the Consumer Product Safety Commission (CPSC) strongly advises against using extension cords or power strips for any motorized or high-draw fitness equipment to prevent voltage drops and fire hazards. Always plug the machine directly into a grounded wall receptacle.
Setup Specifications Matrix
Use the table below to compare the installation requirements of legacy treadmills versus the two primary types of modern home stair climbers.
| Feature | Legacy True Treadmill (e.g., Z5.0) | Pedal Climber (e.g., Bowflex M9) | Revolving Stairs (e.g., StepMill 3) |
|---|---|---|---|
| Footprint (L x W) | 84' x 36' | 49' x 30' | 46' x 29' |
| Machine Weight | ~320 lbs | ~150 lbs | ~385 lbs |
| Electrical Need | 20-Amp Dedicated | 15-Amp Standard | 15-Amp Standard |
| Assembly Time | 1.5 - 2 Hours | 45 - 60 Mins | 1 - 1.5 Hours |
Phase 2: Step-by-Step Assembly Walkthrough
The mechanical assembly of a stair climber differs vastly from a treadmill. While treadmills focus on deck alignment and belt tensioning, stair climbers require precise crank arm torque and upright mast stabilization.
Type A: Pedal-Based Climber Assembly (Hybrid Elliptical/Climber)
For hybrid pedal climbers like the Bowflex Max Trainer series (retailing around $2,299 in 2026), the assembly focuses on the central crank and pedal arms.
- Base Stabilization: Attach the front and rear stabilizer bars to the main base frame using the provided M10 x 70mm bolts. Use a 17mm socket wrench. Pro Tip: Leave bolts 10% loose until all four feet are flat on the floor, then torque them down to 40 Nm to prevent frame wobbling during high-cadence climbing.
- Upright Mast & Data Ribbon: Stand the main upright mast vertically. Before securing the four M8 base bolts, carefully route the console data ribbon cable through the mast's internal channel. Do not pinch this cable. A pinched ribbon is the #1 cause of 'E1' console errors on hybrid climbers.
- Crank and Pedal Arms: Apply a thin layer of marine-grade lithium grease to the crank shaft bearings. Slide the left and right pedal arms onto the splined shafts. Secure with the crank bolts and torque to exactly 50 Nm. Under-torquing here will result in a rhythmic clicking sound within the first 10 hours of use.
Type B: Revolving Staircase Assembly (StepMill Style)
Revolving stair climbers are heavily front-weighted due to the internal step cartridge. You will need a second person or a furniture dolly for this phase.
- Pallet Unboxing: Cut the steel banding and carefully slide the machine off the pallet. The StepMill 3 weighs nearly 400 lbs; use a dolly to move it to the installation zone.
- Handrail and Console Mast: Attach the lower handrail supports using the heavy-duty carriage bolts. Feed the heart-rate monitor wiring through the left handrail tube before bolting it to the main chassis.
- Leveling: Revolving stairs must be perfectly level to prevent the step belt from tracking to one side and grinding against the internal chassis. Use a 24-inch spirit level on the top step and adjust the four corner leveling feet until the bubble is dead center.
Phase 3: Calibration, Boot-Up, and Safety Testing
Once mechanically assembled, the machine requires software calibration and physical safety testing before the first workout.
The Biomechanical Advantage: Studies highlighted by the Mayo Clinic indicate that weight-bearing, high-resistance exercises like stair climbing significantly improve bone density and lower-body muscular endurance compared to the low-impact, flat-plane motion of traditional treadmills.
Console Boot-Up and Error Codes
Plug the machine directly into the wall and flip the power switch (usually located near the floor on the base). The console should illuminate within 3 seconds. If you encounter an error code immediately upon boot:
- E1 / E2 (Speed/Position Sensor Error): Usually indicates the optical sensor inside the flywheel housing is misaligned or the data cable was pinched during mast installation. Unplug, disconnect the console, and reseat the ribbon cable.
- E5 (Incline/Resistance Motor Error): Common on pedal climbers if the magnetic brake caliper was bumped during shipping. Run the manual calibration mode (refer to your specific model's manual, usually initiated by holding 'Enter' and 'Power' for 5 seconds) to reset the brake zero-point.
The Safety Tether Test
Unlike older True treadmills that utilized a physical magnetic safety key attached to a lanyard, modern 2026 stair climbers often rely on capacitive touch sensors in the handlebars or Bluetooth-paired wearable heart rate monitors to detect user presence. If your model includes a physical safety tether, clip it to your waist, start the machine at the lowest resistance (Level 1), and step off the pedals abruptly. The flywheel or step belt must engage the magnetic brake and halt within 1.5 seconds.
Real-World Troubleshooting & Maintenance Edge Cases
Even with perfect installation, home gym environments present unique challenges that commercial gyms do not.
Expert Troubleshooting Checklist
- Squeaking Pedal Arms: If a hybrid climber develops a squeak after 30 days, do not use WD-40. WD-40 attracts dust and degrades nylon bushings. Instead, use a 100% silicone spray lubricant on the pedal arm pivot points.
- Console Flickering During Climbs: If the screen dims during high-resistance intervals, your wall outlet may be experiencing voltage drop due to other appliances on the same 15-amp circuit (like a space heater or AC unit). Move the machine to a dedicated circuit.
- Step Belt Drift (Revolving Models): If the stairs scrape the left or right wall of the chassis, locate the tensioning bolts at the rear base. Turn the bolt on the side the belt is rubbing away from by exactly one-quarter turn. Never adjust tension while the machine is in motion.
Final Thoughts on Your Cardio Upgrade
Replacing True treadmill older models with a modern stair climber is one of the most effective ways to modernize a home gym. You will reclaim up to 40% of your floor space, eliminate the need for specialized 20-amp electrical wiring, and unlock a higher tier of cardiovascular and muscular conditioning. By following this precise setup and installation walkthrough—paying special attention to torque specifications, ceiling clearances, and data cable routing—you will ensure your new machine operates silently and safely for years to come.
More gear to consider
All reviews
Why Is Running on a Treadmill Harder? A Feature Buying Guide

Rowing Machine Guide: Cross-Training for 5K Run on Treadmill

Weslo Cadence 80 Treadmill Maintenance & Compact Cardio Care
Upright, Recumbent, Spin Bikes & iPad Stand for Treadmill Mounts

Treadmill Abuse Trends 2026: Belt Maintenance & Market Data
