Home Stair Climber Setup vs Fold-Over Treadmill Guide
Master your home gym with our complete stair climber installation walkthrough. We compare spatial needs, clearance, and setup against fold-over treadmills.

The Ultimate Home Stair Climber Installation Walkthrough
As home fitness technology advances in 2026, the stair climber has cemented its status as the premier low-impact, high-yield cardio machine. Models like the StairMaster StepMill 7 and the Bowflex Max Trainer M9 offer unparalleled glute and quad engagement without the joint degradation associated with high-mileage running. However, integrating a commercial-grade stair climber into a residential space requires meticulous planning. Unlike a standard elliptical or a space-saving fold-over treadmill (often searched by consumers as a treadmill that folds over itself to reclaim floor space), a stair climber demands rigorous vertical clearance and specialized structural support. This comprehensive setup and installation guide will walk you through the exact spatial, electrical, and mechanical requirements to safely install a stair climber in your home gym, while contrasting its footprint against fold-over treadmill alternatives.
Pre-Installation: Spatial Requirements & Clearance
The most frequent point of failure in home stair climber installation is ignoring the 'step-up' height. When you step onto a machine like the StairMaster StepMill 7, the first stair is already elevated. As you climb, your head moves closer to the ceiling. According to guidelines referenced by the President's Council on Sports, Fitness & Nutrition, ensuring adequate overhead clearance is critical to prevent catastrophic head injuries and machine damage during high-intensity intervals.
⚠️ The Golden Rule of Ceiling Clearance:Measure your ceiling height, then subtract the machine's maximum step-up height (usually 10 to 15 inches). The remaining space must accommodate your exact height plus an additional 3 inches for safety bounce and ventilation. For an 8-foot ceiling (96 inches) and a 6-foot user (72 inches), a machine with a 14-inch step-up leaves only 10 inches of clearance—far too tight for safe, vigorous climbing.
Stair Climber vs. Fold-Over Treadmill Footprint
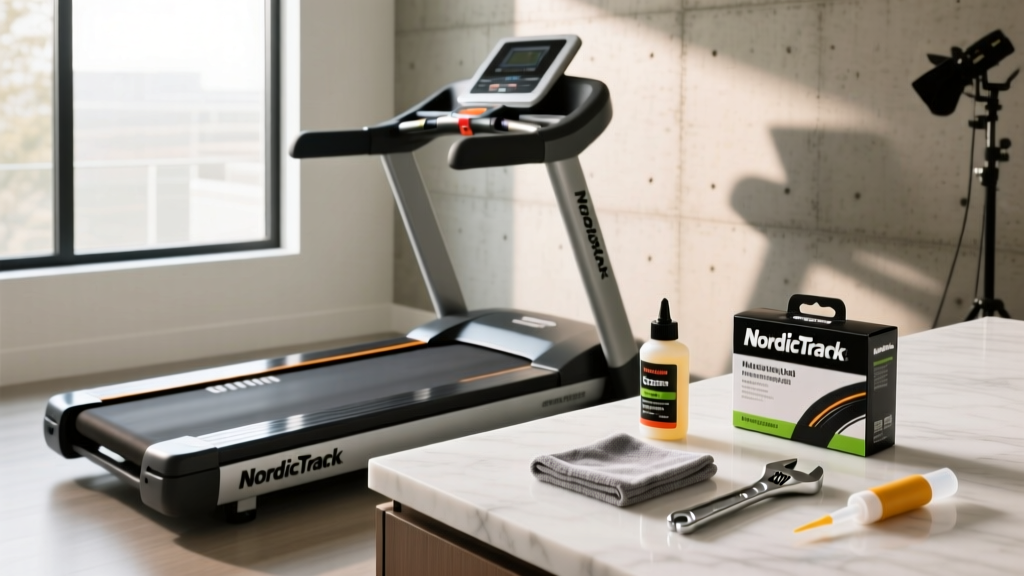
When designing a multi-use home gym in 2026, space optimization is key. While a stair climber dominates vertical space, a premium fold-over treadmill (like the NordicTrack Commercial 2450) dominates horizontal space during use but can be folded over itself to reduce its footprint by up to 60% when stored. Below is a direct spatial and installation comparison matrix.
| Specification | StairMaster StepMill 7 | Bowflex Max Trainer M9 | Premium Fold-Over Treadmill |
|---|---|---|---|
| Base Footprint (L x W) | 42" x 31.5" | 49" x 30.5" | 70" x 35" (Folded: 40" x 35") |
| Machine Height | 77.5" | 65.3" | 65" (Folded: 72") |
| Required Ceiling Clearance | User Height + 15" | User Height + 12" | User Height + 4" (Flat) |
| Total Machine Weight | 285 lbs | 150 lbs | 300+ lbs |
| Electrical Requirement | 15-Amp Dedicated | Standard 120V | 15-Amp or 20-Amp Dedicated |
Step-by-Step Stair Climber Assembly & Placement
Proper assembly ensures the longevity of the internal drive mechanism and prevents the dreaded 'stair slip' failure mode. Follow this exact sequence for heavy-duty stair climbers.
- Subfloor Prep and Mat Placement: Never place a 285-lb stair climber directly on luxury vinyl plank (LVP) or laminate flooring; the concentrated point-load of the leveling feet will crack the planks. Lay down a 3/8-inch thick vulcanized rubber horse-stall mat (cut to 4x6 feet). This absorbs the kinetic energy of the descending stairs and prevents micro-vibrations from transferring through your home's joists.
- Base and Upright Stabilization: With a partner, lift the main chassis onto the mat. Before tightening the upright bolts to the manufacturer's specified torque (usually 45-50 Nm), use a 24-inch carpenter's level across the base frame. Adjust the four corner leveling feet until the bubble is perfectly centered. Edge Case: If the machine is unlevel, the internal stair belt will track to one side, causing premature wear on the polyurethane guide rails.
- Console Wiring Harness: This is where 80% of home installation errors occur. When connecting the main data cable from the base to the console, ensure the pin alignment is flawless. Use a small zip-tie to secure the excess slack inside the upright tube. If the wire pinches between the metal bracket and the bolt during final tightening, you will experience intermittent console blackouts or erratic step-counting.
- Belt Tension Calibration: Once powered on, run the machine at speed level 3 without stepping on it. Observe the stair chain/belt mechanism. If you hear a rhythmic 'clicking' sound, the tensioner bolt at the base of the stairwell needs a quarter-turn adjustment using a 14mm socket wrench.
Electrical & Flooring Considerations
Modern stair climbers feature advanced regenerative braking systems and high-draw LED consoles. The U.S. Consumer Product Safety Commission (CPSC) frequently notes that improper electrical setups in home gyms lead to tripped breakers and, in rare cases, thermal events. Your stair climber requires a dedicated 15-amp (NEMA 5-15R) circuit. Do not share this circuit with a smart TV, a space heater, or a window AC unit. When the stair climber's motor engages to control the descent of a 200-lb user, it creates a momentary power surge that will trip a shared 15-amp breaker.
"A dedicated circuit is not just a recommendation for commercial cardio equipment; it is a mandatory safety requirement to protect the machine's internal logic board from voltage drops and surges common in shared residential wiring."
Troubleshooting Common Installation Failures
Even with meticulous assembly, home environments present unique variables. Here is how to diagnose and fix the most common post-installation issues:
- Failure Mode: Stairs 'Slip' Underfoot During Push-Off.
Diagnosis: This is rarely a motor issue. It is almost always a calibration error in the optical speed sensor. Locate the sensor near the bottom flywheel, wipe away any dust or shipping grease with isopropyl alcohol, and ensure the gap between the sensor and the magnet is exactly 2-3 millimeters. - Failure Mode: Excessive Vibration and Noise on Downstairs Ceilings.
Diagnosis: Structural resonance. The rubber mat is insufficient for your specific floor joist spacing. Solution: Install a secondary layer of 1/2-inch high-density EVA foam puzzle tiles beneath the vulcanized rubber mat to decouple the machine from the subfloor entirely. - Failure Mode: Heart Rate Monitor Failing to Sync.
Diagnosis: Interference from nearby 2.4GHz networks or smart home hubs. Relocate your Wi-Fi router at least 10 feet away from the stair climber's console, or switch the console's Bluetooth telemetry to the 5GHz band if supported by your 2026 firmware update.
Expert Verdict: Space Planning for Your Home Gym
Choosing between a stair climber and a fold-over treadmill ultimately comes down to your room's dimensional constraints and your biomechanical goals. If your home gym is located in a basement with low ceilings (under 8 feet) or an attic with sloped roofs, a stair climber is physically unsafe and impractical; a fold-over treadmill is the vastly superior choice, allowing you to fold the deck over itself to reclaim valuable square footage when not in use. However, if you have a room with 9-foot ceilings or higher, the stair climber offers unmatched cardiovascular conditioning and lower-body hypertrophy with zero impact force. By following this exact installation walkthrough—prioritizing subfloor protection, dedicated electrical circuits, and precise leveling—you will ensure your machine operates flawlessly for years to come.
More gear to consider
All reviews
Walking on Treadmill with Weights: Portable Cardio Maintenance

AssaultRunner Pro Manual Treadmill vs Stationary Bikes: 2026 Trends

Air Bike vs Assault Bike: ProForm 730cs Treadmill Market Shift

Rent to Own Treadmill Guide: 2026 Costs & Feature Comparison
Planet Fitness Treadmill Screen: Home Feature Guide