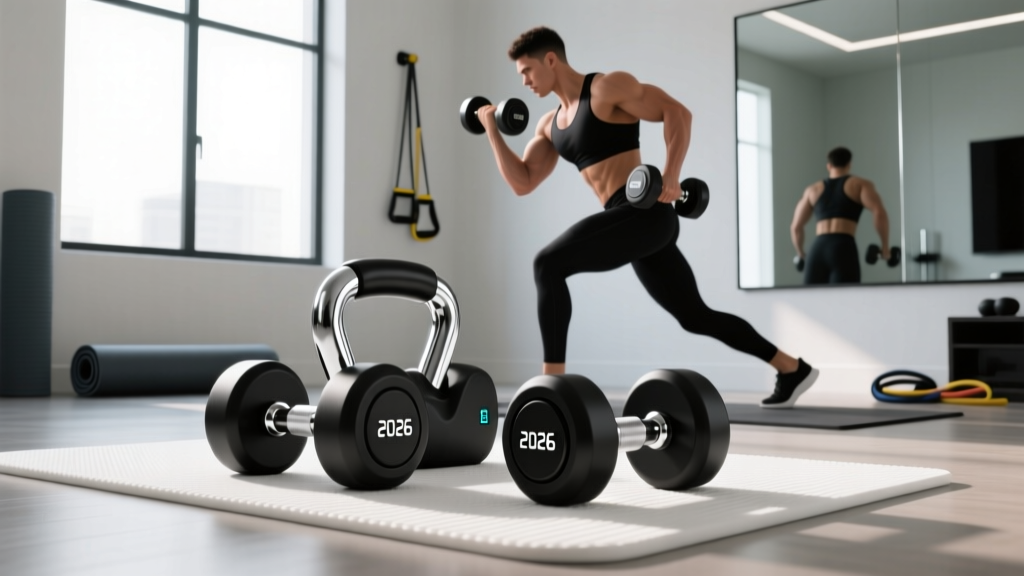
Space-Saving Racks for Your First Beginner Dumbbell Weight Set
Discover space-saving rack layouts and storage solutions to organize your beginner dumbbell weight set in a compact home gym without sacrificing floor space.

Designing a functional home gym in a limited footprint is one of the most common challenges for new lifters. When you purchase your first beginner dumbbell weight set—typically a 5-pair collection ranging from 10 to 30 pounds or a pair of adjustable dial dumbbells—the immediate hurdle shifts from acquiring the gear to storing it efficiently. Scattered weights create severe trip hazards, damage flooring, and visually clutter a small room, making the space feel cramped and uninviting.
According to guidelines published by the American Council on Exercise (ACE), proper equipment storage and spatial clearance are critical for preventing domestic gym injuries. In 2026, with home square footage at a premium and steel manufacturing costs fluctuating, selecting the right storage architecture requires a balance of ergonomic layout, structural stability, and spatial efficiency. This guide breaks down exactly how to integrate dumbbell racks into a compact room without compromising your training flow.
The Triangle of Efficiency Layout
For micro-gyms (under 150 sq ft), arrange your space using the Triangle of Efficiency. Point A is your primary lifting zone (bench or mat). Point B is your dumbbell rack. Point C is your mirror or focal wall. The distance between the rack and the lifting zone should be exactly one arm-length plus 12 inches (approx. 36-40 inches). This allows you to grab and return weights without taking full steps, minimizing spatial footprint while maximizing safety.
The Spatial Reality: Fixed Hex vs. Adjustable Sets
Before buying a rack, you must account for the physical dimensions of your specific beginner dumbbell weight collection. Most novices opt for rubber-coated hex dumbbells because they are cost-effective and do not roll. However, a standard 5-pair set (10, 15, 20, 25, 30 lbs) requires approximately 42 inches of linear shelf space if stored on a single tier.
If you are using adjustable dumbbells like the Nuobell 80s or Bowflex SelectTech 552s, the footprint changes dramatically. Adjustable dumbbells measure roughly 16 to 17 inches in length and require specialized cradles or flat shelves rather than contoured tier rails. Buying a traditional 3-tier angled rack for adjustable dumbbells is a common failure mode that results in damaged dials and wasted money. Always match the rack tray geometry to the dumbbell head profile.
Rack Typologies & Footprint Analysis
Not all racks are created equal when it comes to spatial economy. Below is a 2026 comparison of the three primary rack architectures for novice lifters, analyzing their exact floor footprints and use cases.
| Rack Type & Model | Footprint (L x W) | Capacity | Est. Price (2026) | Best Spatial Use |
|---|---|---|---|---|
| 3-Tier Horizontal (e.g., Rogue 3-Tier) | 43' x 23' | 5-50 lb pairs | $295 - $345 | Wide wall placement |
| A-Frame Vertical (e.g., Titan Fitness) | 31' x 28' | Up to 1,000 lbs | $179 - $210 | Corner or island placement |
| Wall-Mounted Peg System (DIY/Fringe) | 36' x 2' (Wall) | Light pairs (5-25 lbs) | $85 - $130 | Zero-floor-space rooms |
1. The A-Frame Advantage for Small Rooms
For a compact spare bedroom or garage corner, the A-Frame design is the undisputed king of space optimization. By angling the shelves upward, the A-Frame reduces the required width while utilizing vertical airspace. The Titan Fitness A-Frame, constructed from 11-gauge steel, occupies less than 6 square feet of floor space. Its wider 28-inch base depth prevents forward tipping, a crucial safety feature when loading heavy iron.
2. Wall-Mounted Systems: The Zero-Footprint Solution
If your room is under 80 square feet, floor racks may be entirely unviable. Wall-mounted pegboards or specialized shelf brackets bolted directly into wooden wall studs (16 inches on center) offer a zero-floor-footprint solution. Warning: Never use drywall toggle anchors for wall-mounted dumbbell storage. The dynamic force of slamming a 25-pound dumbbell back onto a peg generates sheer force that will rip anchors out of gypsum board. Always lag-bolt into structural studs.
The Physics of Rack Stability and Failure Modes
A critical, often overlooked aspect of layout design is the center of gravity. The National Strength and Conditioning Association (NSCA) emphasizes that equipment stability is paramount in facility design. In a home setting, cheap 2-tier wire racks are notorious for a specific failure mode: forward tipping.
If you load the top tier of a lightweight rack with your heaviest beginner dumbbell weight pairs (e.g., 25 and 30 lbs) but leave the bottom tier empty, the center of mass shifts dangerously high and forward. When you grab a top-tier dumbbell, the sudden removal of weight can actually cause the rack to rock backward, but when you return it forcefully, the forward momentum can tip the entire unit onto your toes.
- The Fix: Always load racks from the bottom up. Heaviest weights on the bottom tier, lightest on top.
- The Hardware: Look for racks with a minimum 11-gauge steel frame and rubber-padded feet that grip laminate or hardwood floors.
- The Anchor: For households with children or pets, use an L-bracket to secure the top rear of the rack to the baseboard or wall stud.
Designing the Micro-Gym Layout: Clearances and Mats
Storage does not exist in a vacuum; it interacts with your flooring and movement pathways. According to ergonomic reviews by Garage Gym Reviews, maintaining proper clearance around your storage zone is just as important as the rack itself.
'The most common mistake in home gym layout is placing the dumbbell rack flush against a wall in a corner. This forces the lifter to approach from only one angle, creating a bottleneck and increasing the risk of dropping weights on adjacent walls or baseboards.'
The 36-Inch Rule
You must maintain a minimum 36-inch clearance between the front of the dumbbell rack and any other obstacle (bench, wall, or doorway). This allows you to hold a dumbbell at arm's length while turning your body without striking the drywall.
Mat Integration
Do not place a dumbbell rack directly on carpet or bare hardwood. The concentrated point-load of a fully loaded rack (which can exceed 400 pounds) will permanently indent carpet padding and dent hardwood. Place a 4x6 foot, 3/4-inch thick vulcanized rubber horse stall mat beneath the rack. Not only does this distribute the weight, but the high-friction surface prevents the rack from 'walking' across the room during vigorous weight exchanges.
Step-by-Step: Your Compact Dumbbell Zone Setup
- Map the Studs: Use a magnetic stud finder to locate the wall studs where the rack will reside. Mark the center of the studs with painter's tape.
- Lay the Mat: Position your rubber mat first. Ensure it is square to the room's primary wall.
- Position the Rack: Place the rack on the mat, leaving exactly 3 inches of space between the back of the rack and the wall to accommodate baseboards and allow for dusting.
- Load Strategically: Place your 10 lb and 15 lb pairs on the bottom tier. Place the 20 lb, 25 lb, and 30 lb pairs on the middle and top tiers, ensuring the heaviest items remain closest to the floor to lower the center of gravity.
- Test the Pathway: Walk the exact path from your bench to the rack while holding a mock weight to ensure no spatial bottlenecks exist.
Frequently Asked Questions
Can I store my beginner dumbbell weight set outside on a patio?
Only if the dumbbells are urethane-coated and the rack is powder-coated or galvanized. Standard rubber hex dumbbells will degrade, crack, and emit a foul odor when exposed to UV rays and temperature fluctuations. If outdoor storage is mandatory, invest in a heavy-duty canvas tarp and a silicone-based protectant for the steel handles.
Is a 2-tier rack sufficient for a beginner?
A 2-tier rack is sufficient for a 3-pair set (e.g., 10, 15, 20 lbs). However, as you progress, you will inevitably add heavier pairs. Buying a 3-tier rack from the start is more cost-effective and prevents the need to upgrade your storage infrastructure within six months.
How do I clean rubber dumbbells before storing them?
Sweat and skin oils degrade rubber over time, making it sticky and prone to peeling. Wipe down the handles and heads with a microfiber cloth dampened with a mild dish soap and water solution. Avoid harsh chemical disinfectants or bleach, which will dry out the rubber and cause premature cracking.
More gear to consider
All reviews
Rubber Hex vs Urethane Dumbbells: Budget & Dumbbell Pendant Necklace

Olympic vs Standard Setup for Dumbbell Barbell Back Exercises

Best Dumbbell Racks for Your At Home Dumbbell Workout Plan (2026)

200 lb Dumbbells Setup: Adjustable Comparison & Installation
How Big Are the Dumbbells You Lift? Sizing Loadable Handles