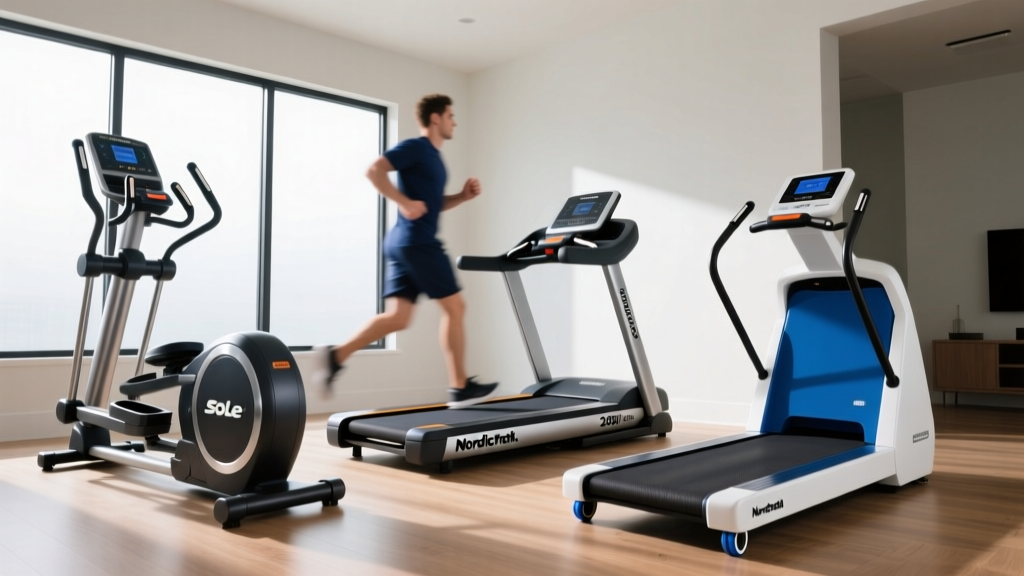
Quiet Setup: Noise Levels & A Ten Minute Treadmill Workout Guide
Learn how to soundproof your home gym with our noise comparison guide and acoustic setup walkthrough, tested via a ten minute treadmill workout.

Building a home gym in an apartment, a multi-story house, or near shared living spaces requires more than just buying the right equipment; it demands a strategic approach to acoustic management. While all cardio machines generate sound, the type and transmission of that noise vary drastically. If you are installing a high-impact machine, understanding baseline noise levels and executing a proper sound-dampening installation is critical to maintaining household harmony.
In this comprehensive setup walkthrough, we will compare the acoustic profiles of popular cardio machines, detail a professional-grade installation protocol to eliminate structure-borne vibrations, and provide a specific ten minute treadmill workout designed to act as an acoustic stress test for your new setup.
Baseline Noise Comparison: Treadmills vs. Ellipticals vs. Rowers
Before unboxing your equipment, it is essential to understand the two types of noise your machine will produce: airborne noise (motor hum, fan whir, and mechanical friction) and structure-borne impact noise (vibrations traveling through the floor joists). According to the CDC's Noise and Decibel Chart, prolonged exposure to noise above 70 dB can cause hearing fatigue, while the EPA's guidelines on environmental noise highlight how low-frequency impact noise easily penetrates residential flooring.
| Machine Type | Drive Mechanism | Average Airborne Noise (dB) | Impact Noise Severity | Primary Acoustic Culprit |
|---|---|---|---|---|
| Treadmill | Electric Motor / Belt | 65 - 85 dB | Extreme (High) | Footfall impact & motor torque |
| Elliptical | Magnetic / Flywheel | 45 - 60 dB | Minimal (Low) | Drive belt whir & joint friction |
| Rowing Machine | Air / Water / Magnetic | 55 - 75 dB | Moderate (Medium) | Air baffle whoosh & rail rollers |
| Stair Climber | Hydraulic / Stepper | 50 - 65 dB | High (Vertical) | Piston compression & pedal thud |
As the data illustrates, treadmills are the undisputed champions of acoustic disruption. The repetitive, high-force impact of a runner's stride (which can generate up to 3x their body weight in downward force) creates low-frequency vibrations that bypass standard flooring and resonate directly into the ceiling below. This necessitates a rigorous installation walkthrough focused on mass and decoupling.
The Complete Sound-Dampening Installation Walkthrough
To effectively neutralize treadmill noise, you must decouple the machine from the building's structural framework. Follow this three-step installation protocol to achieve a near-silent operation footprint.
Step 1: Subfloor Mass and Isolation Layering
Do not rely on cheap, interlocking EVA foam puzzle mats. Foam compresses under the heavy static and dynamic loads of a treadmill, bottoming out and rendering it acoustically useless. Instead, opt for high-density vulcanized rubber.
- The Material: 3/4-inch thick vulcanized rubber horse stall mats or premium gym tiles (e.g., Rogue Fitness Mats, averaging $115–$130 per 4x6 mat as of early 2026).
- The Barrier: For second-floor installations, lay down a sheet of Mass Loaded Vinyl (MLV) rated at 1 lb per square foot beneath the rubber mat. MLV specifically blocks low-frequency structure-borne sound waves.
- The Perimeter: Leave a 1/2-inch gap between the mat and the baseboards to prevent vibrations from transferring directly into the drywall.
Step 2: Precision Leveling and Point-Load Decoupling
An unlevel treadmill forces the motor to work harder, increasing airborne whine, and causes uneven belt tracking, resulting in rhythmic thumping.
- Place a 24-inch machinist level across the deck and the floor.
- Install anti-vibration isolation pads (such as the DiversiTech MP-4 Ultra pads, roughly $28 for a 4-pack) directly under the machine's primary weight-bearing feet. These pads feature a waffle-bottom design that traps air and dissipates kinetic energy.
- Adjust the treadmill's rear leveling feet until the bubble is perfectly centered. Lock the nuts tightly to prevent vibration-induced loosening over time.
A dry treadmill belt forces the motor to draw excess amperage, creating a high-pitched mechanical whine. Before your first run, apply 100% pure silicone treadmill lubricant (avoid PTFE or petroleum-based sprays like WD-40, which degrade the rubber). Apply exactly 0.5 oz of silicone in a zig-zag pattern under the belt, run the machine at 2.0 mph for three minutes to distribute it, and wipe the edges clean.
The Stress Test: A Ten Minute Treadmill Workout
Once your acoustic installation is complete, you must verify its efficacy. The best way to test both impact isolation and motor resonance is by executing a targeted ten minute treadmill workout. This specific protocol transitions through varying speeds and inclines to expose any hidden acoustic flaws in your setup.
The Acoustic QA Protocol (10 Minutes)
- Minutes 0:00 - 3:00 (Baseline Hum Test): Walk at 3.5 mph, 0% incline. What to listen for: A smooth, consistent motor hum. If you hear a rhythmic 'slap-slap' sound, your belt tension is too loose or the belt seam is defective.
- Minutes 3:00 - 5:00 (Impact Noise Test): Run at 7.5 to 8.5 mph, 0% incline. What to listen for: Heavy footfalls. If the room shakes or you hear a loud thudding downstairs, your rubber mat has bottomed out or you are missing the MLV layer.
- Minutes 5:00 - 8:00 (Motor Torque & Resonance Test): Drop speed to 3.0 mph, but max out the incline (12% to 15%). What to listen for: Deep motor strain and chassis vibration. High torque tests the anti-vibration pads. If the plastic motor shroud rattles, tighten the shroud screws with a hex key.
- Minutes 8:00 - 10:00 (Cooldown & Tracking Check): Walk at 2.5 mph, 0% incline. What to listen for: Ensure the belt is not drifting to one side and rubbing against the plastic side rails, which creates a harsh squeaking noise.
Troubleshooting Edge Cases and Persistent Rattles
If your ten minute treadmill workout revealed acoustic anomalies that the mat and leveling didn't fix, consult this troubleshooting matrix to identify the failure mode.
| Sound Profile | Probable Failure Mode | Corrective Action |
|---|---|---|
| High-pitched squealing under load | Insufficient deck lubrication or worn drive belt. | Re-apply 100% silicone lube; inspect motor drive belt for glazing. |
| Rhythmic thumping (1x per belt revolution) | Belt seam delamination or warped front roller. | Inspect the underside seam; replace the belt if the fiberglass core is exposed. |
| Metallic grinding from the rear | Dry or failing roller bearings. | Replace the rear roller assembly (typically a $45-$80 OEM part). |
| Plastic buzzing at high inclines | Motor shroud vibrating against the frame. | Apply adhesive felt weatherstripping between the shroud and metal frame. |
Final Thoughts on Spatial Placement
Even with premium 3/4-inch vulcanized rubber and precision leveling, spatial placement dictates your final acoustic footprint. Never place a treadmill directly over a floor joist if you can avoid it; place it in the center of the joist span where the subfloor has the most flex to absorb micro-vibrations. Furthermore, keep the machine at least 18 inches away from shared drywall partitions to prevent airborne motor noise from coupling into the wall cavity and amplifying into adjacent rooms.
By respecting the physics of sound transmission and utilizing this rigorous installation walkthrough, you can transform a disruptive piece of fitness equipment into a neighbor-friendly machine. Run your ten minute treadmill workout, trust the data, and enjoy your newly optimized, whisper-quiet home gym.
More gear to consider
All reviews
Treadmill Motor Size Guide: Is the XTERRA TR300 Treadmill HP Enough?
Curved vs Motorized: Cursor Fitness Home Folding Treadmill Mistakes

Star Trac Treadmill Models & Cardio Noise: Beginner Comparison Guide
ProForm Treadmill Parts List & Cardio Machine Noise Level Comparison

LowkeyDeadInside Treadmill Motor Guide: HP vs. CHP 2026