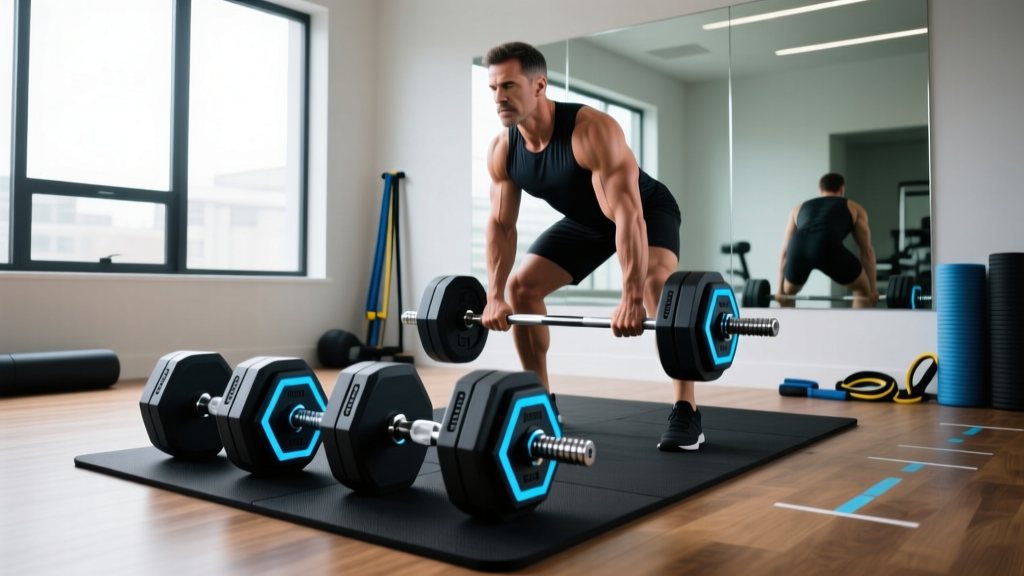
Home Gym Setup for Squats with Dumbbell Press & Neoprene Weights
Master your home gym layout for squats with dumbbell press. Learn flooring, storage, and neoprene dumbbell setup for safe, effective full-body workouts.

Executing squats with dumbbell press (commonly known as thrusters) is one of the most metabolically demanding and biomechanically complex movements you can perform in a home gym. This compound exercise requires a seamless transfer of kinetic energy from the lower body through the core and into an explosive overhead lockout. When outfitting a home gym for this specific movement, the equipment you choose and how you install it are critical to your safety and performance.
For home environments, neoprene coated dumbbells are a popular choice due to their noise-dampening properties and floor-friendly exterior. However, combining the dynamic, high-impact nature of the squat with dumbbell press with the unique material properties of neoprene requires a highly specific setup and installation walkthrough. This guide details the exact spatial, structural, and biomechanical preparations needed to safely integrate this movement into your 2026 home gym routine.
Phase 1: Spatial Mapping and Flooring Installation
Before unboxing your weights, you must prepare the physical environment. The squat with dumbbell press requires a full range of motion that extends from a deep squat to an overhead reach, demanding both vertical clearance and lateral stability.
Calculating Your Movement Envelope
Measure a minimum clearance zone of 6 feet by 6 feet. The overhead press portion of the lift dictates that your ceiling height must accommodate your full standing height plus the length of your arm, plus an additional 12 inches of safety buffer. If you are 6 feet tall, you need a minimum ceiling clearance of 8.5 feet to prevent striking light fixtures or drywall during the lockout phase.
Flooring Installation: The Foundation of the Drive
The most common installation mistake in home gyms is using high-density EVA foam interlocking tiles for dynamic lifts. According to biomechanical guidelines from the NSCA, the explosive hip drive required to transition from the squat into the press generates immense downward force. EVA foam compresses unevenly under this load, creating a destabilizing effect that can lead to ankle inversion or knee valgus.
- Purchase 3/4-inch Vulcanized Rubber Mats: Opt for heavy-duty horse stall mats (typically 4x6 feet, weighing around 75 lbs each). In 2026, these cost between $65 and $85 per mat.
- Subfloor Preparation: Sweep and vacuum the concrete or wood subfloor. Any debris left underneath will create permanent pressure points that can crack the rubber over time.
- Seam Taping: Lay the mats flush against each other. Use heavy-duty, 4-inch wide gym flooring tape on the underside of the seams to prevent the mats from separating when you aggressively drive out of the squat hole.
Phase 2: Selecting the Right Neoprene Dumbbells
Neoprene (polychloroprene) is a synthetic rubber that excels at protecting home floors from scuffs and reducing the acoustic impact of setting weights down. However, not all neoprene dumbbells are engineered for the squat with dumbbell press.
⚠️ CRITICAL GRIP WARNING: Fully encapsulated neoprene handles become dangerously slippery when exposed to sweat. The acidic pH of human perspiration breaks down the rubber's surface tension. For thrusters, you must select neoprene dumbbells that feature exposed, knurled steel handles with neoprene coating only on the weight heads. If you already own fully coated handles, you must install a liquid chalk station within arm's reach of your lifting zone.When selecting your starting weight for this specific movement, remember that your overhead press is significantly weaker than your squat. According to the American Council on Exercise (ACE) database, the limiting factor in a thruster is always the shoulder complex. Most intermediate male lifters should install a pair of 25 lb to 35 lb neoprene dumbbells for conditioning, while intermediate female lifters typically optimize their setup with 15 lb to 25 lb pairs.
Phase 3: Storage Rack Installation and Safety Anchoring
Leaving neoprene dumbbells on the floor creates a severe tripping hazard, especially when you are fatigued mid-workout. Installing a dedicated wall-mounted tiered rack is mandatory for a safe home gym layout.
Step-by-Step Rack Anchoring
Freestanding A-frame racks can tip over if bumped during a dynamic movement. A wall-mounted rack (such as the Titan Fitness 3-Tier Wall Mount Dumbbell Rack, retailing around $130 in 2026) is the safest option.
- Locate the Studs: Use a magnetic stud finder to locate the center of your wall studs (typically spaced 16 or 24 inches on-center). Mark the centers with a pencil.
- Pre-Drill Pilot Holes: Using a 7/32-inch wood drill bit, drill pilot holes 2.5 inches deep directly into the center of the studs. This prevents the wood from splitting.
- Drive the Lag Screws: Align the rack's mounting brackets with the pilot holes. Using a socket wrench, drive 3/8-inch x 3-inch hex lag screws through the brackets and into the studs. Do not use drywall anchors; the dynamic load of picking up and putting down heavy dumbbells will rip drywall anchors out of the gypsum board.
- Verify Level and Load: Place a 24-inch spirit level across the tiers. Once confirmed level, load the dumbbells from the bottom tier up to maintain a low center of gravity.
2026 Neoprene Dumbbell Market Comparison
Choosing the right brand ensures longevity and safety. Below is a market analysis of the top neoprene options optimized for home thruster workouts.
| Brand / Model | Handle Type | Price per Pair (Approx.) | Best For |
|---|---|---|---|
| CAP Barbell Cast Iron Neoprene | Contoured, Exposed Steel | $45 - $80 | Heavy Thrusters & Grip Security |
| Yes4All Neoprene Coated | Hex, Fully Encapsulated | $30 - $60 | Light Rehab / Low-Sweat Cardio |
| Bowflex SelectTech 552 | Adjustable, Metal Grip | $350 - $400 | Space-Constrained Home Gyms |
| Amazon Basics Neoprene | Round, Fully Encapsulated | $25 - $50 | Beginner Floor Work |
Phase 4: Biomechanical Setup for the Squat with Dumbbell Press
With the flooring installed and the rack anchored, the final phase is the physical setup of the lifter. The Mayo Clinic emphasizes that proper form in compound lifts prevents severe joint degradation over time.
The Pre-Lift Sequence
- The Clean: Hinge at the hips, grip the exposed steel handles of your neoprene dumbbells, and explosively pull them to your shoulders. The dumbbells should rest in the 'front rack' position, with your elbows pointing forward and your wrists stacked directly under the weight.
- Stance Configuration: Set your feet slightly wider than shoulder-width, with toes pointed out at a 15 to 30-degree angle. This accommodates hip anatomy and allows for proper depth.
- The Descent: Initiate the squat by breaking at the knees and hips simultaneously. Keep your torso as upright as possible; leaning forward will cause the dumbbells to pull you off balance.
- The Drive and Press: Explode out of the hole. As your hips reach full extension, use the upward momentum to drive the dumbbells overhead. Lock your elbows out completely, ensuring the weights are directly over your ears, not in front of your face.
'The squat with dumbbell press is not two separate exercises; it is one continuous wave of kinetic energy. If you pause at the top of the squat before pressing, you lose the elastic stretch reflex and turn a fluid movement into a grueling, disjointed struggle.'
Troubleshooting Common Setup and Grip Failures
Even with perfect installation, home gym athletes frequently encounter specific edge cases when using neoprene equipment for high-rep thrusters.
- Neoprene Degradation: If your dumbbell heads are becoming sticky or peeling, it is due to sweat acidity and UV exposure. Fix: Wipe down the neoprene heads immediately after use with a pH-neutral cleaner (like diluted Simple Green) and store the rack away from direct sunlight.
- Wrist Pain During the Front Rack: Neoprene dumbbells have a fixed, bulky head shape that can force the wrists into extreme extension. Fix: Adjust your grip slightly inward toward the collar of the dumbbell to allow the weight to rest more securely on the anterior deltoid rather than hovering in the hand.
- Asymmetrical Lockout: Because dumbbells move independently, one arm may lag during the press. Fix: Film your set from a frontal angle. If one arm lags, incorporate unilateral overhead presses into your accessory work to correct the neurological firing imbalance.
By meticulously preparing your flooring, selecting the correct handle geometry, securely anchoring your storage, and respecting the biomechanics of the lift, you transform a standard spare room into a high-performance training facility capable of handling the rigorous demands of the squat with dumbbell press.
More gear to consider
All reviews
Space-Saving Trap Dumbbell Workouts Using Loadable Plates

Cast Iron vs Competition Kettlebells: The Dumbbell Devil Press Test
Train Your Core with Dumbbells: Adjustable Reviews & Form Mistakes
What Do Dumbbell Presses Work? 2026 Adjustable Dumbbell Setup & Review
Barbell Weight & Knurling: Upgrading Your Dumbbell Swing Workout Setup