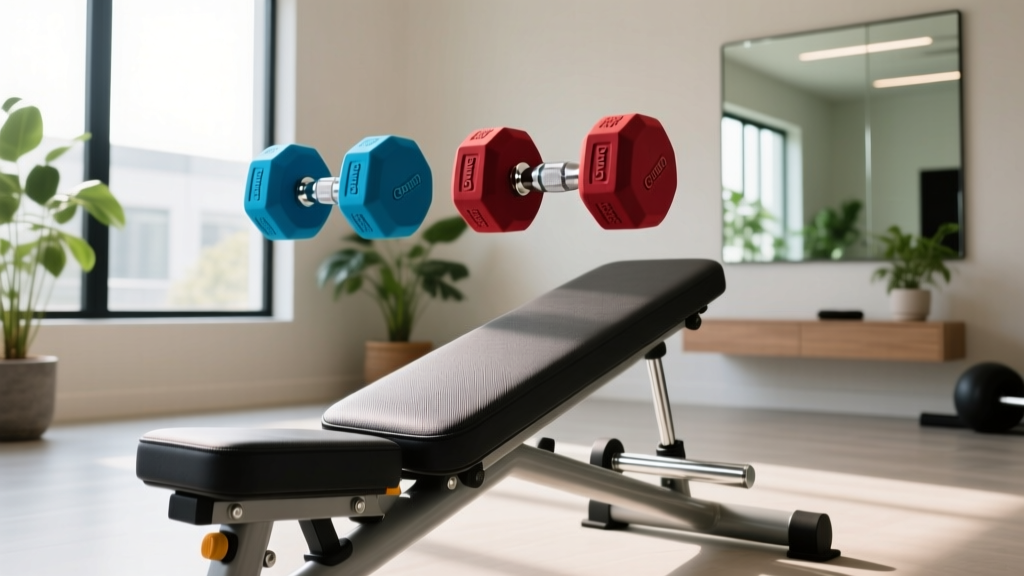
Home Gym Setup for Incline Alternating Dumbbell Curls with Neoprene Weights
Optimize your home gym layout and bench configuration for incline alternating dumbbell curls using neoprene coated dumbbells. Complete setup guide.

The Reality of Neoprene Dumbbells for Bicep Isolation
When outfitting a home gym in 2026, neoprene coated dumbbells remain a top choice for accessible, floor-friendly, and tactile weight training. However, utilizing a neoprene coated dumbbell for home use during strict isolation movements—specifically incline alternating dumbbell curls—requires a highly deliberate spatial and biomechanical setup. Because neoprene sets typically cap at 15 or 20 pounds per hand, you cannot rely on sheer mechanical overload. Instead, your setup must prioritize extreme stability, precise bench angling, and optimized time-under-tension to trigger stretch-mediated hypertrophy in the long head of the biceps brachii.
This comprehensive walkthrough covers the physical 'installation' of your home gym isolation zone, the exact bench configurations required, and the step-by-step biomechanical setup to master the incline alternating curl with lighter, grippy neoprene weights.
Phase 1: Spatial Installation and Equipment Setup
Before you can execute a flawless curl, your physical environment must be configured to eliminate variables that cause micro-stutters or balance corrections. A dedicated 5x5 foot isolation zone is ideal.
1. Flooring and Base Stabilization
Do not perform incline curls on bare hardwood or thin yoga mats. The setup requires a 3/4-inch thick vulcanized rubber horse stall mat (typically costing around $45 to $60 per 4x6 sheet). This density prevents the adjustable bench from rocking backward when you shift your weight during the eccentric phase of the curl. Ensure the bench feet are completely flush against the rubber; if your bench has adjustable leveling feet, torque them down until the frame is entirely immobilized.
2. A-Frame Rack Assembly and Placement
Neoprene dumbbells are easily damaged if dropped or stacked haphazardly. Install a 3-tier A-frame rack (such as the Yes4All or CAP Barbell A-frame models, priced between $45 and $70) exactly two feet behind the head of your bench. Installation Tip: When assembling the rack, hand-tighten all bolts first to align the powder-coated joints, then use a socket wrench to secure them. Over-tightening with a power drill can strip the threading and compromise the rack's structural integrity when loading 15lb neoprene hex bells onto the top tier.
Phase 2: Configuring the Adjustable Bench
The angle of the bench dictates the biomechanical stretch placed on the bicep. According to exercise science principles outlined by the National Strength and Conditioning Association (NSCA), placing the shoulder in extension (behind the torso) maximizes the stretch on the long head of the bicep, which crosses both the elbow and shoulder joints.
CRITICAL BENCH ANGLE DATA:• 30 Degrees: Too upright; shifts tension to the short head and front deltoids.
• 45 Degrees: The gold standard for overall long-head stretch and shoulder safety.
• 60 Degrees: Recommended when using lighter neoprene weights, as it forces stricter form and increases the stretch sensation without requiring heavy loads.
• 75+ Degrees: High risk of anterior shoulder capsule impingement.
Set your adjustable bench (e.g., Fitness Reality 1000 Super Max or Rogue Adjustable Bench 3.0) to the 45-degree or 60-degree notch. Ensure the seat pad is tilted slightly upward (if your bench allows independent seat adjustment) to prevent your glutes from sliding forward during the set.
Phase 3: Biomechanical Setup for Incline Alternating Dumbbell Curls
With the physical space installed and the bench locked in, the final 'setup' is your body positioning. Because neoprene coatings provide a slightly tacky, high-friction grip compared to bare steel or knurled handles, you can maintain a secure hold without excessive grip fatigue, allowing you to focus entirely on the bicep contraction.
- Seated Anchoring: Sit back firmly, pressing your upper back and the back of your head against the pad. Plant your feet flat on the rubber mat, driving your heels down to create full-body tension.
- Shoulder Retraction: Pin your scapulae (shoulder blades) together and down. Your chest should be proud. This locks the shoulder joint and prevents the front deltoids from hijacking the movement.
- Arm Positioning: Let your arms hang straight down with a neutral grip (palms facing your torso). Your elbows should be pointing directly at the floor, slightly behind the line of your torso.
- The Concentric Phase (Curl & Supinate): Keeping your right elbow pinned in space, curl the neoprene dumbbell upward. As the dumbbell passes your thigh, aggressively supinate your wrist (turn your palm to face your shoulder). Squeeze the bicep at the top for a full second.
- The Eccentric Phase (Lower & Pronate): Lower the weight slowly over 3 seconds. As you pass the thigh again, pronate the wrist back to a neutral grip. Do not begin the left arm's curl until the right arm is completely stationary at the bottom.
Overcoming the Neoprene Weight Ceiling
The primary limitation of a neoprene coated dumbbell for home use is the weight ceiling. Most sets max out at 15 lbs. To achieve hypertrophy with lighter loads, the American Council on Exercise (ACE) emphasizes the necessity of manipulating tempo and proximity to failure. You must train close to muscular failure (RPE 8-10) to recruit high-threshold motor units.
| Variable | Neoprene Hex (15 lbs max) | Adjustable Dumbbell (5-52 lbs) | Cast Iron Hex (Heavy) |
|---|---|---|---|
| Grip Friction | High (Tacky Neoprene) | Medium (Contoured Plastic/Metal) | Low (Smooth Cast Iron) |
| Optimal Tempo | 3-1-3-1 (Slow Eccentric) | 2-0-2-0 (Standard) | 2-0-2-0 (Standard) |
| Target Rep Range | 15-25 reps (To Failure) | 8-12 reps | 8-12 reps |
| Floor Safety | Excellent (Bounce-resistant) | Poor (Fragile dials) | Poor (Damages floors) |
Common Failure Modes and Troubleshooting
Even with a perfect setup, execution errors can ruin the isolation effect. Watch for these specific failure modes:
- Elbow Drift (The Swing): If your elbow moves forward past your torso during the curl, you have engaged the anterior deltoid. Fix: Imagine a steel rod pinning your elbow to your ribcage. Reduce the weight or slow the tempo.
- Wrist Flexion: Curling the wrist inward at the top of the movement shifts the load to the forearm flexors. Fix: Keep the wrist locked in a neutral, straight alignment with the forearm throughout the entire range of motion.
- Rushing the Alternation: Using momentum from the lowering arm to launch the lifting arm. Fix: Enforce a strict 'dead stop' at the bottom of each rep before initiating the next arm's curl.
Expert Warning: Never drop neoprene dumbbells from the top of the curl. While the coating protects your floor, the internal cast iron or concrete core can fracture upon high-impact drops, leading to a compromised weight that will eventually leak black dust or crack open.
Maintenance Protocol for Neoprene Coatings
To ensure your equipment remains hygienic and structurally sound for years, implement a strict maintenance routine. Neoprene is a synthetic rubber that can degrade when exposed to the acidic pH of human sweat and ultraviolet light.
After every arm session, wipe down the handles and the hex heads with a microfiber cloth dampened with a 50/50 solution of distilled water and white vinegar. Avoid harsh chemical cleaners like bleach or ammonia-based sprays, which will dry out the neoprene, causing it to chalk, flake, and lose its high-friction grip. Store the dumbbells on your A-frame rack away from direct sunlight to prevent UV degradation and color fading.
By meticulously installing your physical space, dialing in the 45-to-60-degree bench angle, and respecting the tempo requirements of lighter loads, you can transform a basic set of neoprene dumbbells into a highly effective tool for deep bicep isolation and stretch-mediated growth.
More gear to consider
All reviews
Thomas Inch Dumbbell Challenge: Top Loadable Dumbbells for Grip

Space-Saving Easy Dumbbell Exercises for Arms: Rubber vs Urethane

Master Dumbbell Romanian Deadlift Form With Neoprene Weights

Olympic Barbell Weight & Knurling: Setup for Single-Arm Dumbbell Rows

Olympic vs Standard Plates for Your Full Body Dumbbell Only Workout
