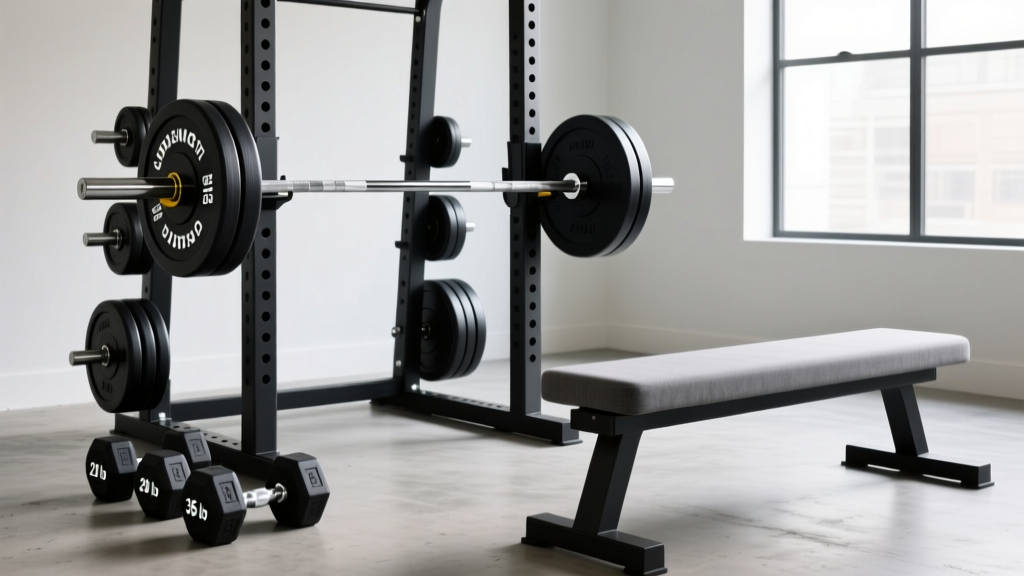
Setup Guide: Barbell Knurling & Bent Over Flys with Dumbbells
Master your free weight zone setup. We cover Olympic barbell knurling, weight specs, and bench placement for perfect bent over flys with dumbbells.

Phase 1: Anchoring the Power Rack and Barbell Station
Building a comprehensive, gym-quality free-weight sanctuary in your home requires a phased installation approach. You cannot simply drop heavy equipment onto a subfloor and expect optimal performance or safety. Phase 1 of this walkthrough focuses on the heavy compound anchor: securing your power rack and selecting the primary Olympic barbell that will dictate your main lifts.
Concrete Anchoring and Spatial Clearances
Before unboxing your barbell, the power rack must be secured. For a standard 4-post power rack (such as the REP PR-4000 or Rogue SML-2), you must anchor the base to a concrete slab using 3/8-inch or 1/2-inch wedge anchors. Pro Tip: Do not use sleeve anchors in poured concrete; wedge anchors provide superior sheer-strength resistance against lateral barbell racking forces. Drill a 5-inch deep hole, vacuum the concrete dust (crucial for grip), and torque the nuts to 45-50 ft-lbs. Ensure you leave a minimum of 36 inches of clearance on both sides of the rack for plate loading, and at least 48 inches behind the rack for accessory movements.
Phase 2: Olympic Barbell Buying Guide — Weight Tolerances and Knurling
The barbell is the single most touched piece of equipment in your gym. When evaluating an Olympic barbell buying guide, weight tolerances and knurling patterns are far more critical than the shiny zinc or cerakote finish. A standard men's Olympic bar weighs 20kg (44 lbs), but the actual weight and how it feels in your hands depend on manufacturing precision and steel tensile strength.
Understanding Knurling Profiles
Knurling is the machined pattern on the steel shaft designed to increase friction. According to comprehensive equipment analyses by BarBend, knurl profiles generally fall into three categories, each dictating a specific training style:
- Mountain (Aggressive): Sharp, peaked ridges. Ideal for heavy 1-rep max deadlifts but will tear calluses during high-volume hypertrophy work.
- Volcano (Moderate/Deep): The peaks are machined flat, creating a 'rim' that grips the skin without piercing it. This is the gold standard for all-around powerbuilding.
- Hill (Mild): Shallow, rounded ridges. Best for high-rep Olympic weightlifting (snatches/cleans) where hand tearing is a primary concern.
Barbell Specification Matrix
| Model | Shaft Diameter | Knurl Profile | Tensile Strength | 2026 Est. Price |
|---|---|---|---|---|
| Rogue Ohio Power Bar | 29mm | Mountain (Aggressive) | 205,000 PSI | $295.00 |
| REP Fitness AB-2 | 28.5mm | Volcano (Deep) | 215,000 PSI | $349.00 |
| Eleiko Sport Training | 28mm | Hill (Mild) | 215,000 PSI | $945.00 |
| American Barbell Elite | 28mm | Volcano (Moderate) | 190,000 PSI | $285.00 |
Selection Framework: If your programming involves heavy, low-rep powerlifting, invest in a 29mm Mountain knurl bar. If you mix heavy squats with high-rep bent-over rows and hypertrophy work, a 28.5mm Volcano knurl (like the AB-2) will save your hands while maintaining a vice-like grip.
Phase 3: Configuring the Dumbbell Accessory Zone
With the heavy compound station installed, Phase 2 of the walkthrough shifts to the accessory zone. This area is dedicated to unilateral work, isolation movements, and joint-stabilization exercises. The spatial arrangement here directly impacts your biomechanics and safety.
Bench and Rack Placement
Position a 3-tier dumbbell rack exactly 18 to 24 inches from the head of your adjustable FID (Flat/Incline/Decline) bench. This specific measurement allows you to perform a hip-hinge pickup of heavy dumbbells without introducing rotational shear forces to the lumbar spine. Ensure the bench is aligned perpendicular to the rack, leaving a 4-foot semi-circle of open floor space behind the bench for standing or hinged movements.
Phase 4: Spatial Setup for Bent Over Flys with Dumbbells
One of the most spatially demanding and biomechanically nuanced accessory movements is the rear deltoid isolation. Setting up your zone correctly is mandatory for executing proper bent over flys with dumbbells without compromising the lower back or utilizing momentum.
Biomechanics & Spatial Requirements
According to the exercise directory at ExRx, the rear deltoid acts as a horizontal abductor and external rotator of the shoulder joint. To isolate this muscle during bent over flys with dumbbells, the torso must remain parallel to the floor (or at a strict 45-degree angle for a modified incline). This requires a minimum of 36 inches of vertical clearance from the floor to avoid striking the dumbbells against the ground at the bottom of the eccentric phase.
Chest-Supported vs. Free-Standing Installation
When setting up your bench for this movement, you have two installation configurations:
- The Free-Standing Hinge Setup: Requires the 4-foot clearance mentioned above. You hinge at the hips, brace the core, and perform the flys. This engages the erector spinae and hamstrings isometrically but limits the amount of weight you can use due to lower-back fatigue.
- The Chest-Supported Setup (Recommended): Set your adjustable bench to a 30-degree or 45-degree incline. Straddle the bench and lay your chest against the pad. This entirely removes the lower back from the equation, allowing you to overload the rear delts and rhomboids with heavier dumbbells safely. Installation Note: Ensure the bench's rear stabilizer bar does not interfere with your shins when straddling it.
Troubleshooting the Movement Path
The most common failure mode when performing bent over flys with dumbbells is allowing the scapulae to retract too early, shifting the load to the mid-traps. Correction: Initiate the movement by pushing the dumbbells out toward the walls, not up toward the ceiling. Imagine you are trying to touch the dumbbells to the sides of your power rack. Maintain a slight bend in the elbow (locked at roughly 15 degrees) throughout the entire range of motion.
Phase 5: 2026 Equipment Budget & Procurement List
To complete this exact free-weight zone setup, here is a targeted procurement list reflecting current 2026 market pricing for high-quality, commercial-grade home gym equipment.
- Power Rack: REP Fitness PR-4000 (Base Model) — $599.00
- Olympic Barbell: REP AB-2 (28.5mm Volcano Knurl) — $349.00
- Bumper Plates: Rogue Black Bumper Plates (2x 45lb, 2x 25lb, 2x 10lb) — $385.00
- Adjustable Bench: REP AB-3100 2.0 (FID, 1000lb capacity) — $399.00
- Dumbbells: Rogue Rubber Hex Dumbbells (Pairs: 15lb, 25lb, 35lb) — $215.00
- Dumbbell Rack: REP 3-Tier Dumbbell Rack (Holds 5-50lbs) — $179.00
- Installation Hardware: Simpson Strong-Tie 1/2' Wedge Anchors (Box of 10) — $28.00
Total Zone Investment: ~$2,154.00
By meticulously planning the knurling profile of your primary barbell and engineering the spatial clearances required for strict isolation movements like bent over flys with dumbbells, you transform a simple equipment purchase into a biomechanically optimized training facility. Measure twice, drill once, and train heavy.
More gear to consider
All reviews
Space Layouts: Hex vs Urethane for Single Leg Dumbbell Curl to Press

Bumper vs Iron Plate Costs: Funding Your Back Workout Using Dumbbells

Rubber Hex vs Urethane: Longevity Care for Squats with Dumbbells
Kettlebell Care: Cast Iron vs Competition & Dumbbell Reverse Crunch

EZ Curl Bar vs Straight Bar Longevity & Dumbbell Deadstop Row Care
