
Seated Row Setup: Elevate Your Lat Pulldown Machine Workout
Master your back day with our complete seated row machine installation walkthrough, designed to perfectly complement your lat pulldown machine workout.

Building a dense, resilient back requires more than just vertical pulling. While a dedicated lat pulldown machine workout is exceptional for developing latissimus dorsi width, horizontal pulling via a seated cable row is non-negotiable for mid-back thickness, rhomboid development, and scapular stability. If you are outfitting a home gym or upgrading a commercial facility in 2026, integrating a seated row setup alongside your pulldown station is the ultimate biomechanical upgrade.
This comprehensive walkthrough covers everything from selecting the right cable row architecture to the exact hardware installation, ergonomic calibration, and programming strategies needed to maximize your back training equipment.
Selecting the Right Cable Row Architecture
Before unboxing hardware, you must determine which seated row configuration fits your spatial and budgetary constraints. As of 2026, the market is dominated by three primary setups for horizontal cable rows. Standalone selectorized units offer the smoothest resistance curve, while functional trainer low-row attachments provide versatility at the cost of maximum load capacity.
| Setup Type | Footprint (L x W) | Avg. Cost (2026) | Best Application |
|---|---|---|---|
| Standalone Selectorized (e.g., Body-Solid ProClub) | 58" x 28" | $1,450 - $1,800 | Commercial gyms, dedicated home studios |
| Combo Lat/Row Unit (e.g., Titan Fitness Lat/Row) | 85" x 32" | $899 - $1,150 | Space-constrained garages, dual-purpose zones |
| Functional Trainer Low-Row Attachment | 12" x 8" (Add-on) | $150 - $250 | Existing functional trainer owners |
The Complete Hardware Installation Walkthrough
For this guide, we will focus on the installation of a Combo Lat Pulldown and Seated Row Machine (similar to the Titan Fitness or Rogue Fitness Monster combo units), as this is the most common and complex setup for users looking to build a comprehensive lat pulldown machine workout station.
Step 1: Base Frame Assembly and Anchoring
Most combo units utilize 11-gauge or 12-gauge steel uprights with a 5x5 base footprint. Begin by laying out the base tubing on a level surface.
- Hardware Check: Verify you have all M10 and M12 carriage bolts. Do not substitute with standard hex bolts, as carriage bolts prevent spinning inside the square punched holes.
- Torque Specs: Using a torque wrench, tighten all base bolts to 45 ft-lbs. Overtightening can warp the base tubing, causing the weight stack guide rods to bind later.
- Anchoring: If your unit weighs under 400 lbs unloaded, bolt the rear stabilizer to your concrete slab using 3/8" wedge anchors to prevent tipping during heavy seated rows.
Step 2: Weight Stack and Guide Rod Alignment
The longevity of your selectorized weight stack depends entirely on this step. The guide rods must be perfectly parallel to prevent friction and premature wear on the linear bearings.
- Insert the primary and secondary guide rods through the weight plates.
- Apply a high-quality PTFE (Teflon) dry lubricant to the rods. Avoid wet oils or WD-40, which attract dust and create an abrasive paste over time.
- Drop the selector pin into the 50 lb plate and slide the stack up and down. If you feel any "sticking" or hear metallic scraping, loosen the top guide rod mounting brackets by a quarter-turn, realign, and retighten.
Step 3: Cable Threading and Pulley Calibration
Routing the 6mm aircraft-grade steel cable is where most installation errors occur. A misrouted cable will fray within weeks.
- Thread the cable starting from the bottom seated row carriage, up through the idler pulleys, and over the top lat pulldown crown.
- Ensure the cable sits deep inside the pulley groove. If it rides on the edges, the pulley brackets are misaligned. Use a rubber mallet to gently tap the brackets into perfect parallel alignment.
- Tension the cable using the turnbuckle at the base of the weight stack. There should be less than 1 inch of deflection when you pluck the horizontal row cable like a guitar string.
Biomechanical Calibration: Dialing in the Ergonomics
A properly installed machine is useless if the ergonomics force you into lumbar flexion or scapular elevation. According to the ExRx.net Back Exercise Directory, optimal horizontal pulling requires the line of force to intersect directly with the mid-sternum to target the mid-trapezius and rhomboids effectively.
Adjust the chest pad and footplates based on the primary user's anthropometrics:
| User Height | Chest Pad Setting | Footplate Angle | Cable Pulley Height |
|---|---|---|---|
| Under 5'6" | Position 1 or 2 (Lowest) | 45 degrees | Lower sternum |
| 5'7" - 6'0" | Position 3 or 4 (Middle) | 60 degrees | Mid-sternum |
| Over 6'1" | Position 5 or 6 (Highest) | 75 degrees | Upper sternum / Xiphoid |
Integrating the Row into Your Lat Pulldown Machine Workout
Now that your equipment is installed and calibrated, it is time to program it. The American Council on Exercise (ACE) Database emphasizes the importance of balancing vertical and horizontal pulling vectors to maintain healthy shoulder mechanics and posture.
Here is a highly effective structural balance superset to incorporate into your next lat pulldown machine workout:
The Antagonist Scapular Superset
- A1. Wide-Grip Pronated Lat Pulldown: 3 sets of 8-10 reps. Focus on depressing the scapula before initiating the elbow drive. Rest 45 seconds.
- A2. Neutral-Grip Seated Cable Row: 3 sets of 10-12 reps. Use a V-bar attachment. Emphasize a 2-second isometric hold at peak scapular retraction. Rest 90 seconds after completing A2.
"Pairing a vertical pulldown immediately with a horizontal row forces the scapular stabilizers to work through multiple planes of motion, drastically improving posture and reducing the risk of shoulder impingement in overhead athletes." — Biomechanics of Resistance Exercise, 2025 Update
Long-Term Maintenance and Cable Friction Troubleshooting
Even the best-installed cable machines require maintenance. The horizontal row mechanism is particularly susceptible to dust buildup because the lower pulleys are closer to the floor.
Warning: Cable Wear IndicatorsInspect your 6mm aircraft cable every 6 months. If you notice any "fish-hooking" (individual wire strands breaking and sticking out), replace the cable immediately. A snapped cable under a 200 lb load can cause severe lacerations or facial injuries. Most replacement cables for standard combo units cost between $35 and $60 in 2026.
To keep the machine running silently, wipe down the guide rods with a microfiber cloth and reapply PTFE dry lube every 90 days. Check the nylon pulley wheels for flat spots; if a wheel has stopped spinning and is dragging the cable, order a replacement sealed-bearing pulley from your manufacturer.
Frequently Asked Questions
Can I use resistance bands instead of buying a dedicated seated row attachment?
While bands provide horizontal pulling, they offer an ascending resistance curve (hardest at the end of the movement). A cable row provides constant tension, which is vastly superior for mid-back hypertrophy and pairs much better with the constant tension of a lat pulldown machine workout.
How much clearance do I need behind a combo lat/row machine?
You need a minimum of 36 inches of clearance behind the seat carriage to allow for full elbow extension and the use of longer attachments like a lat bar or T-bar row handle without hitting a wall.
Is a plate-loaded seated row better than selectorized?
More gear to consider
All reviews
Lat Pulldown Machine Buying Guide: Top Types for 2026
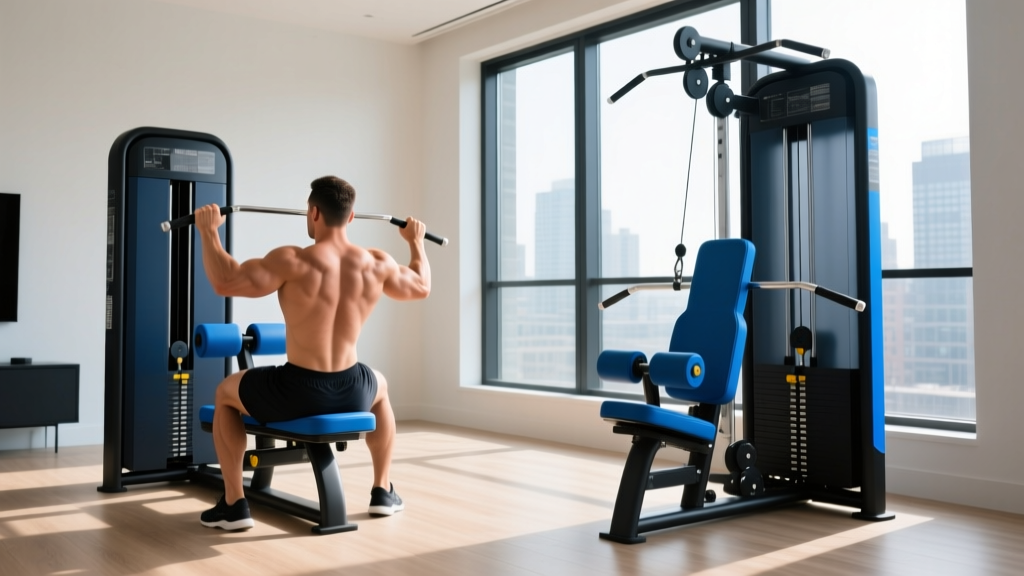
Install Guide: Seated Rows & Lat Pulldown Machine Workouts Setup

Lat Pulldown Cable Machine & Hyperextension Bench: Fix Common Mistakes

Inversion Table Decompression & Lat Pulldown Machine Close Grip Care

Hyperextension Bench Mistakes & Better Back Workouts with Dumbbells
