
Rowing Machine Guide & Technique: Setup for 8.0 Incline on Treadmill
Master your home gym setup with our rowing machine buying guide and technique tips, plus spatial clearances for an 8.0 incline on treadmill models.

The Dual-Cardio Home Gym: Spatial Planning & Clearances
Building a comprehensive home gym in 2026 requires more than just purchasing top-tier equipment; it demands precise spatial engineering. Combining a rowing machine with a treadmill is the ultimate cardiovascular pairing, targeting both posterior chain power and steady-state endurance. However, fitting these two massive pieces of equipment into a single room introduces unique architectural challenges—specifically regarding ceiling height and floor leveling.
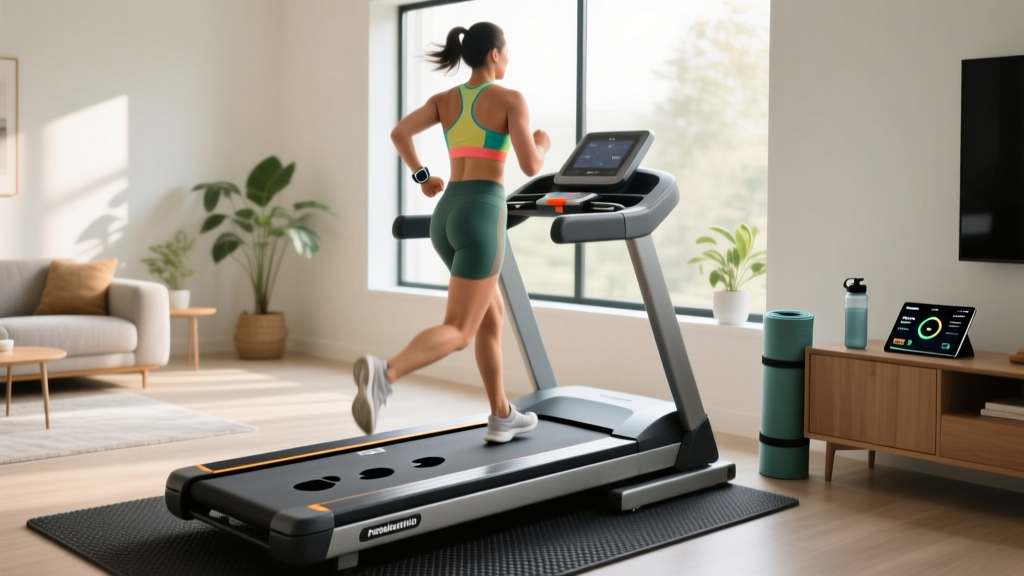
While rowers demand significant horizontal clearance (the X-axis), treadmills dictate your vertical limitations (the Z-axis). When you engage an 8.0 incline on treadmill models, the front deck elevates significantly. Failing to account for this elevation can result in head strikes or restricted arm movement during high-incline power walks. This guide will walk you through the exact spatial mathematics, a 2026 rowing machine buying guide, step-by-step installation, and elite-level rowing technique.
📐 The Ceiling Clearance Formula
To calculate the exact ceiling height required for your treadmill and rower space, use this formula:
Ceiling Height = Deck Base Height + (Deck Length * sin(arctan(Incline/100))) + User Height + 6 inches
Real-World Example: A standard treadmill has an 8-inch base height and a 60-inch deck. When you set an 8.0 incline on treadmill equipment, the front hood rises by approximately 4.8 inches. If the user is 6 feet tall (72 inches), the total peak height is 84.8 inches. Add 6 inches for arm extension and bounce, and your absolute minimum ceiling height must be 90.8 inches (7 feet 7 inches).
2026 Rowing Machine Buying Guide: Air vs. Magnetic vs. Water
The rowing machine market has bifurcated into three distinct resistance categories. Choosing the right one depends on your noise tolerance, spatial constraints, and desire for interactive programming.
| Model (2026) | Resistance Type | Footprint (L x W) | Price Range |
|---|---|---|---|
| Concept2 RowErg | Air | 106" x 24" | $990 - $1,100 |
| Hydrow Rowing Machine | Electromagnetic | 86" x 25" | $2,495 |
| WaterRower Natural | Water | 84" x 22" | $1,500 - $1,700 |
| Sunny Health SF-RW5801 | Magnetic | 82" x 20" | $220 - $280 |
Air Resistance: The Biomechanical Standard
Air rowers like the Concept2 RowErg use a flywheel that generates resistance proportional to your pull intensity. The harder you pull, the more drag is created. This infinite resistance curve perfectly mimics the hydrodynamics of moving a shell through water. The trade-off is noise; the rushing air can exceed 75 decibels, which may disrupt others in a shared living space.
Electromagnetic & Magnetic: The Silent Operators
If your home gym is in a bedroom or shared apartment, electromagnetic rowers (like the Hydrow) utilize neodymium magnets to create drag without physical friction. They are virtually silent and offer highly programmable, app-integrated resistance profiles. However, they lack the raw, unbounded top-end resistance of air rowers, capping out at a predetermined magnetic threshold.
Complete Installation Walkthrough: Flooring & Power
Proper installation is critical not just for safety, but for the calibration of your equipment. An improperly installed treadmill will fail to register inclines accurately, and an unlevel rower will cause the seat carriage to drift.
Step 1: Subfloor Preparation and Leveling
Never place heavy cardio equipment directly on hardwood or carpet. You must install a high-density, 3/4-inch vulcanized rubber mat.
- For the Treadmill: The rubber mat absorbs the kinetic impact of footfalls and prevents the incline motor from vibrating out of its factory calibration. Use a 48-inch digital level across the mat. If the floor slopes more than 1/4 inch over 6 feet, use composite shims beneath the rubber mat to create a perfectly flat plane.
- For the Rower: The monorail must be perfectly horizontal. If the rower sits on a slope, gravity will pull the seat carriage toward the flywheel during the recovery phase, ruining your stroke timing and putting uneven wear on the polyurethane wheels.
Step 2: Electrical Load Balancing
Treadmills with heavy-duty incline motors and 3.0 CHP drive motors draw significant amperage, especially when starting up or adjusting the deck angle.
Warning: Never plug a treadmill and a smart rower (or a space heater) into the same 15-amp circuit. The initial surge of a treadmill motor can trip the breaker. Run a dedicated 20-amp circuit for the treadmill, while the rower and entertainment displays can share a standard 15-amp lighting circuit.
Rowing Technique: The 4-Phase Biomechanical Sequence
According to Harvard Health Publishing, rowing engages 86% of the body's musculature, making it vastly superior to cycling or running for full-body caloric expenditure. However, improper technique leads to lumbar strain. As detailed in Concept2's official technique guide, the stroke is divided into four distinct phases.
- The Catch: Shins are vertical, torso is leaning forward at roughly 11 o'clock, and arms are fully extended. Your lats should be engaged, 'hanging' your body weight off the handle. Common Error: Over-compressing (shins past vertical), which strips power from the initial drive.
- The Drive: The power sequence is strictly Legs -> Core -> Arms. Push through the heels to extend the knees. Once the handle passes the knees, hinge the hips open, and finally, draw the handle to the lower sternum. Power distribution should be 60% legs, 20% core, and 20% arms.
- The Finish: Legs are fully extended, torso leaned back to 1 o'clock, and the handle is resting lightly against the lower ribs. Elbows are drawn back, wrists flat.
- The Recovery: The exact reverse of the drive. Arms extend first, torso hinges forward to 11 o'clock, and only then do the knees bend. Common Error: Shooting the slide (knees bending before the handle passes them), which results in a massive loss of kinetic energy.
💡 Pro Tip: The Damper Setting Myth
Most beginners set the air rower damper to 10, assuming higher is better. This is a critical mistake. A damper setting of 10 is equivalent to rowing a heavy, slow wooden boat. Elite athletes set the damper between 3 and 5 (a drag factor of 110-130), which mimics the sleek glide of a racing shell and allows for a faster, more cardiovascularly demanding stroke rate without prematurely fatiguing the lower back.
Maintenance & Edge Case Troubleshooting
Maintaining a dual-machine home gym requires a strict schedule. Neglecting either machine will lead to expensive part replacements.
- Rower Chain Care: Air rower chains must be wiped down and lubricated with purified mineral oil or 3-in-One oil every 40 hours of use. Never use WD-40, as it strips the factory grease and accelerates internal sprocket wear.
- Treadmill Incline Calibration: If you notice the treadmill struggling to reach an 8.0 incline on treadmill settings, or if the motor whines loudly, the incline sensor may be out of phase. Enter the machine's diagnostic mode (usually by holding 'Speed Up' and 'Incline Up' simultaneously) to run an auto-calibration cycle.
- Rower Rail Cleaning: Wipe the monorail with a damp microfiber cloth after every session. Sweat contains salts that will pit the aluminum or stainless steel rail, eventually causing the seat rollers to develop flat spots and vibrate.
By meticulously planning your spatial clearances, selecting the right resistance profile, and adhering to strict biomechanical standards, your home gym will serve as a highly efficient, injury-free training facility for years to come.
More gear to consider
All reviews
Elliptical vs Treadmill: Echelon Stride-6 Folding Treadmill Tested

ProForm Carbon Pro 9000 Treadmill: Beginner's Feature Guide
How Long Should You Run on a Treadmill? Beginner Buying Guide

Stretches Before Treadmill Workouts & Compact Bike Layouts

Best Folding Treadmills for Small Spaces & Treadmill Apps 2026
