Walking Pad vs Treadmill: Setup & Free Treadmill Removal Near Me
Upgrading your home gym? Compare walking pads vs treadmills, master the setup walkthrough, and learn how to secure free treadmill removal near you.

The home fitness landscape in 2026 has drastically shifted toward space-saving, high-efficiency cardio. As remote work remains a permanent fixture for millions, the bulky, 200-pound traditional treadmill is rapidly being replaced by ultra-compact walking pads. But making the switch isn't just about buying new gear; it involves a complete teardown of your old setup, a precise installation of your new walking pad, and the logistical headache of disposing of a massive piece of motorized equipment. If you are upgrading your home office gym, this comprehensive guide covers the critical differences between walking pads and traditional treadmills, provides a meticulous setup walkthrough, and solves the ultimate dilemma: how to actually find free treadmill removal near me without getting scammed by junk hauling services.
Walking Pad vs. Traditional Treadmill: 2026 Comparison Matrix
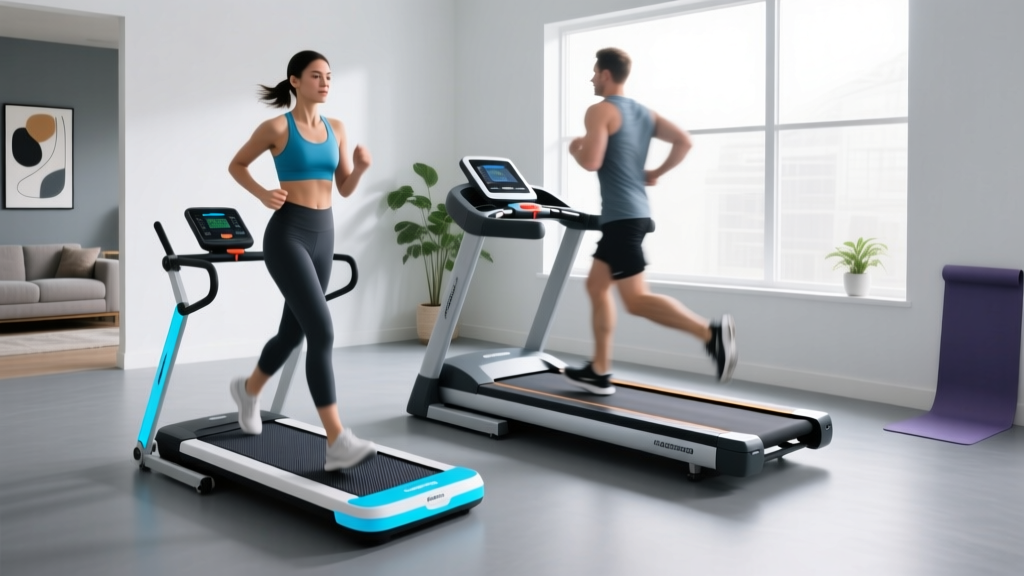
Before we unbox the new gear, it is vital to understand the mechanical and spatial trade-offs you are making. Walking pads prioritize footprint and under-desk integration, while traditional treadmills prioritize incline, speed, and shock absorption. Below is a direct comparison between the current industry-leading WalkingPad R3 and a standard mid-tier traditional model, the Horizon T202.
| Feature | WalkingPad R3 (2026 Model) | Horizon T202 (Traditional) |
|---|---|---|
| Footprint (L x W) | 57.1 x 22.4 inches | 76 x 34 inches |
| Weight | 68 lbs | 185 lbs |
| Motor | 2.5 HP Peak | 3.0 CHP |
| Belt Width | 17.7 inches | 20 inches |
| Top Speed | 7.5 MPH | 12 MPH |
| Incline | Fixed (0%) | 0% to 15% |
| Max User Weight | 240 lbs | 350 lbs |
| Avg. Price (2026) | $499 - $599 | $899 - $1,199 |
Step-by-Step Walking Pad Setup & Installation Walkthrough
Unlike traditional treadmills that require two people and a socket wrench set to assemble the upright mast, walking pads are largely pre-assembled. However, improper setup is the leading cause of premature motor burnout and belt fraying. Follow this exact installation protocol.
Step 1: Spatial Clearance and Flooring Prep
According to the U.S. Consumer Product Safety Commission (CPSC), you must maintain a minimum clearance zone behind any motorized treadmill. For a walking pad, clear a space that is at least 24 inches wider and 36 inches longer than the machine's dimensions. Place the pad on a high-density EVA foam equipment mat (at least 3/8-inch thick). This prevents the vibration from transferring into your floor joists and stops dust from being sucked into the walking pad's low-profile motor housing.
Step 2: Unfolding and Hinge Locking
Models like the WalkingPad R3 feature a patented 180-degree folding hinge. Lay the unit flat on the mat. Slowly unfold the front frame until you hear the mechanical click of the safety lock pins engaging. Do not skip the manual verification: physically pull up on the front hinge to ensure the locking pins have fully seated into the metal brackets. Operating the pad while the hinge is partially unlocked will strip the internal gears within the first 10 minutes of use.
Step 3: Belt Tension and Tracking Calibration
Shipping causes the running belt to shift. Plug the machine in, turn it on to 2.0 MPH, and observe the belt. If it drifts to the left, locate the right rear adjustment bolt (usually a 6mm hex). Turn it exactly one-quarter (1/4) turn clockwise. Wait 15 seconds for the belt to track. Repeat on the left side if it drifts right. Never turn the bolts more than a half-turn at a time, or you will over-tension the belt, causing the motor to overheat and draw excess amperage.
Step 4: Silicone Lubrication Check
Most 2026 walking pads ship with a dry belt to prevent dust accumulation during warehousing. Lift the center of the belt and feel the deck. If it is dry to the touch, apply exactly 10ml of 100% pure silicone treadmill lubricant in a zig-zag pattern under the belt. Run the machine at 3.0 MPH for two minutes to distribute the silicone evenly. This single step extends the lifespan of your walking pad deck by up to 40%.
Ditching the Beast: How to Find Free Treadmill Removal Near Me
Once your sleek new walking pad is humming quietly under your desk, you are left with a 185-pound paperweight in the corner of your room. Traditional treadmills are notoriously difficult to dispose of because they contain heavy steel, electronic circuit boards, and mixed plastics. When you pull out your phone and search for free treadmill removal near me, you will likely be bombarded with sponsored ads from junk hauling companies charging $150 to $300 for a pickup. Here is how to bypass the fees and get it removed for free.
1. Municipal Bulk Waste Pickup (The Hidden Free Option)
Most city and county waste management departments offer free bulk item pickup for residents, typically allowing 1 to 4 large items per month. However, treadmills often fall under 'e-waste' or 'metal recycling' categories rather than standard trash. Visit your local sanitation department's website and search for 'bulk metal pickup.' You will usually need to disassemble the treadmill into two main pieces (the deck and the upright console mast) and carry it to your curb the night before your scheduled zone's collection day.
2. Habitat for Humanity ReStore (Donation with Free Haul-Away)
While Goodwill and the Salvation Army almost universally reject motorized fitness equipment due to liability and recall risks, Habitat for Humanity ReStore locations frequently accept working treadmills. If your old treadmill powers on and the belt moves smoothly, call your local ReStore. Many locations offer free pickup services for large, functional appliances and fitness gear, as they can resell the unit to fund housing projects. You can verify local donation guidelines via the EPA guidelines on reusing goods and local charity directories.
3. Retailer Haul-Away Programs (The 'Trojan Horse' Method)
If you are purchasing your walking pad or any other large appliance from a major retailer (like Dick's Sporting Goods or Best Buy), check their delivery policies. Many big-box stores offer free haul-away of an old, similarly sized item when they deliver a new one. While a walking pad is small, if you happen to be ordering a new home gym rack or a smart fridge on the same account, you can sometimes leverage the delivery team to take the old treadmill off your hands for a nominal fee (often $30-$50) or free if bundled with a premium delivery tier.
4. Scrap Metal Recyclers
If the treadmill is broken and beyond repair, it is essentially 150 pounds of scrap steel and copper wire. Use the Earth911 recycling locator to find a local scrap yard. While you won't get 'removal' service (you have to transport it yourself), the yard will take it for free and may even pay you $15 to $25 for the raw metal weight. To make transport easier, use a reciprocating saw to cut the upright steel mast off the base, allowing it to lay flat in a standard pickup truck bed or utility trailer.
Pro-Tip for Disassembly: Never cut the wires near the motor housing or the console without first unplugging the machine and waiting 10 minutes. The internal capacitors on traditional treadmill control boards can hold a dangerous electrical charge even when unplugged. Always snip the wiring harness at the plastic connector joints.
Real-World Edge Cases & Troubleshooting
Transitioning to a walking pad introduces a few unique maintenance quirks that traditional treadmill owners rarely face. Keep these troubleshooting protocols in mind for your first 90 days of use.
- The 'Stuttering' Belt at Low Speeds: Walking pads operate at very low speeds (1.0 - 2.0 MPH) when used under a desk. If the belt stutters or jerks when you step on it, the deck is likely experiencing too much friction. This is almost always cured by applying a fresh 10ml coat of silicone lubricant. Do not increase the motor voltage or attempt to tighten the belt to fix a friction issue.
- Remote Control Desyncing: Walking pads rely on Bluetooth or RF remotes. If your remote stops responding, the most common culprit isn't the battery—it's the RF interference from your under-desk PC tower or Wi-Fi router. Move your router at least 3 feet away from the walking pad's front motor housing to restore a stable signal.
- Overheating on Carpet: Never place a walking pad directly on thick carpet. The low clearance of the motor housing (often less than 2 inches off the ground) will sink into the carpet pile, choking the motor's cooling fan. This triggers the internal thermal breaker, shutting the machine down after 15 minutes. Always use a rigid equipment mat.
Expert Verdict
Upgrading from a traditional treadmill to a 2026 walking pad is one of the most effective ways to reclaim your home office space while maintaining your daily step count. The key to a successful transition lies in the details: meticulously calibrating the belt tension out of the box, properly lubricating the low-profile deck, and strategically navigating local municipal and charity channels to secure free treadmill removal near you. By following this exact setup and teardown walkthrough, you will avoid the common pitfalls of compact cardio equipment and enjoy a seamless, quiet, and highly efficient daily walking routine.
More gear to consider
All reviews
2026 Market Trends: Famistar Treadmill Belt Maintenance Guide

Best Treadmills for an Interval Training Treadmill Workout 2026

Is It Okay to Run Barefoot on a Treadmill? Curved vs Motorized

Are Treadmill Calorie Counters Accurate? Compact Portable Cardio
Under Desk Treadmills 2026: Treadmill Walking Workouts for Beginners
