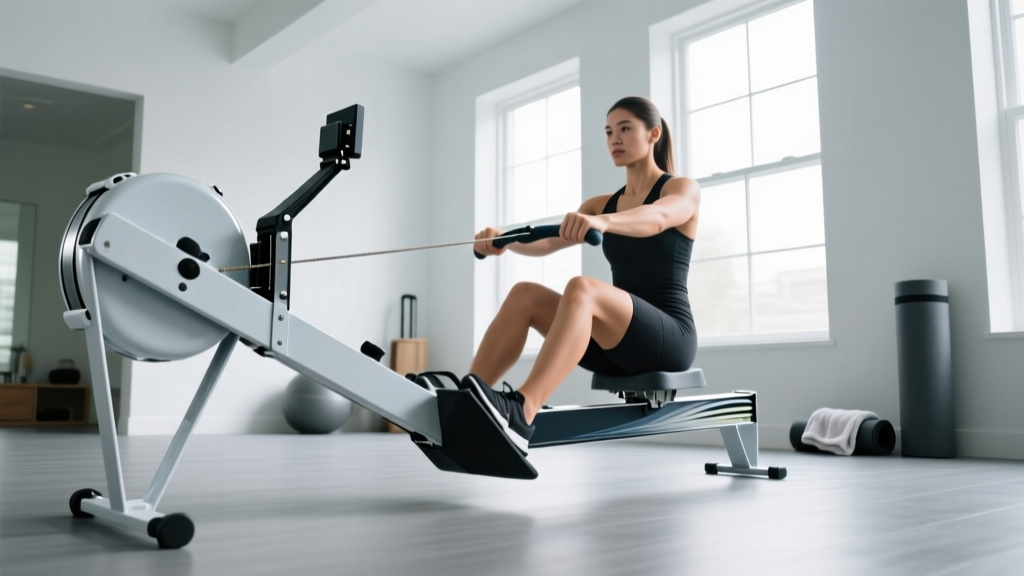
Rowing Machine Setup: No NordicTrack T 6.5 S Treadmill Manual Needed
Master rowing machine setup, buying tips, and stroke technique. Avoid the frustration of lost manuals and complex assemblies with our 2026 guide.

The Out-of-the-Box Experience: Rower vs. Treadmill Assembly
Transitioning to a rowing ergometer is one of the highest-ROI decisions you can make for your home gym. If you have ever spent hours hunting for a lost nordictrack t 6.5 s treadmill manual just to figure out how to recalibrate a stuck incline motor, align a slipping belt, or pair a legacy Bluetooth console, you already know the hidden tax of budget treadmill ownership. Motorized cardio equipment is notoriously heavy, requires dedicated 120V/15A circuits, and involves complex multi-step assemblies that often leave users frustrated before their first workout.
Modern rowing machines, by contrast, are a masterclass in biomechanical simplicity and streamlined setup. Whether you are unboxing an air-resistance workhorse or a sleek magnetic rower, the installation walkthrough is remarkably intuitive. This comprehensive 2026 guide covers everything from selecting the right machine to the step-by-step installation walkthrough and the biomechanics of a perfect stroke.
💡 The Space-Saving Advantage: Unlike treadmills that demand a permanent 70" x 30" footprint, most premium rowers can be separated into two pieces or stored vertically, taking up less than 3 square feet of floor space when not in use.Buying the Right Rower: Key Specs to Measure
Before unboxing, you must ensure the machine fits your body and your space. The rowing machine market in 2026 is dominated by three resistance profiles: Air, Magnetic, and Water. Here is the decision framework for selecting your model.
1. Slide Rail Length & Seat Height
If you are taller than 6'2" (188 cm), you must verify the maximum inseam clearance. The industry standard Concept2 Model D accommodates up to a 38-inch inseam, while budget models often cap out at 34 inches, causing the seat to derail off the back stops. Furthermore, a seat height of 14 inches is standard for accessibility, whereas low-profile water rowers sit at 8-10 inches, which can be difficult for users with limited knee mobility to mount.
2. Drag Factor vs. Damper Setting
Do not confuse the physical damper lever (1-10) with the actual drag factor. Over time, dust accumulation in the flywheel housing lowers the drag factor. Premium machines allow you to access the diagnostics menu to read the true drag factor (aim for 110-130 for standard aerobic conditioning).
| Model (2026) | Resistance Type | Price Range | Max Inseam | Storage Footprint |
|---|---|---|---|---|
| Concept2 Model D | Air | $999 - $1,100 | 38 inches | 27" x 34" (Vertical) |
| Hydrow | Electromagnetic | $2,495+ | 37 inches | 86" x 25" (Upright Kit) |
| WaterRower Natural | Water | $1,200 - $1,400 | 37 inches | 22" x 22" (Vertical) |
| Sunny Health SF-RW5515 | Magnetic | $220 - $280 | 34 inches | 32" x 20" (Folded) |
Complete Installation Walkthrough: Unboxing to First Stroke
Forget the 80-page booklet you needed for your treadmill. Most high-end rowers require fewer than 10 bolts for assembly. Here is the universal setup sequence for modular air and magnetic rowers.
- Base & Rail Alignment: Slide the monorail onto the front stabilizer base. Insert the provided M8x40mm hex bolts. Crucial Step: Do not fully tighten until all four bolts are threaded. This prevents cross-threading and ensures the rail sits perfectly flush, preventing the "bump" sensation during the recovery phase.
- Monitor Arm Attachment: Attach the telemetry monitor arm using the M5x30mm screws. Route the internal data cable through the hinge before tightening. If the monitor fails to power on, 99% of the time it is a pinched cable at this exact joint.
- Footrest Securing: Mount the footrests to the carriage. Ensure the quick-release ratcheting straps are facing outward for easy access during transitions.
- Bungee Tension Test: Pull the handle to the chest. Release it. The handle should return to the catch position in under 1.5 seconds. If it sluggishly returns, locate the tension dial under the flywheel housing and tighten it by a quarter-turn.
- Leveling: Adjust the rear stabilizer feet. A wobbly rower during a 30-stroke-per-minute sprint is a safety hazard. Use a standard carpenter's level across the monorail.
Mastering the Stroke: The 4-Phase Technique Breakdown
According to the American Council on Exercise (ACE), rowing engages 86% of the body's musculature, but only if the kinetic chain is sequenced correctly. The most common beginner error is "shooting the slide"—where the hips extend before the torso, placing massive shear force on the lumbar spine.
Phase 1: The Catch
- Position: Shins vertical (or as close as ankle mobility allows), torso hinged forward at 11 o'clock, arms fully extended and relaxed.
- Tension: Lats should be slightly engaged, pulling the shoulders down and away from the ears.
Phase 2: The Drive
The power sequence is strictly Legs → Core → Arms. Push through the mid-foot. The handle should not move until the legs are nearly fully extended. According to Harvard Health Publishing, this sequential loading is what makes rowing a uniquely safe, low-impact cardiovascular exercise that spares the joints while demanding high metabolic output.
Phase 3: The Finish
- Position: Legs fully extended, torso leaned back to 1 o'clock, handle pulled to the lower sternum (xiphoid process).
- Grip: Keep wrists flat. Bending the wrists at the finish leads to rapid forearm fatigue and potential tendonitis.
Phase 4: The Recovery
The recovery is the exact reverse of the drive: Arms → Core → Legs. Extend the arms fully, hinge the torso forward past the knees, and only then allow the knees to bend. The recovery should take twice as long as the drive (a 1:2 stroke ratio).
Expert Troubleshooting: If your lower back aches after 10 minutes, you are likely rounding your lumbar spine at the catch. Elevate your heels slightly on the footplates to artificially increase ankle dorsiflexion, which allows your pelvis to tilt forward and maintains a neutral spine.
Long-Term Maintenance: Avoiding the Manual Trap
One of the primary reasons users search for legacy documents like the nordictrack t 6.5 s treadmill manual is to troubleshoot preventable maintenance failures. Rowers require a fraction of the upkeep, but ignoring these three tasks will degrade your machine's performance within six months.
- Rail Cleaning (Weekly): Wipe the stainless steel or aluminum monorail with a damp microfiber cloth and a mild degreaser. Buildup on the rail causes the seat rollers to develop flat spots, resulting in a bumpy, noisy stroke.
- Chain Lubrication (Monthly/50 Hours): For air rowers with nickel-plated steel chains, apply 1-2 teaspoons of purified mineral oil or 20W motor oil to a paper towel and pull the chain through it. Never use WD-40 or silicone spray, as these attract dust and create an abrasive paste that destroys the sprocket teeth.
- Water Tank Care (Bi-Annually): If you own a water rower, drop one purification tablet into the tank every 6 months. Algae buildup not only looks terrible but alters the fluid dynamics of the impeller, changing the drag profile.
By choosing a rower and following this streamlined setup and technique protocol, you bypass the headaches of complex motorized assemblies. You get a commercial-grade, full-body cardiovascular stimulus that stores vertically in the corner of your room—ready for your next 2K personal best without ever needing to troubleshoot an incline motor.
More gear to consider
All reviews
Bike Types & What Incline and Speed Should I Walk on a Treadmill

Home Stair Climbers: What Is the Best Speed to Walk on a Treadmill?
The Core Benefit of Curved Treadmill Training: 2026 Comparison Guide

Stair Climber Home Guide & dogpacer lf 3.1 dogpacer treadmill

Matrix Treadmill Planet Fitness Effect on Upright, Recumbent & Spin Bikes
