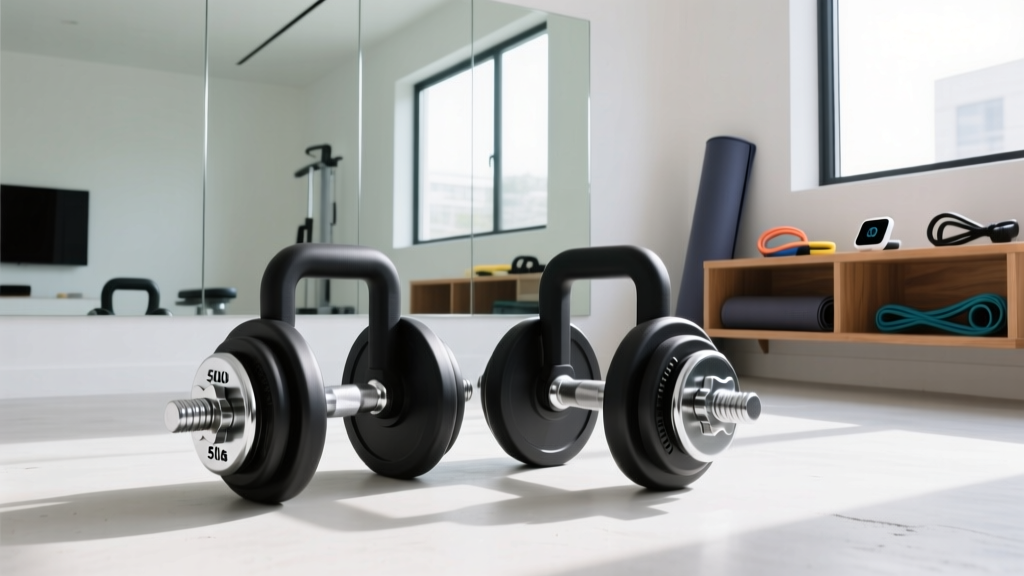
Rogue Urethane Dumbbell Setup: Beyond Neoprene for Home Gyms
Master your home gym setup with our walkthrough on installing a Rogue urethane dumbbell set and upgrading from basic neoprene coated dumbbells.

Most lifters begin their home gym journey with a basic neoprene coated dumbbell for home use. While accessible and budget-friendly for light conditioning, these entry-level weights inevitably fail under the demands of serious progressive overload. The neoprene tears at the handle junction, absorbs sweat, and eventually degrades into a sticky, foul-smelling mess. If you are reading this in 2026, you are likely ready to stop replacing gear and invest in an endgame setup.
This complete setup and installation walkthrough will guide you through transitioning to a premium Rogue urethane dumbbell system. We will cover spatial planning, heavy-duty rack assembly, material science comparisons, and ergonomic loading strategies to build a professional-grade free weight zone in your garage or basement.
Phase 1: Spatial Planning and Subfloor Preparation
Before unboxing your new equipment, you must address the physical footprint and load-bearing requirements of your training space. A standard 5 to 50 lb Rogue Urethane Dumbbell set (in 5 lb increments) consists of 10 pairs, totaling 550 lbs. When paired with the Rogue 3-Tier Dumbbell Rack (weighing approximately 135 lbs), your static point load is roughly 685 lbs.
📐 Footprint & PSI Calculation:The Rogue 3-Tier Rack measures 49' L x 23' W x 38' H. This creates a footprint of 1,127 square inches. Dividing 685 lbs by 1,127 sq in yields a static pressure of just 0.6 PSI. However, dynamic impact loads—such as returning a 50 lb dumbbell to the rack with downward force—can spike localized pressure well over 150 PSI.
To protect your concrete slab or wooden subfloor, you must install proper matting. Do not rely on thin PVC or foam puzzle mats. Opt for 3/4-inch thick vulcanized rubber stall mats or high-density 8mm rubber gym tiles. Cut the matting so it extends at least 18 inches beyond the rack on all sides to catch dropped weights and provide a stable, non-slip surface for heavy lateral lunges and goblet squats.
Phase 2: Assembling the Rogue 3-Tier Rack
The Rogue 3-Tier Dumbbell Rack is constructed from 11-gauge steel with a heavy-duty gusseted design. Assembly is straightforward but requires mechanical precision to ensure the rack remains perfectly square and stable over years of heavy loading.
Step-by-Step Assembly Protocol
- Inventory and Stage: Lay out the uprights, crossbars, and shelf brackets on a soft surface (like a moving blanket) to prevent scratching the powder coat. Verify all 5/16' hardware is present.
- Base Frame First: Attach the bottom crossbars to the rear and front uprights using the provided hex bolts. Crucial Tip: Only tighten these bolts to about 80% torque initially. This allows the frame to flex slightly as you add the upper tiers.
- Attach the Tiers: Slide the angled shelf brackets into the pre-drilled holes. The angles are designed to cradle the dumbbell heads securely. Secure with the included hardware.
- Squaring and Final Torque: Use a carpenter's square on the front corners. Once perfectly square, go back and fully tighten all bolts using a 1/2' drive ratchet. Do not use a power drill with an impact driver, as overtightening can strip the threads or warp the 11-gauge steel brackets.
Phase 3: Material Science - Neoprene vs. Urethane
Why make the financial leap to a premium urethane setup? Understanding the material science clarifies why the initial $1,200+ investment for a full Rogue set outlasts five generations of cheap neoprene coated dumbbells for home use.
| Feature | Standard Neoprene Coated | Rogue Urethane |
|---|---|---|
| Material Density | Low (Foam/Synthetic Rubber Blend) | High (Solid Elastomer, 88A Shore Hardness) |
| Handle Ergonomics | Fixed, often overly thick, poor knurl | 1.5' CNC Machined Steel, Medium Knurl |
| Odor & VOCs | High VOC off-gassing, traps sweat/bacteria | Zero VOC, completely odorless |
| UV & Sebum Resistance | Poor (Degrades, becomes sticky over time) | Excellent (UV stable, impervious to skin oils) |
| Head Profile | Rounded hex (can roll on slight inclines) | Precision flat-edge hex (zero roll) |
The most critical failure mode of a neoprene coated dumbbell for home use is the handle junction. Because neoprene is relatively soft, the repetitive stress of heavy pressing and the natural oils from your hands cause the coating to separate from the steel core. Rogue's urethane is poured and bonded under high pressure, featuring a patented internal steel insert that locks the head to the handle, completely eliminating the wobble and separation common in lesser brands.
Phase 4: Ergonomic Loading Strategy
How you load your newly assembled rack impacts both safety and workout flow. Do not simply place the dumbbells in sequential order from left to right without considering biomechanics.
- Bottom Tier (35 - 50 lbs): Always load the heaviest pairs on the bottom tier. This lowers the rack's center of gravity, maximizing stability. Furthermore, lifting heavy weights from a lower tier requires a hip-hinge (deadlift) motion, which is safer for your lower back than bending over a high shelf.
- Middle Tier (20 - 30 lbs): Reserve this tier for your most frequently used accessories, such as weights for dumbbell rows, Romanian deadlifts, and heavy goblet squats.
- Top Tier (5 - 15 lbs): Place the lightest weights here. These are typically used for isolation movements like lateral raises, triceps extensions, and rotator cuff pre-hab, where you are often standing upright and need the weights at chest/shoulder level.
Phase 5: Long-Term Maintenance Protocols
While Rogue urethane is virtually indestructible under normal use, the exposed steel handles require minimal but specific maintenance to preserve the knurling and prevent oxidation, especially in unclimate-controlled garage gyms.
- Post-Workout Wipe Down: Use a microfiber cloth lightly dampened with water or a mild, non-acidic antibacterial wipe. Never use bleach or harsh ammonia-based cleaners, as these can eventually break down the chemical bonds of the urethane heads over several years.
- Monthly Knurl Brushing: Use a stiff nylon brush (not wire, which can damage the zinc or chrome finish) to clear dead skin and chalk from the 1.5' handle knurling.
- Annual Oiling: Once a year, apply a light coat of 3-in-One oil or mineral oil to the handles. Let it sit for 10 minutes, then wipe it completely dry. This displaces ambient moisture and prevents surface rust.
Upgrading from a neoprene coated dumbbell for home use to a professional Rogue urethane setup is not just an aesthetic choice; it is a biomechanical and structural investment. The precise 1.5' handle diameter and medium knurl allow for superior grip recruitment during heavy pressing, while the 88A Shore durometer heads protect your floors and equipment from catastrophic impact damage.
By following this installation and setup walkthrough, your free weight zone will be optimized for safety, ergonomics, and decades of relentless progressive overload.
More gear to consider
All reviews
Cheap vs Premium Guns: Performance, Reliability, and Real-World Value After 10,000 Rounds

EZ Bar vs Straight Bar: Budget & Good Chest Exercises with Dumbbells

Beyond Dumbbell Workout Illustrations: Kettlebell Maintenance
Olympic vs Standard Plates & Incline Dumbbell Fly Alternative Fixes

EZ Curl vs Straight Bar: Upgrading a Women's Dumbbell Arm Workout