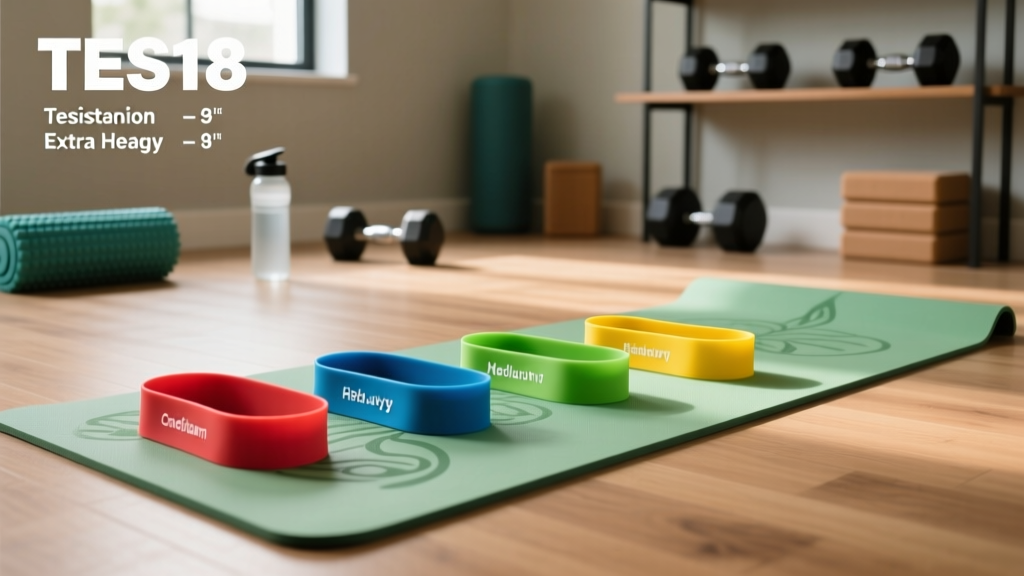
Resistance Band Set Buying Guide & Hatha Yoga Mat Setup
Learn how to choose the right resistance band set levels and types, and perfectly pair them with a Hatha yoga mat for a complete home gym setup.

The Hybrid Home Studio: Merging Tension and Grounding
As home fitness evolves in 2026, the most effective training spaces are those that seamlessly blend high-tension resistance work with mindful mobility. Building a hybrid studio requires two foundational elements: a premium hatha yoga mat for grounded, joint-supported floor work, and a versatile resistance band system for progressive overload. According to the Mayo Clinic, incorporating resistance training into your weekly routine is critical for bone density and metabolic health, while yoga practices maintain the joint integrity required to lift safely.
This comprehensive setup and installation walkthrough will guide you through selecting the right resistance band set levels and types, choosing the ideal mat foundation, and physically installing your anchor points to create a safe, professional-grade home studio.
Phase 1: Establishing the Foundation with a Hatha Yoga Mat
Before mounting anchors or unboxing bands, you must define your floor space. Unlike fast-paced Vinyasa or hot yoga, Hatha yoga focuses on static holds, deep stretching, and precise alignment. Therefore, a hatha yoga mat requires a specific durometer (firmness) and friction coefficient to prevent slipping during seated band pulls or isometric holds.
Key Mat Specifications for Band Integration
- Thickness: Opt for 4mm to 6mm. Thinner mats (1-3mm) offer insufficient knee and spinal support when performing floor-based band rows or supine chest presses. Thicker mats (8mm+) compromise balance during standing band rotations.
- Material: Natural tree rubber is the gold standard. It provides a high-tack surface that grips both the floor and your skin, even when performing high-rep band exercises that induce sweating.
- Dimensions: Standard is 24" x 68", but for a dedicated band-training zone, upgrade to an extra-wide 30" x 72" mat (such as the Manduka PRO or JadeYoga Harmony, typically ranging from $90 to $120) to ensure your anchor points and movement vectors stay within the high-grip zone.
Phase 2: Resistance Band Set Buying Guide (Levels & Types)
Not all elastic tension is created equal. When shopping for a resistance band set, understanding the nuances of materials, types, and tension levels is crucial for avoiding injury and ensuring progressive overload. The American Council on Exercise (ACE) emphasizes that matching the band's resistance curve to your muscle's strength curve is vital for joint safety.
Types of Resistance Bands
- Tube Bands with Handles: Best for mimicking traditional cable machine movements (e.g., bicep curls, tricep pushdowns). They feature reinforced carabiners and nylon sleeves to prevent snapping.
- Continuous Flat Loop Bands (Power Bands):strong> Made from layered natural latex. Ideal for assisted pull-ups, heavy squats, and anchoring to wall mounts for rotational core work.
- Fabric Mini-Bands: Woven from cotton and latex threads. Designed exclusively for lower-body glute and hip activation. They resist rolling and snapping better than cheap TPE alternatives.
Understanding Tension Levels and Color Coding
While color coding varies by manufacturer, the industry standard for a 5-piece tube band set or 4-piece loop set generally follows a specific tension progression. Always check the exact poundage, as a "heavy" band from a budget brand may equal a "medium" from a premium brand like Rogue Fitness or TheraBand.
| Level | Standard Color | Tension Range (Tube) | Tension Range (Loop) | Best Application |
|---|---|---|---|---|
| Extra Light | Yellow | 5 - 15 lbs | 5 - 15 lbs | Rotator cuff rehab, mobility |
| Light | Red | 15 - 25 lbs | 15 - 35 lbs | High-rep isolation, Hatha stretches |
| Medium | Green | 25 - 35 lbs | 30 - 50 lbs | Rows, chest presses, squats |
| Heavy | Blue | 35 - 50 lbs | 50 - 75 lbs | Compound lifts, pull-up assist |
| Extra Heavy | Black | 50 - 80+ lbs | 75 - 120+ lbs | Heavy deadlifts, advanced power |
Phase 3: Anchor Point Installation Walkthrough
The safest and most versatile way to use your resistance band set is by installing dedicated anchor points around your hatha yoga mat. Relying solely on door hinges limits your exercise library and poses structural risks. Here is the step-by-step installation guide for a permanent wall anchor.
Step 1: Spatial Planning and Stud Finding
Position your mat parallel to the target wall. You will need two anchor heights: a high anchor (approx. 72" from the floor) for lat pulldowns and tricep extensions, and a low anchor (approx. 12" from the floor) for seated rows and hamstring curls. Use a magnetic stud finder to locate the center of a wooden wall stud. Never install heavy tension anchors into drywall alone; a fully stretched 80-lb band generates over 150 lbs of peak shear force.
Step 2: Drilling the Pilot Holes
For a standard wall anchor plate (like the RitFit or Yes4All steel mounts, typically $15-$25), you will use 3/8" lag bolts.
Mark your drill points on the stud. Using a 7/32" drill bit, drill pilot holes exactly 2.5 inches deep. This prevents the wood stud from splitting when the lag bolt is driven in.
Step 3: Mounting and Torque
Place the steel anchor plate over the pilot holes. Insert the 3/8" x 2.5" lag washers and bolts. Use a socket wrench to drive the bolts until the plate is flush and immovable against the drywall. Give the mount a firm manual tug test before attaching any bands.
Warning: Door Anchor SafetyIf you must use a portable door anchor, always place it on the hinge side of the door, not the latch side. The latch mechanism is not rated for lateral tension and can fail catastrophically, causing the door to swing open and the band to snap back at the user.
Phase 4: Integrating the Mat and Band Workflows
With your anchors installed and your band set unpacked, it is time to integrate the equipment. The beauty of pairing a high-quality hatha yoga mat with resistance bands lies in the transition between active tension and active recovery.
Sample Workflow Integration
- Warm-Up (On-Mat): Use the extra-light yellow tube band for joint CARs (Controlled Articular Rotations) while seated on the mat. The mat's 5mm cushioning protects the ischial tuberosities (sit bones).
- Main Compound Work (Standing/Anchored): Step off the mat to perform heavy anchored rows using the blue heavy band. This prevents excessive wear and tear on the rubber surface from shoe friction.
- Cool Down (On-Mat): Transition back to the hatha yoga mat for static stretching. Use the red light band to assist in deep hamstring and shoulder stretches, leveraging the elastic tension to safely deepen the Hatha postures.
Phase 5: Maintenance and Failure Prevention
Equipment longevity in a home studio requires strict maintenance protocols. Elastic polymers and natural rubber mats are both susceptible to environmental degradation.
Band Inspection and Storage
Before every session, run your fingers along the entire length of the latex bands. Look for micro-tears, white stress marks, or sticky residue. UV light and ozone are the primary enemies of latex. Store your bands in an opaque, airtight container away from direct sunlight. According to fitness equipment safety guidelines, bands used daily in a home gym should be replaced every 8 to 12 months, regardless of visible wear.
Hatha Yoga Mat Care
Natural rubber mats are highly porous. Never clean your mat with essential oils, petroleum-based solvents, or harsh chemical sprays, as these will break down the rubber's cellular structure, causing it to flake and lose its grip. Instead, use a dilute solution of witch hazel and distilled water, wiping it down with a microfiber cloth after your band-resisted floor work.
Final Setup Checklist
Before beginning your first hybrid training session, verify the following:
- [ ] Hatha yoga mat is laid flat on a clean, dry surface with adequate clearance (at least 3 feet) from the wall anchors.
- [ ] Wall anchors are drilled into the center of wooden studs using appropriate lag bolts.
- [ ] Resistance bands have been inspected for micro-tears and carabiner gate integrity.
- [ ] Door anchors (if used) are strictly positioned on the hinge side of solid-core doors.
By thoughtfully selecting your resistance band set levels and types, and grounding your practice on a reliable hatha yoga mat, you create a versatile, joint-friendly training environment capable of supporting everything from heavy hypertrophy to deep restorative mobility. For more insights on building sustainable fitness habits, resources from Yoga Journal offer excellent guidance on merging mindfulness with physical conditioning.
More gear to consider
All reviews
Alo Yoga Mat Warrior: Thickness, Material & Grip Troubleshooting

Speed, Weighted, Beaded Jump Rope Setup & Jade Harmony Yoga Mat Sale

Yoga Mat Materials & Grip: Choosing the Best Yoga Mat Cleaner

Yoga Mat Width Guide: Thickness, Material & Grip Compared (2026)

Yoga Block and Strap Buying Guide & Lululemon Yoga Mat Cleaning
